Edunext CLI
Contents
Edunext CLI#
What is the Edunext CLI?#
CLI is a command-line program that accepts text input to execute operating system functions. The Edunext CLI provides a way to perform different operations on the platforms, that don’t have yet a graphical interface, from the command line.
These types of procedures can be apppied to a single user or to a bacth of users.
Requisites#
Ho to use the Edunext CLI?#
Windows#
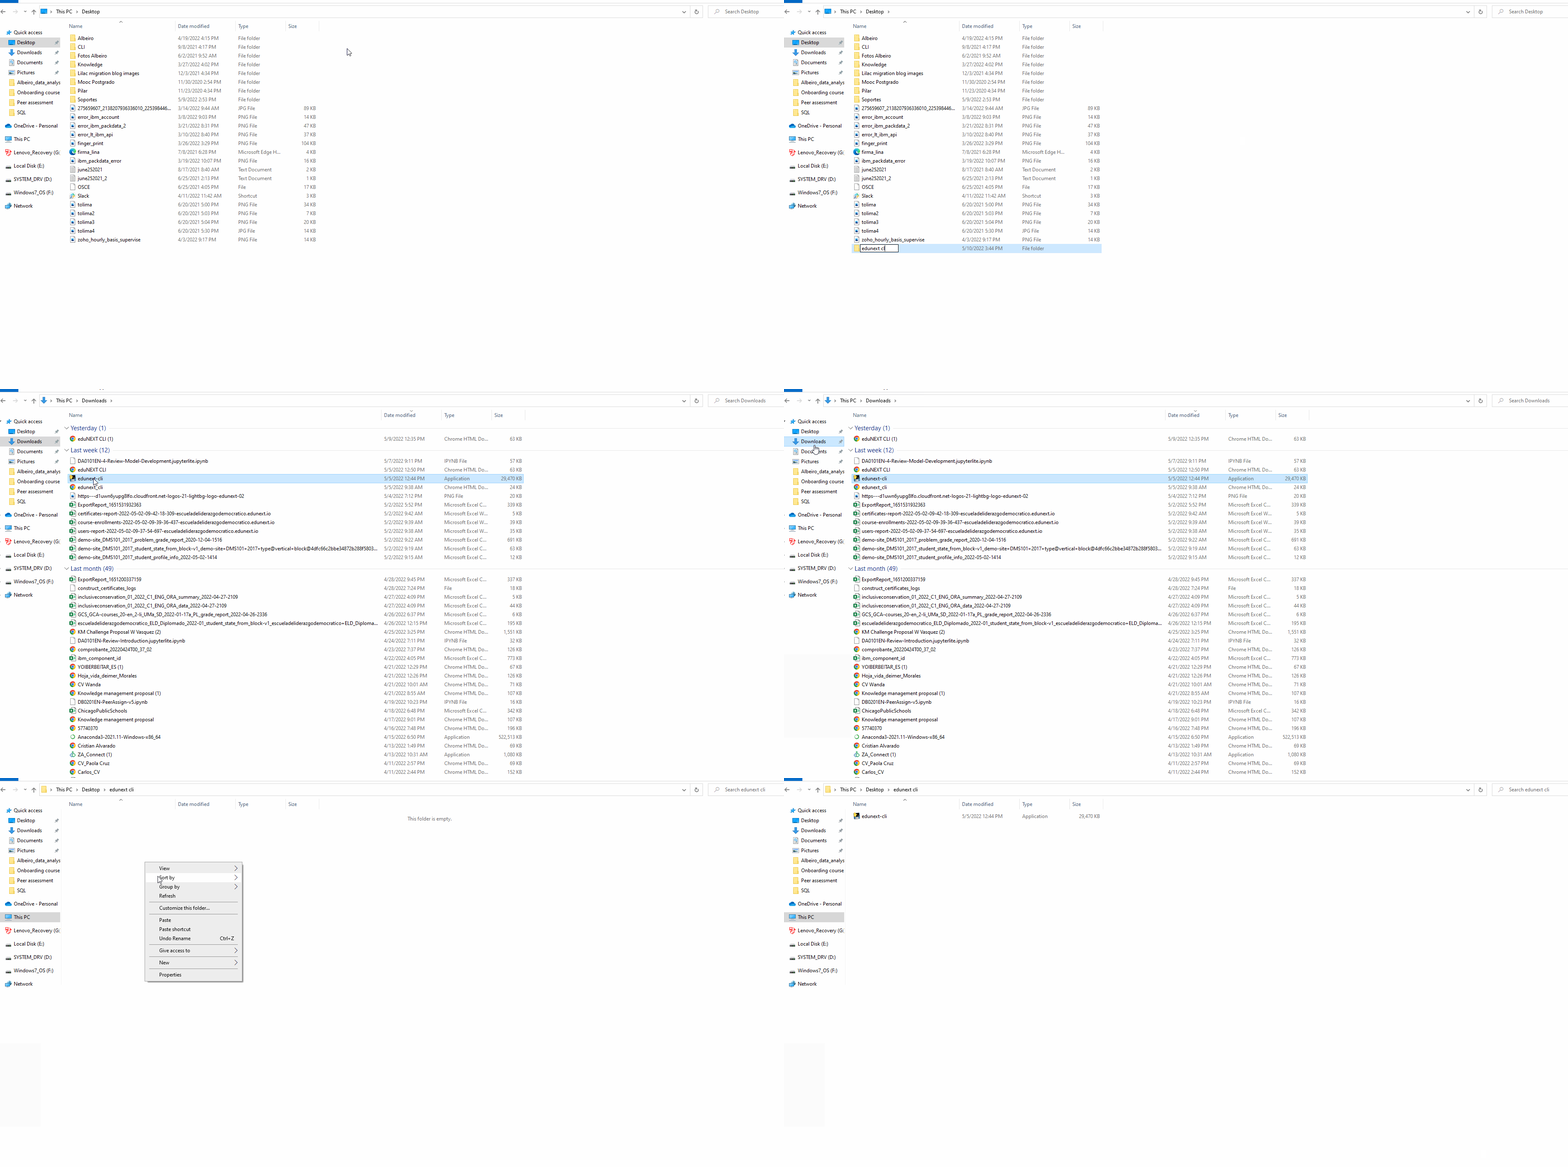
Create a folder and save the downloaded file in the previous step.

saving the CLI file#
Note
Make sure that the file you save is called “edunext-cli.exe”.
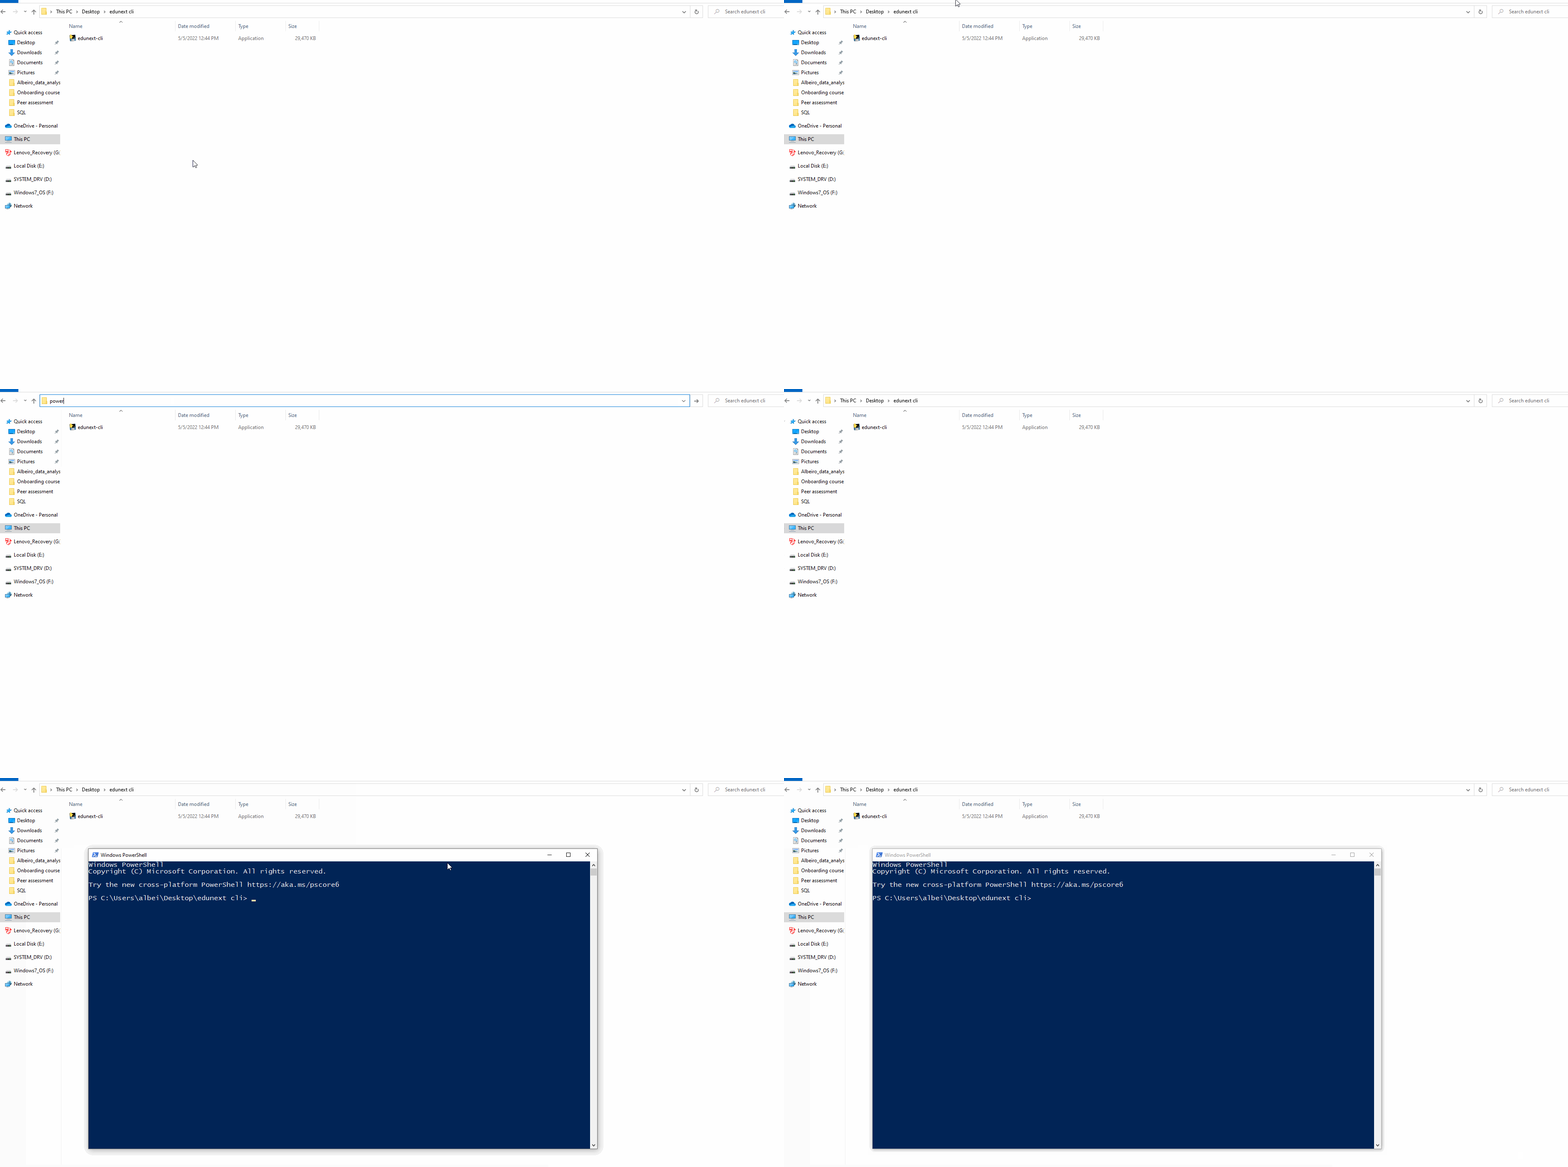
Open windows powershell from the recently created folder.

Open windows powershell#
Note
If you don’ open powershell from the folder, please run the following command to access the CLI
cd <file path>

Now,you can run the CLI commands using the following syntaxis.
.\edunext-cli.exe <your command>
Linux#
Create a folder and save the downloaded file in the previous step.
Note
Make sure that the file you save is called “edunext-cli”.
Open a terminal from the recently created folder.
Make sure the CLI can be executed. Run
chmod u+x edunext-cli
Now,you can run the CLI commands using the following syntaxis.
./edunext-cli <your command>
Commands#
Login#
Using this command you can authenticate with the credentials provided by Edunext. .. code-block:: bash
.edunext-cli.exe login <client_id> <client_secret> <site>
E.g.
.\edunext-cli.exe login pfPXyIhXXXXXXXXXXBRQrJsMSIQEilrOzvxdhEvJ bh1B84DgcIrF4fUT6NWX4OdN7vsVePF2JC7a7I96QyspGkiTDQahBGLOQtXcE7zzzzxxxxxXXXXXZZZZMkXXTwWVeU4oE9qEGNuvR6ddTyBdyovKf75vBT3KQfSZuMLp https://lms.rancher-atlas.edunextstage.net/
Note
Make sure https:// is included in the URL.
Logout#
Using this command, you can terminate your session
.\edunext-cli.exe logout

Whoami#
Using this command, you can see the information of the user that’s currently logged in.
.\edunext-cli.exe whoami

Site#
This command shows the LMS site where the user is authenticated
.\edunext-cli.exe site

Token#
This command shows the token used in the requestes made while using the CLI.
.\edunext-cli.exe token

Register-user#
This command enables you to register users to your LMS site. Once the command is executed, you will have to fill out the user information (username, email, full name, password).
.\edunext-cli.exe register-user

Note
You need to enter each datum at at time
Enroll-user#
Using this command it is possible to enroll users into an Open edX course. To execute the command, first, we must provide, as an argument, the field type that we will use to reference the user (email or username). Once the command is run, the following information will be required
Email or username
Course_id
Mode
.\edunext-cli.exe enroll-user email
.\edunext-cli.exe enroll-user username

Note
You need to enter each datum at at time
Remove-user#
Using this command it is possible to remove users from an Open edX LMS site. To execute the command, first, we must provide, as an argument, the field type that we will use to reference the user (email or username). Once the command is run, the following information will be required
Email or username
.\edunext-cli.exe remove-user email
.\edunext-cli.exe remove-user username

Batch or massive operations#
The commands register-user, enroll-use, and remove-user can be executed to perform the operations described above for multiple users.
In this case, the commands should be run using the flag �batch. The command will request for a file name. To know the correct template of the file to upload, please run any of the following commands according to your use case. Once the command is executed, the sample file will be saved in the same folder where you saved the CLI.
.\edunext-cli.exe register-user --template
    .\edunext-cli.exe enroll-user --template
    .\edunext-cli.exe remove-user --template

To perform bacth operations, use any of the following commands according to the required process.
.\edunext-cli.exe register-user --batch
    .\edunext-cli.exe enroll-user --batch
    .\edunext-cli.exe remove-user --batch
Once the command is run, a file will be generated <original file>-output that will contain two additional columns(status, response)with the result of the process execution for each row.
