How to Configure Course Certificates
Contents
How to Configure Course Certificates#
This article provides information and guidance on how to configure course certificates in an Open edX course.
Course Certificate Overview#
Course administrators can choose to generate certificates for learners who pass a course.
Learners can view, print, or share their certificates.
To enable course certificates on your instance of Open edX, you must enable the honor mode for your Open edX course in both Studio and the Learning Management System (LMS) and complete the configuration tasks described in this topic.
Working with Certificates
Here are a few things to consider when working with certificates.
Specify a course title to use of the certificate if the course`s official title is too long to be displayed well.
For verified certificates, specify between one and four signatories and upload the associated images.
To edit of delete a certificate before it is activated, hover over the top right corner of the form and select Edit or the delete icon.
To view a sample certificate, choose a course mode and select Preview Certificate.
There are four types of course modes or enrollment tracks. Below, you will find an explanation of the course modes used in Open edX courses.
Course Modes and Descriptions
- Audit: When a learner enrolls in the course for free, does not have the right to opt for a certificate.
Note
“Audit” is the course mode set by default in all new courses which is the reason why at first you are not able to configure certificates for your course.
- Honor: This is a course mode used in cases where you need your learner to enroll in a course for free and still have the right to get a certificate when passing the course.
Note
The course mode is called “Honor” because it dates back to the time edx.org offered certificates to non-paying users and there was no way to assure that the user in the certificate was the one that truly took the course and the exams. The certificates with this course mode rely on the learner compliance of the “honor code”.
- No-id-professional: This is used when the course is only paid, but there is no ID verification.
Note
This mode requires activating the e-commerce module for the site.
- Verified: This is a course mode designed for the case where the learner enrolls in the course for free but eventually has to pay to get a certificate.
Note
This mode requires enabling the e-commerce module for the site as well as an id verification process.
The way edx.org works is unique and its verification procedure is not available to anyone else. Based on this, we have simplified the verification process to have courses free with an upgrade option. In the simple verification procedure, the user may get to upload their id photo and may have to take a webcam picture.
However, there is not a real verification process that confirms that the data in the images match.
Let`s begin to configure your certificate.
Enable the Course Certificate Honor Mode in Studio#
To enable the course certificate honor mode, complete the following steps in Studio.
Go to Studio > Settings > Certificates.
Note
The button on the certificate`s page will enable the honor mode for the Open edX course. If your LMS site is integrated with e-commerce, the process is different, and this first step has to be done by the eduNEXT customer support team.
Select Enable Honor Mode.
Note
In the Open edX jargon, a “course mode” is the specific track or enrollment status that one learner can have in a particular course. This record mainly affects the way the certificate and e-commerce work.
Create the Certificate in Studio#
To create your certificate, you will need to fill out the information form in Studio.
Go to Studio > Settings > Certificates.
Select Set up your certificate.
Enter your information in the following fields:
Course title override.
Signatures:
Name for the Certificate signatures (the person who signs and approves the certificate).
The title for the signatures of the certificates (position).
Organization.
An image file in PNG format which contains the signature(the current template supports up to 4 signatures).
Return to How to Configure Course Certificates
Enable and Configure the HTML Properties for Course Certificates#
To enable HTML properties for a course certification, you will need to configure the HTML properties in Studio.
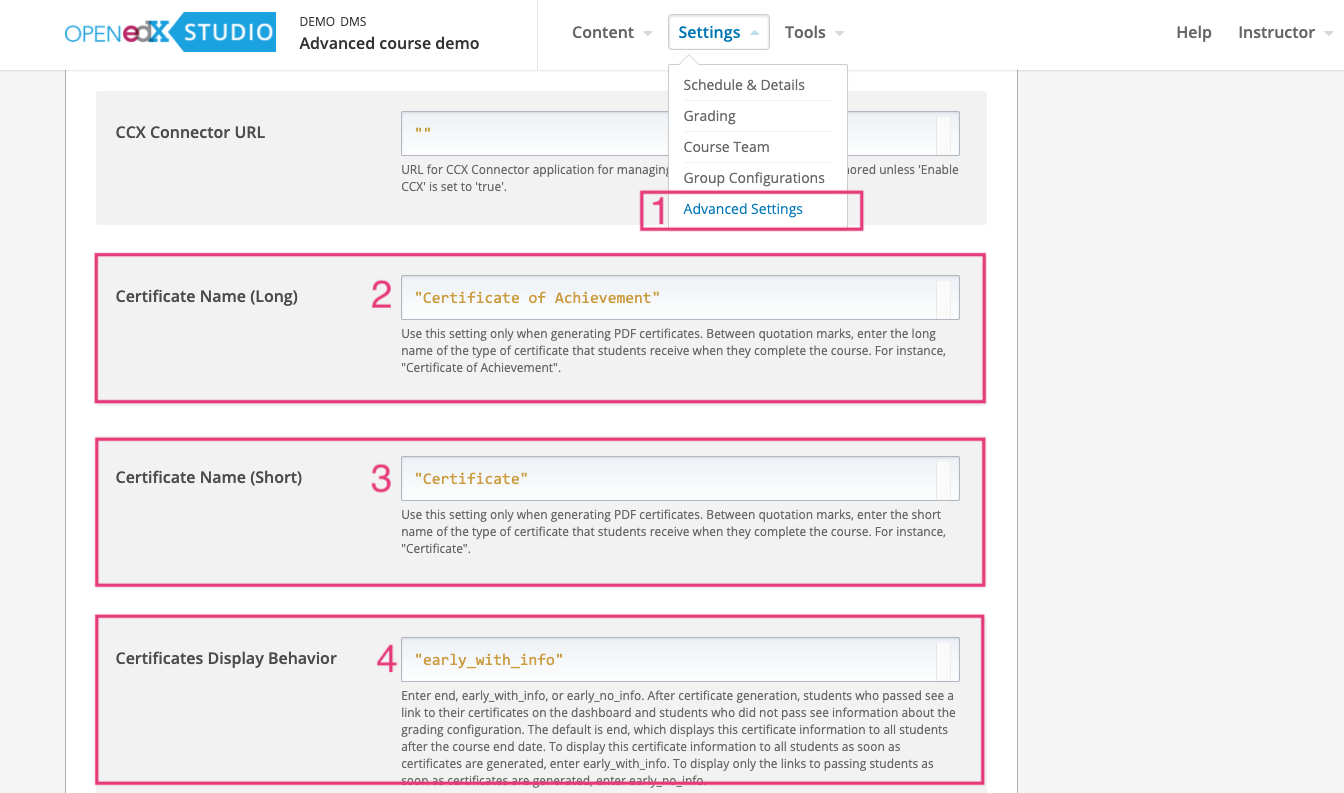
Go to Studio > Settings > select Advanced settings.
Set the following properties:
Certificate Name (Long) : Enter “long name of your choice for the certificate”.
Certificate Name (Short) : Enter “short name of your choice for the certificate”.
Certificates Display Behavior: Enter “early_no_info”, “early_with_info” or “end” depending on the desired behavior. (We recommend using early_no_info which is the option that allows learners getting certificates at their own pace).
Activate Your Certificate#
Once you have created the certificate in Studio, you must select the Activate button on the upper right corner to make it available for learners.
Preview Your Certificate#
Note
To be able to see the certificate preview, it is necessary to be logged in to the LMS platform.
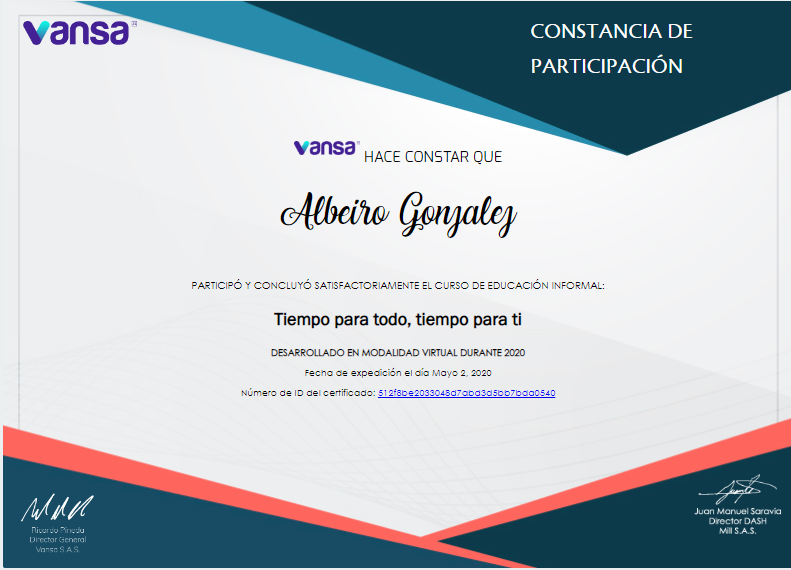
You can use the Preview Certificate option to see how your certificate looks so far. This option can be useful to verify that the configuration for the certificate is correct. At first, it might seem simple and without an established style.
To customize your certificate, go to Customize Your Certificates’ Variables for more information.
Return to How to Configure Course Certificates
Customize Your Certificates’ Variables#
Now, you can customize some variables of the certificate according to your specific needs.
Go to Settings > Advanced settings > Certificate to see Web/HTML view overrides.
You may choose from one of three options to customize your certificate.
Simple Certificate Configuration String (template). This option uses a JSON string that overrides the certificate’s template.
Customize Your Own JSON String. This option allows you to build your own configuration string in JSON format.
Customize Your Background Image on Your Certificate. This option allows you to use your own custom-designed image.
Simple Certificate Configuration String (template)#
The following example is the simplest certificate configuration string you can build. The JSON string produces, as a result, a template like the one below, and all you will need to do is to replace the captions and URLs for your own.
{
  "document_title": "CERTIFICATE",
  "certificate_logo_large": "https://via.placeholder.com/350x150" ,
  "certificate_description": "This caption goes first above the learner`s name",
  "accomplishment_copy_description_full": "This caption goes below the learner`s name",
  "accomplishment_copy_course_description": "This caption goes below the course name",
  "course_number": " ",
  "course_number_separator": " ",
  "logo_src": "https://via.placeholder.com/100x50",
  "logo_url": "https://YOURLMSDOMAIN.com"
}
Customize Your Own JSON String#
If you require extra customizations for the certificate, you can build your own configuration string in a JSON format by using any of the variables listed and exemplified below:
{
  "certificate_logo_large" : "https://mydomain.com/mylogo.jpg",
  "certificate_url_large" : "https://mydomain.com/",
  "certificate_logo_large_alt" : "Alternative text",
  "logo_url": "http://mydomain.com/",
  "logo_subtitle": "logo_subtitle_overwritten",
  "accomplishment_banner_opening": "accomplishment_banner_opening_overwritten",
  "accomplishment_banner_congrats": "accomplishment_banner_congrats_overwritten",
  "document_banner": "document_banner_overwritten",
  "document_title": "document_title_overwritten",
  "certificate_description": "certificate_description_overwritten",
  "accomplishment_copy_name": "accomplishment_copy_name_overwritten",
  "accomplishment_copy_description_full":
  "accomplishment_copy_description_full_overwritten",
  "accomplishment_copy_course_org": "accomplishment_copy_course_org_overwritten",
  "course_number": "course_number_overwritten",
  "course_number_separator": "course_number_separator_overwritten",
  "accomplishment_copy_course_name": "accomplishment_copy_course_name_overwritten",
  "accomplishment_copy_course_description":
  "accomplishment_copy_course_description_overwritten",
  "accomplishment_copy_more_about": "accomplishment_copy_more_about_overwritten",
  "logo_src": "http://mydomain.com/mylogo.jpg",
  "recipient_img_override": "recipient_img_override_overwritten",
  "accomplishment_copy_username": "accomplishment_copy_username_overwritten",
  "accomplishment_copy_separator": "accomplishment_copy_separator_overwritten",
  "platform_name": "platform_name_overwritten",
  "certificate_id_number_title": "certificate_id_number_title_overwritten",
  "certificate_id_number": "certificate_id_number_overwritten",
  "certificate_id_number_separator": "certificate_id_number_separator_overwritten",
  "certificate_date_issued_title": "certificate_date_issued_title_overwritten",
  "certificate_date_issued": "certificate_date_issued_overwritten",
  "company_about_title": "company_about_title_overwritten",
  "company_about_description": "company_about_description_overwritten",
  "company_about_urltext": "company_about_urltext_overwritten",
  "company_about_url": "https://mydomain.com/about",
  "accomplishment_copy_about": "accomplishment_copy_about_overwritten",
  "certificate_info_description": "certificate_info_description_overwritten",
  "company_honor_url": "https://mydomain.com/honor",
  "company_honor_urltext": "Code of honor",
  "company_tos_url": "https://mydomain.com/tos",
  "company_privacy_url": "https://mydomain.com/privacy",
  "copyright_text": "copyright_text_overwritten",
  "course_number_separator": "course_number_separator_overwritten",
  "accomplishment_copy_separator": "accomplishment_copy_separator_overwritten",
  "certificate_id_number_separator": "certificate_id_number_separator_overwritten",
  "recipient_img_override": "http://mydomain.com/mylogo.jpg"
}
Note
Make sure you reload your certificate preview every time you change your HTML overrides configurations so that you can see how your certificate looks with the applied changes.
Customize Your Background Image on Your Certificate#
Request eduNEXT to activate the simplified certificates template. It is necessary to request eduNEXT for activating the simplified certificates template; you should send us the course ID for that purpose. E.g. course-v1:hawthorn-enero-2019+mill+2019_1
The background image should be 1140 pixels width and 795 pixels high.
You must rest assured that the space intended to show the user`s name matches with your image. The user`s name must be shown in the correct place of your uploaded image. Otherwise, you should adjust your image and upload it again.
Did you know? With eduNEXT you may be able to explore advanced certificate customization options for a fee. Contact Customer Support to learn more. Go to the eduNEXT Control Center (ECC) and open a ticket.
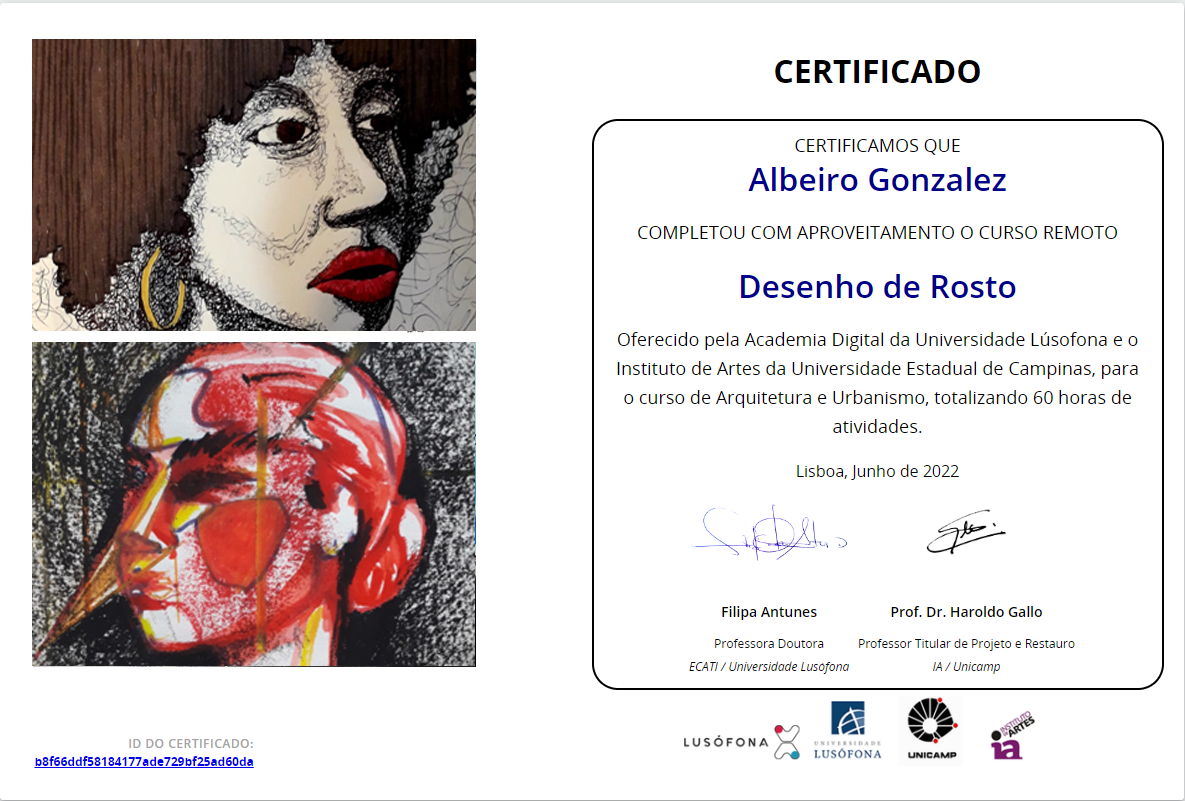
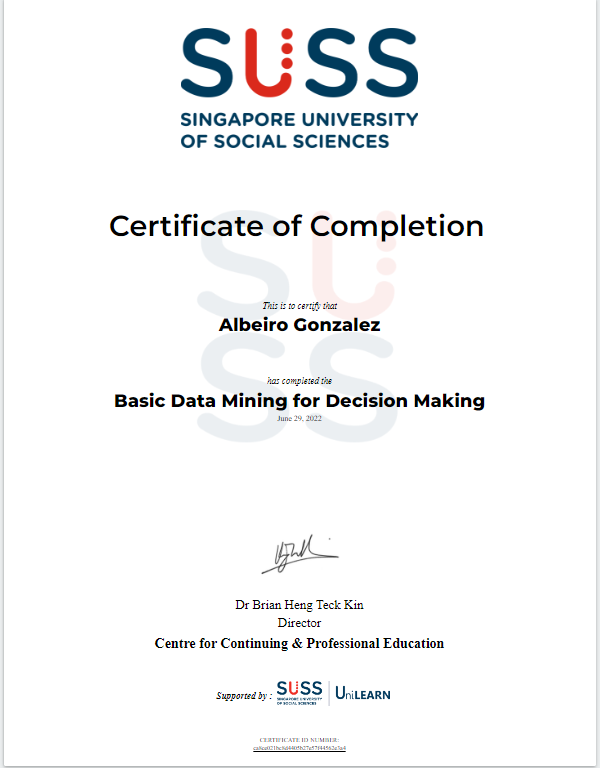
Examples of customized advanced certificates:
Configure How to Issue Learner Certificates#
Note
Issuing certificates to learners must be done from the instructor dashboard in the LMS, and not in Studio. The learners can generate the certificates from the progress tab on the LMS site. Even though instructors can see the progress page of learners, they cannot generate the certificates on behalf of the learners. The learner must log in with its account and get the certificate from the progress page.
The final configuration step is to set how learners will get their certificates.
Go to the course in Studio. You can access it from the My Site panel in the Control Center or by directly going to your course and selecting View it in Studio.
Once you are inside Studio, click on the Settings button, and in the dropdown menu, choose Schedule and Details.
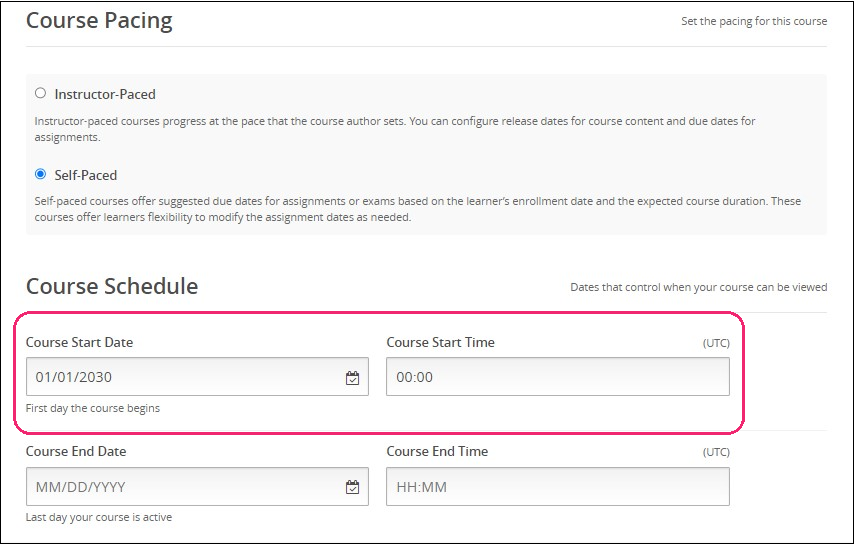
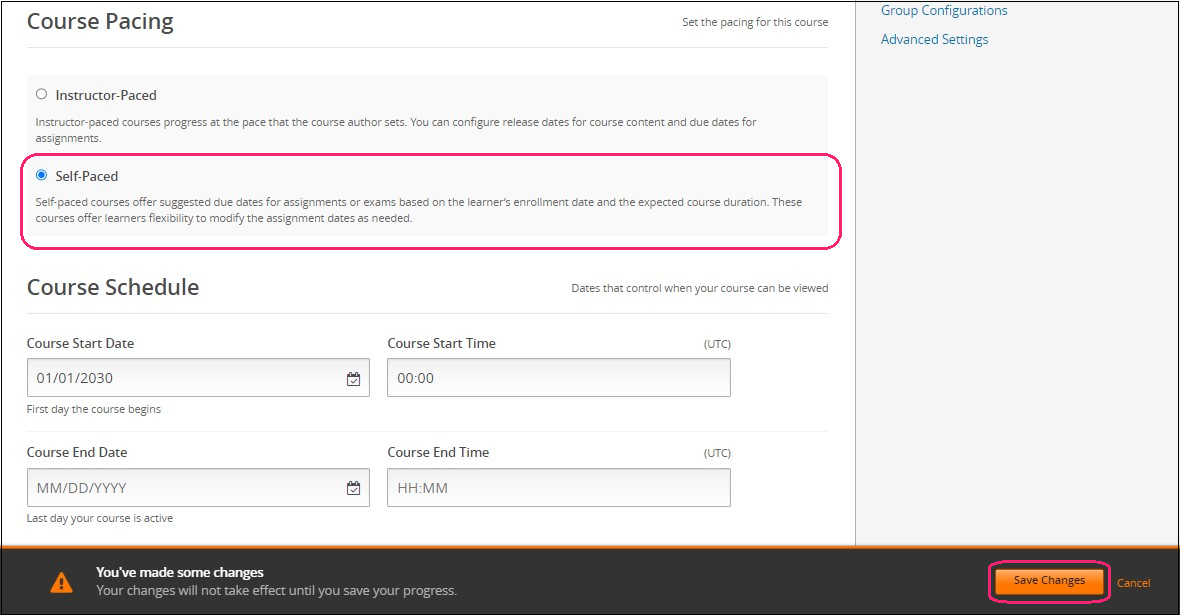
You will find the course pacing module, where two options are available there.
Instructor-paced: Instructor-paced courses are designed to progress according to the timeline established by the course author or instructor. The learner must follow a structured schedule with predetermined release dates for course content and due dates for assignments.
Self-paced: Learners have the freedom to progress through the material at their preferred speed. These courses typically provide suggested due dates for assignments or exams based on the learner’s enrollment date and the expected duration of the course.
Note
Changing the course pacing is impossible once a course has started. If you’d like to make any changes, you can adjust the course’s start date for a later option. This will allow you to make the necessary modifications.
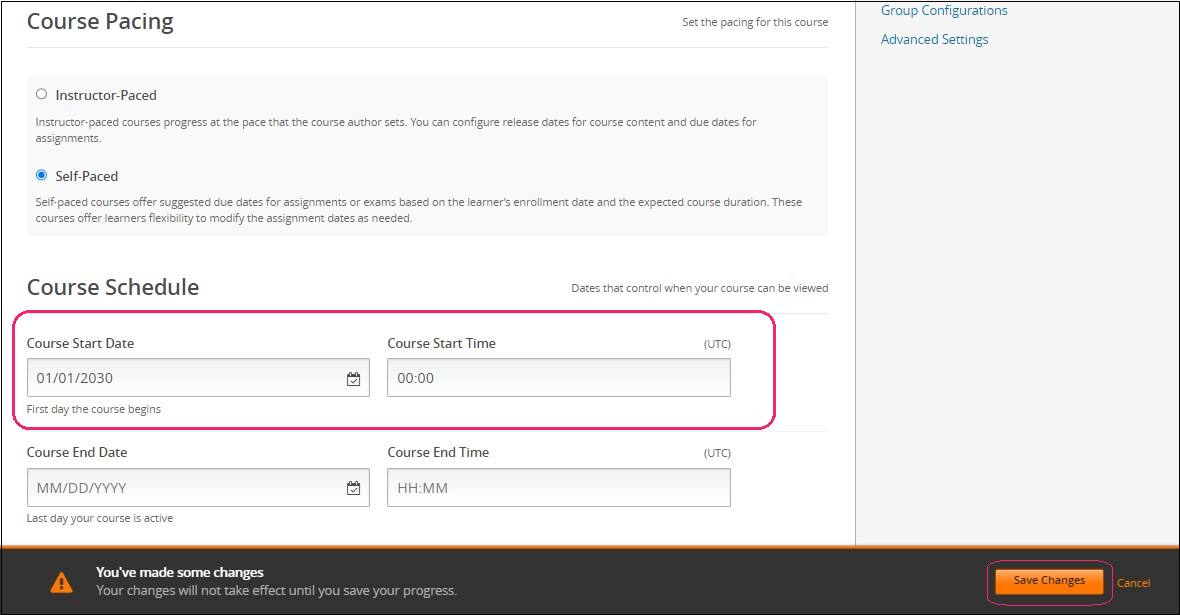
Once the course pacing has been selected, you need to select the type of Certificates Display Behavior found in the Course Schedule module. You can choose between these three options:
Immediately upon passing: Learners can access their certificates when they pass above the course grade threshold. Note: learners can achieve a passing grade before encountering all assignments in some course configurations.
On course end date: Learners with passing grades can access their certificate once the course’s end date has elapsed.
A date after the course end date: Learners with passing grades can access their certificate after your set date has elapsed.
In addition, you must go back to the LMS of the course you are using and select if you would like to disable or enable the certificate generation depending on the previous configuration you selected.
If the course is instructor-paced, you will find two options:
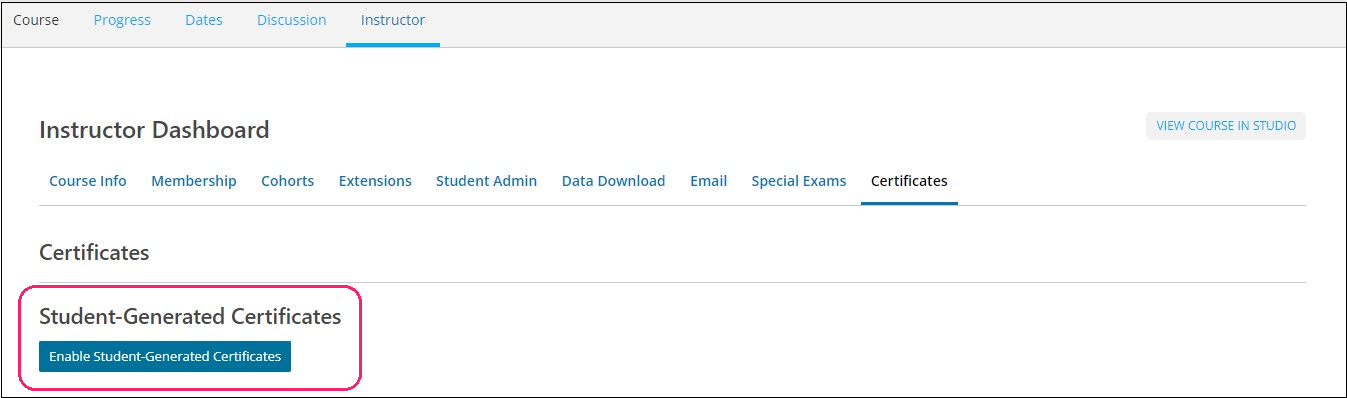
Enable Student-Generated Certificates
To allow your learners to generate the certificates by themselves, you must enable student-generated certificates following these steps:
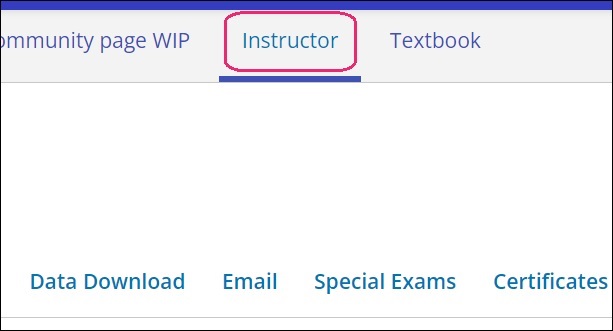
Go to the LMS platform > Instructor tab > Certificates > Student-Generated certificates.
Select Enable Student-Generated Certificates.
Disable the Student-Generated Certificates
If you prefer to have your learners wait until you generate the certificates for all the learners in batch, you will need to disable the Student-generated Certificates, and proceed with the manual generation following these steps:
Go to the LMS platform > Instructor tab > Certificates > Student-Generated certificates.
Select Disable Student-Generated Certificates.
If the course is self-paced, the only option is for learners to generate their certificates once they complete the course. You can configurate this option following these steps:
In Studio, go to Schedule and Details.
Set the start date in the future as if the course has not started yet, and select Save.
Change the course pacing to Instructor paced, and select Save.
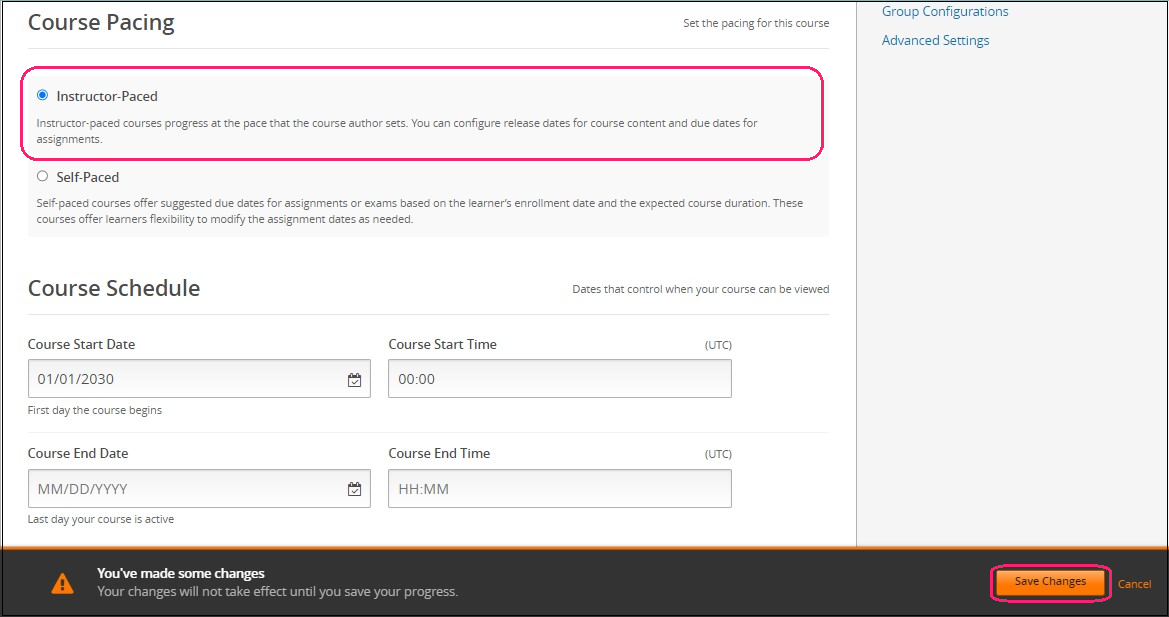
Go to the LMS platform > Instructor > Certificates and enable the auto-generation option, and select Save.
Go back to Studio > Schedule and Details and set the course to self-paced, and select Save.
Change the dates back, and select Save.
Frequently Asked Questions About Certificates#
Why am I getting an error when I try to preview my certificate?
Why do my students not get the certificates when adding exceptions in my verified-mode course?
Why do my students not get the certificates even though they have passed the course?
`How to change student enrollment mode to honor to access certificates?`_
Why am I getting an error when I try to preview my certificate?#
Verify that you are logged into the account. If your user is not logged in, an error 500 is displayed.
Why is the certificate not visible?#
When selecting generate certificate, the platform doesn`t show the view certificate button.
Go to Studio > Settings > Grading policy, and make sure that the grading scale doesn`t have the threshold labels empty. See Course Visibility in the Course Catalog Page for more information.
If all of the information is correct and the problem persists, contact Customer Support. Go to the eduNEXT Control Center (ECC) and open a ticket.
Troubleshooting “There is a problem with this certificate”#
To resolve the problem, your partner manager should verify that the following information is correct. -The institution`s logo. -The institution that is linked to the course. -The course information in the Course Administration tool.
If all of the information is correct and the problem persists, contact Customer Support.
Note
The following is a short list of potential reasons why an error may occur.
The course has the option to generate open badges activated in the advanced properties and that is not properly configured inside.
The template has a variable that is not received by the json object in advanced settings. Contact Customer Support. Go to the eduNEXT Control Center (ECC) and open a ticket.
The instructor users has not logged in to the LMS.
Why do my students not get the certificates when adding exceptions in my verified-mode course?#
Since the course was configured to grant certificates upon payment, we must assign the verified mode for students that need to get the certificates as an exception. Contact support.
Why do my students not get the certificates even though they have passed the course?#
There is a setting in Studio on the advanced settings page called “course not graded” that might be set in “True”.
Go to Studio > Advanced Settings > change “True” to False.
Select Save.
How do I activate users?#
To activate users, you may need to manually activate user accounts from the eduNEXT Control Center (ECC). See Manual User Activation for additional information and instructions on how to activate a user.
See also
Here are some related topics that may interest you: Configure Multi Course Program, and Manage Certificates.
Return to How to Configure Course Certificates
How to Change Student Enrollment Mode to Honor to Access Certificates#
Changing the enrollment mode of your students to honor, allow them to access their course certificates. Please note that this method only works when changing the enrollment mode from any other mode (such as audit or no-id professional) to honor. It will not work if you are trying to switch to a different mode.
Steps to Change the Enrollment Mode to Honor:
Navigate to the Instructor Tab: Go to the course where you want to update the student’s enrollment. Once in the course, click on the Instructor tab.
Go to Membership: Under the Instructor tab, locate the Membership section. Here, find the student whose enrollment mode you wish to change. Enter email addresses and/or usernames you want to unenroll, click on the option to Unenroll the user from the course.

Note
Keep the “Autoenroll” and “Notify users by email” options unchecked to avoid sending notifications when unenrolling users.
Set the Course Mode to Honor: Go to the course settings and make sure the course is set to honor mode.
Note
Follow the steps outlined in the documentation to set your course to honor mode if you have not done this yet
Re-enroll the Student: Once you have ensured that the course is now in honor mode, return to the Membership section. Re-enroll the student in the course, but make sure to uncheck the option to notify the user.
By following these steps, you can successfully update your student’s enrollment to honor mode, ensuring they have access to their certificate without losing any progress in the course.