Third-party Authentication Functionality for SAML Protocol. Customer Guide.
Contents
Third-party Authentication Functionality for SAML Protocol. Customer Guide.#
The identity federation standard Security Assertion Markup Language (SAML) 2.0 enables the secure exchange of user authentication data between web applications and identity service providers.
When you use the SAML 2.0 protocol to enable single sign-on (SSO), security tokens containing assertions pass information about an end-user (principal) between a SAML authority - an identity provider (IdP), and a SAML consumer - a service provider (SP).
In this case, your system will act as the IdP and the LMS will act as the SP.
Integration Requisites
It is required to have your LMS site in a domain of your own.
Enhanced or advanced subscription with the functionality of third-party authentication enabled.
Configuring the Third-party Authentication Functionality for the SAML Protocol#
Here are the processes that must be completed in order to configure the third-party authentication functionality for the SAML protocol to work appropriately.
Note
The Customer will complete steps 2-5 in order to enable SAML, and configure the information needed to complete the process.
Edunext will publish the metadata for the LMS service#
Submit a request via Control Center to Customer Support requesting the SAML configuration. Please provide the metadata information on your end to us in that request.
You will be able to find it at:
https://<your.lms.site>/auth/saml/metadata.xml
Publish the Metadata for the Identify Provider Service#
You will need to enable SAML for your domain using a provider, such as:
Okta,
Oracle Identity Federation, or other provider.
Once your SAML is enabled, find the URL location of your metadata, and document it. You will need to send this information to Edunext later, see Provide Edunext with metadata URL and test user credentials.
Configure the Profile Fields Sent Over the SAML assertion#
When you enable your SAML provider, you can configure what information from each user is shared with the service provider. For us to correctly configure the LMS service with the SSO, we need the following fields.
Mandatory Fields:
Email Attribute
User ID Attribute (a unique identifier for each user, if not provided, the email would be used instead)
Additional Recommended Fields:
Username Hint Attribute (This is a suggestion for when the user is first created. The user may be able to change it.)
Full Name Attribute (In case this is not provided, the user will have to enter it.)
Optional Fields:
First Name Attribute
Last Name Attribute
Prepare a Valid Test User for Edunext#
Once you enable SAML, our support personnel will have to run some final configurations on our side. For this, we need to be able to test your provider. Please create a user for us. If we can create it ourselves, let us know how to.
When filling out the profile of the test user on your side, please fill in the complete profile as you would with one of your regular users.
Email:         support+organizationname@edunext.co
Username:      edunext_support_organizationname
First name:    fn_edunext organizationname
Last name:     ln_support organizationname
Full name:     n_edunext_support organizationname
Note
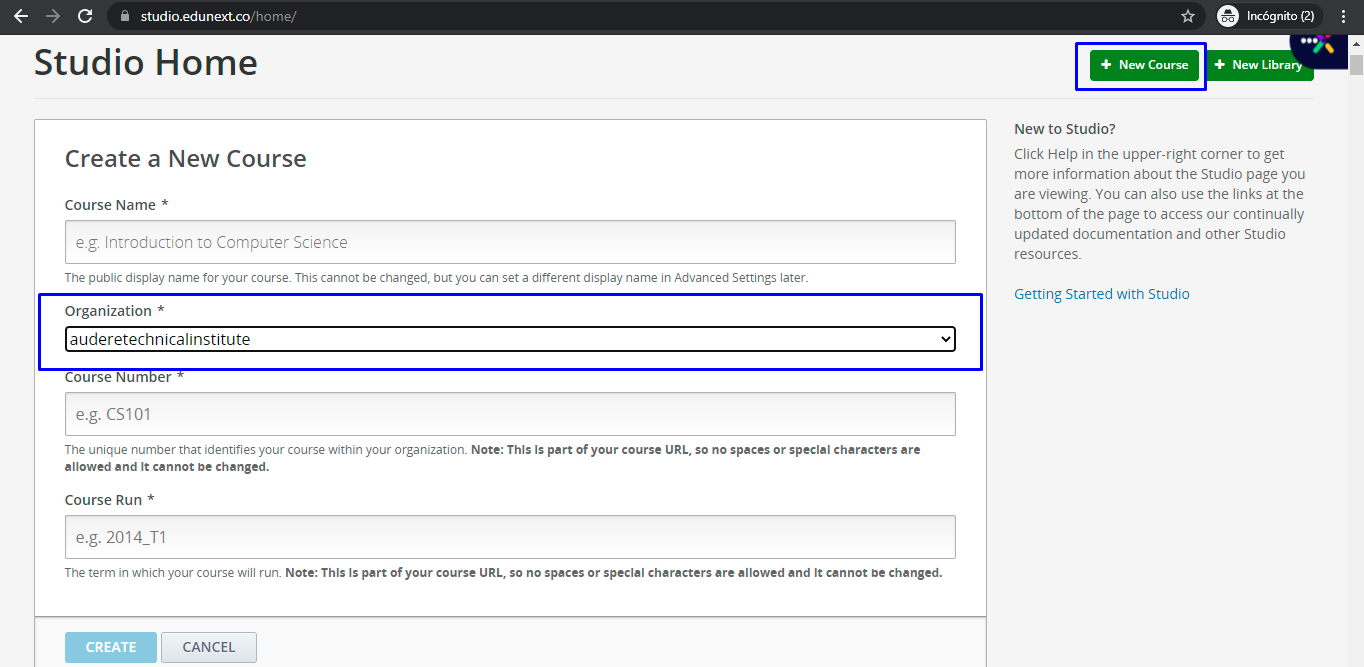
The organization name is the record you select when creating a new course for your LMS site.
We also kindly ask you not to delete this user. We will use it from time to time to solve support tickets that you might send us in regard to authentication. Also, we use it to test that your SSO is working correctly when we do updates to the underlying tech of our service.
Provide Edunext with Metadata URL and Test User Credentials#
After you have completed steps 2, 3, and 4, please send the metadata URL and the credentials for the test user to the eduNEXT customer support team > Customer Support > Submit a Ticket.
Once we receive the requested information, we can complete the SSO integration.