What is an Annotation XBlock?
Contents
What is an Annotation XBlock?#
In an annotation problem, you highlight specific text inside a larger text block and then ask questions about that text. The questions appear when learners move their cursors over the highlighted text. The questions also appear in a section below the text block, along with space for learners’ responses.
What are the benefits of using Annotation XBlock?#
Annotations provides multiple means of representation to give learners various ways of acquiring information and knowledge.
Facilitates the monitoring of quality and level of engagement of an individual, groups, and of the entire student population.
Allows multiple means of engagement to capture learners’ interests, present suitable challenges, and motivate them to learn.
Fosters crowdsourcing to enhance learning though collaborative research.
How to implement an Annotation XBlock?#
- Step 1:
Go to Studio. Remember, you can access it through the link in your ECC account or by going to studio.edunext.co and signing in with your email and password.
- Step 2:
Open the course where you will add the Annotation XBlock.
- Step 3:
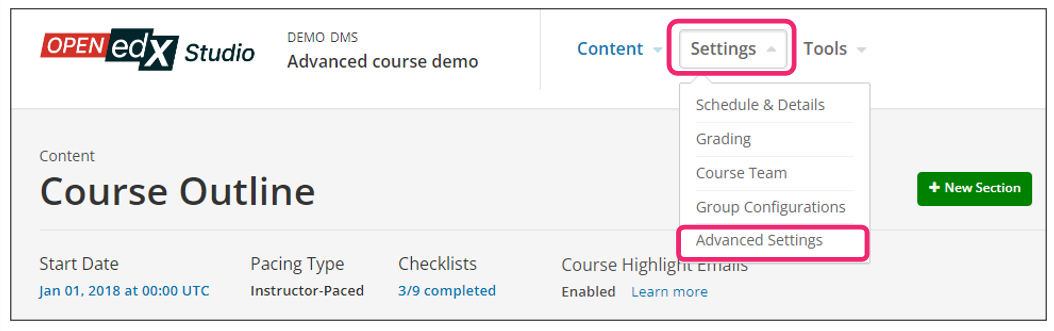
Click on the Settings tab and select the Advanced Settings option.
- Step 4:
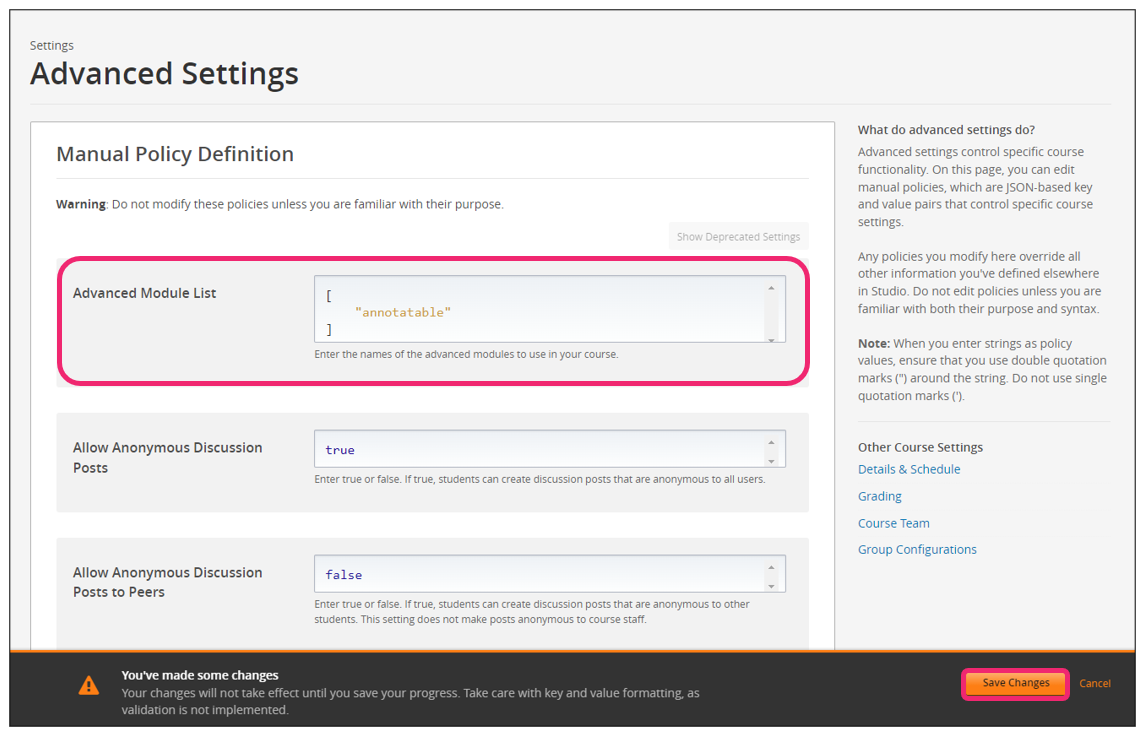
In the section Advanced Module List, add
annotatablebetween the square brackets.[ "annotatable" ]
Note
Add the XBlock command with an indented space without any space before or after quotation marks, as shown in the example above, to avoid execution errors.
- Step 5:
At the bottom of the screen, click on Save Changes.
- Step 6:
After this, the XBlock should be available, so click the Content tab and select the Outline option to get back to the course content.

- Step 7:
Under Outline, go to the section, then the subsection, and finally to the unit or page where you want to add the Annotation XBlock.
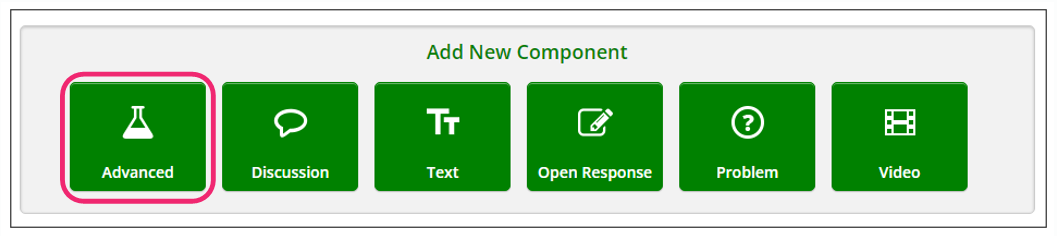
- Step 8:
Once you are there, click Advanced Component in the Add New Component bar.
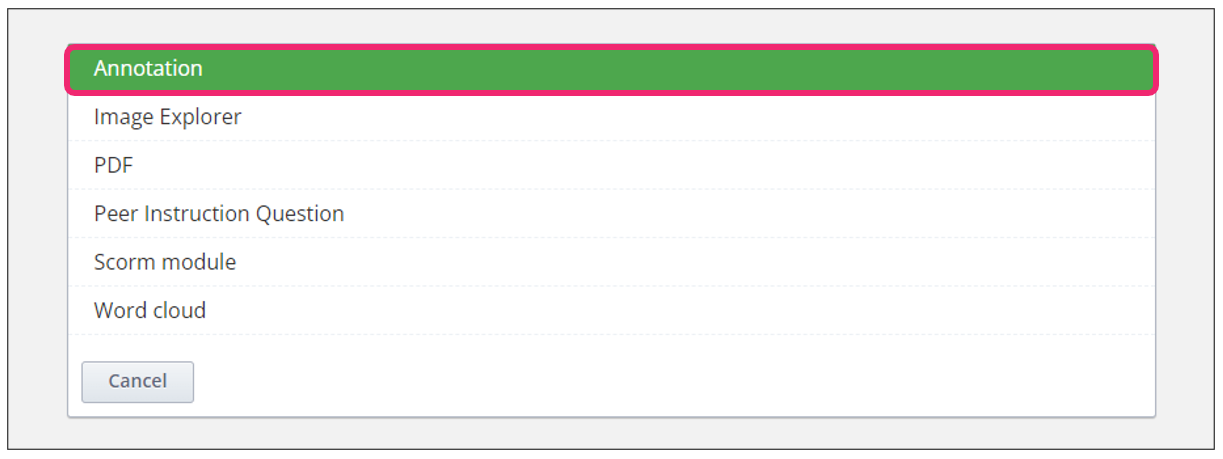
- Step 9:
You will see a list of all the advanced components added to your course. Click on Annotation. The system will add the component immediately to the unit.
- Step 10:
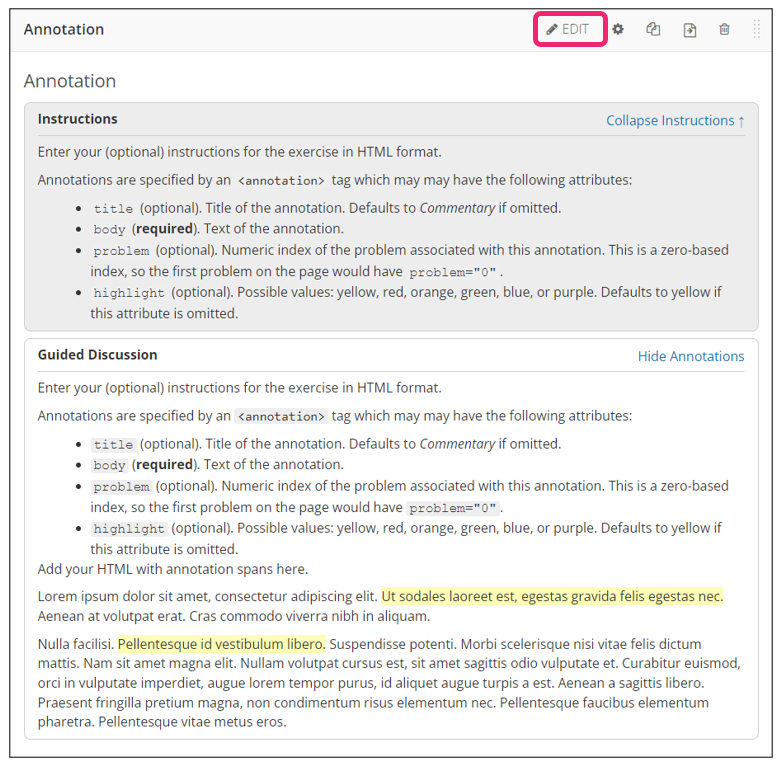
Add the Instructions and Guided Discussion segments of the problem, and then the Annotation problem segment of the problem.
To start the process, click the Edit button on the upper right corner of the new component.
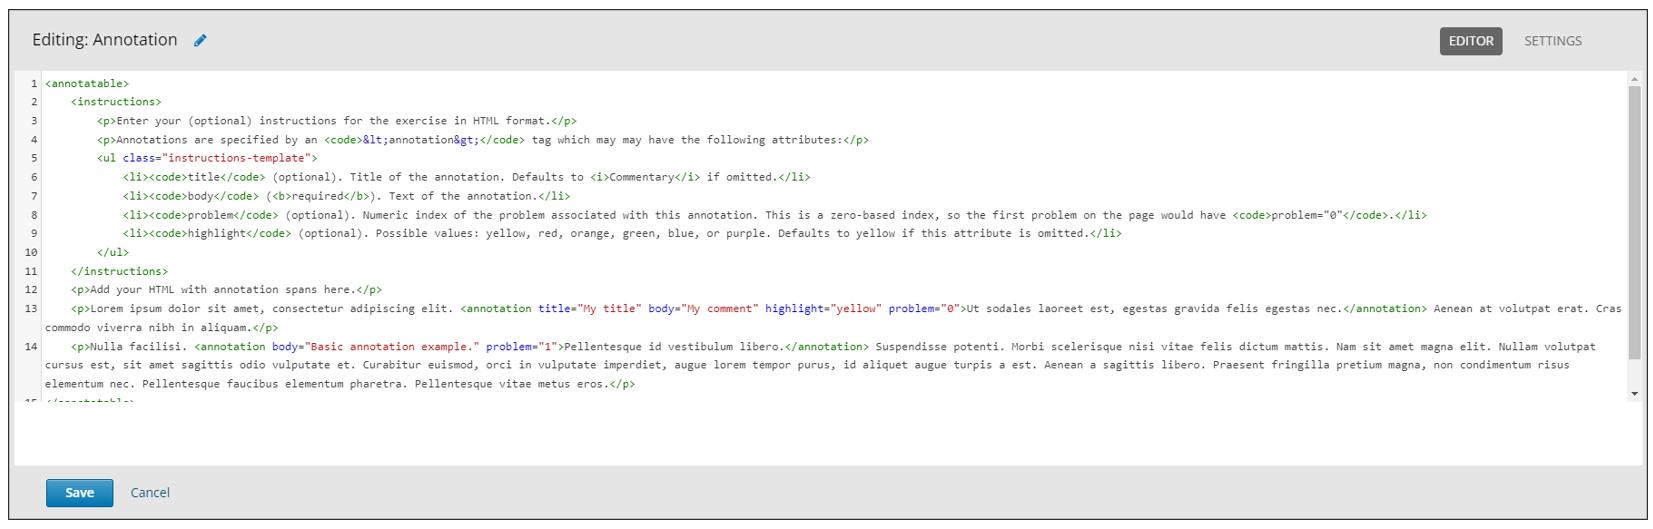
- Step 11:
The editor window is going to open. In the component editor, replace the example code with your own code in order to add the Instructions and Guided Discussion.
- Step 12:
Add the Annotation problem segment. For more information on this step, refer to this article.
- Step 13:
Finish the configuration of the component and click on the Save button.
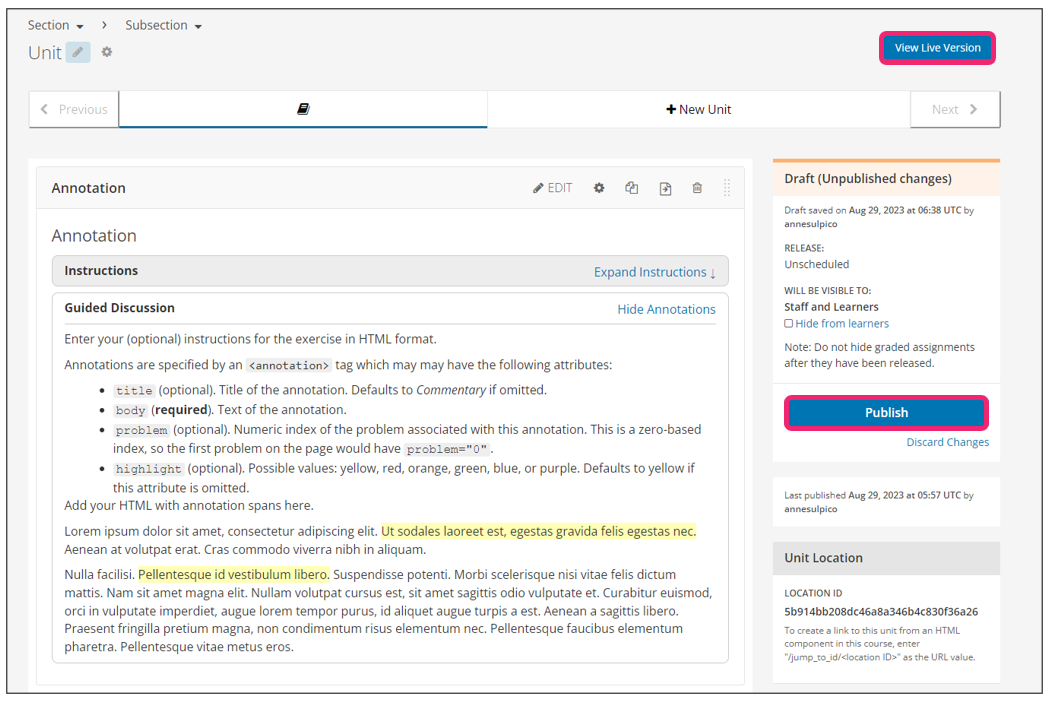
- Step 14:
Publish the unit and check how your new component looks on its final version by clicking the View Live Version button.
See also
This is also documented in the official Open edX documentation.
See also
You may also visit our demo site where you can find various examples of the use of the Annotation XBlock.