Add a Grading Configuration to the Course
Contents
Add a Grading Configuration to the Course#
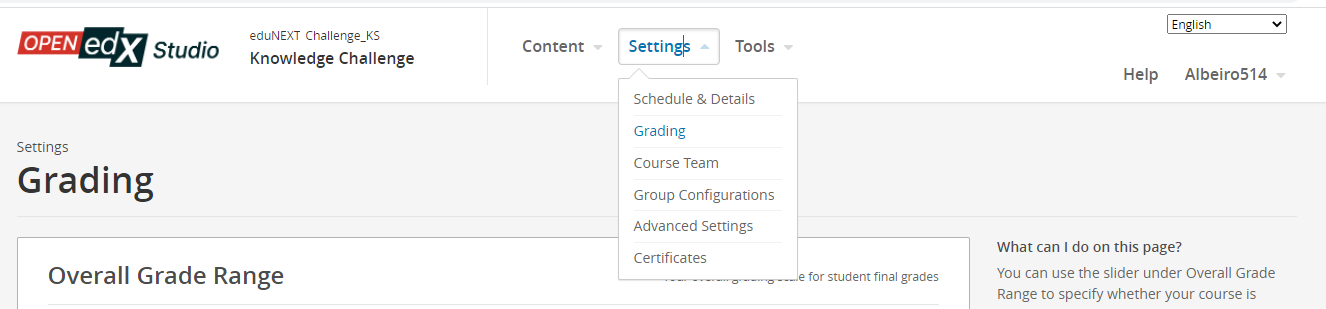
You can establish a grading policy for your course to determine how users pass the course. To configure the grading policy for your course, go to Studio-Settings-Grading.
See also
For the official documentation on this subject, see Establishing a Grading Policy For Your Course.
Establish the Passing Grade#
You can use the grade range to determine the passing grade for your course. Drag the grade range according to your needs.
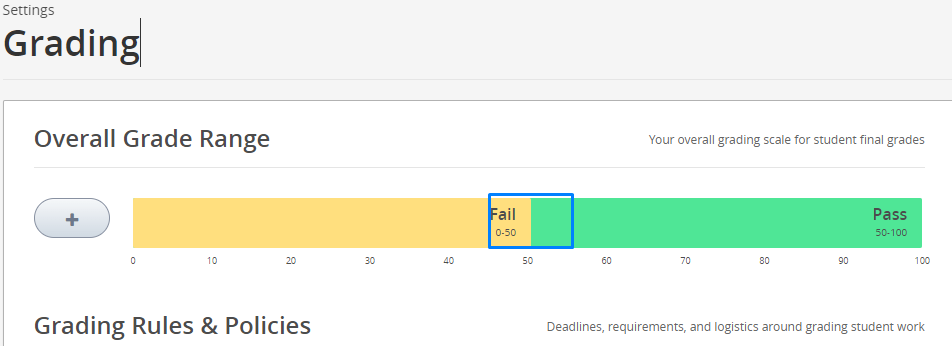
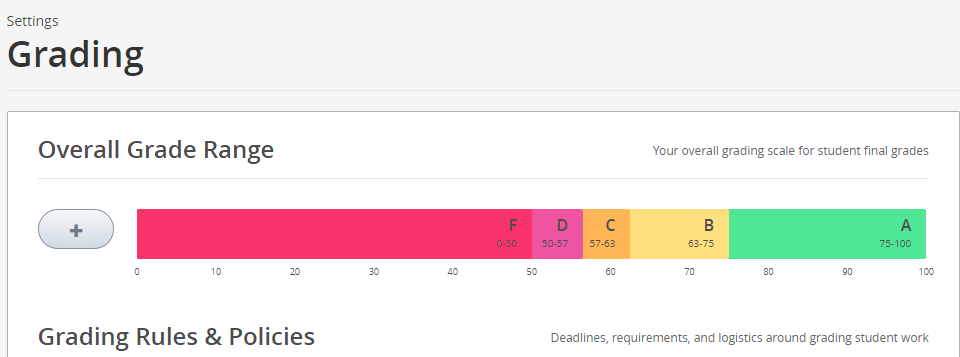
You can also add additional grades in the range.
The new grades are added to the range between the existing grades. For example, if you add a grade in the default setting, the grade range changes to F (0 to 50), B (50 to 75), and A (75 to 100):
It’s possible to change the names of the grades. You can use a fail-pass structure instead of F to A. To change the name of the grade, select the current name of the grade and start typing the name of the new grade. For example, if the original name of the grade is “Pass”, you can select “Pass” and then type “Excellent” to replace the name.
You cannot change F or Fail.
To change the score range, move the cursor over the line dividing two grades and then select and drag the line left or right. You can see the range numbers of the two grades adjacent to the line change. Unselect the line when it is where you want it.
To remove a grade, move the cursor so that it is over the grade. A remove link appears above the grade. Select the link. You cannot remove F or A.
After you make any changes to the grade range, you must select Save Changes at the bottom of the page.
Grace Period#
You can set a grace period that extends assignment due dates for your learners. The grace period applies to the whole course; you cannot set different grace periods for individual assignments.
On the Grading page, under Grading Rules & Policies, enter a value in the Grace Period on Deadline field. Enter the value in HH:MM format.
Note
The grace period setting does not apply to the following assignments and exams.
Timed exams. For more information visit the following: article ‘learners more time for a exam’
Proctored exams.
Open Response Assessments. For more information visit the following: article ‘pa specify name and dates’
Configure the Assignment Types#
The grading policy in Open edX works in the following way. There are several subsections with gradable problems in them, each of those components will send a grade to the course subsection. These grades will be calculated to represent the weight configured for the assignment type (linked to the subsection) in the grading policy toward the final grade.
Let’s review it in more detail.
Assignment Type Name:The general category of the assignment. This name will be visible to learners.
E.g. Homework, Lab, Exam, etc.
Note
All assignments of a particular type count the same toward the weight of that category. For example, a homework assignment that contains 10 problem components in the subsection linked to it, is worth the same percentage of a student’s grade as a homework assignment that contains 20 problems.
Abbreviation: This is the short name that appears next to an assignment on a learner’s Progress tab.
Weight of Total Grade:The assignments of this type together(all the subsections linked to this assignment type) account for the percent value set in the Weight of Total Grade.
The total weight of all assignment types must equal 100.
Note
Do not include the percent sign (%) in this field.
Total Number:The total number of subsections in your course that contain problems of this assignment type.
Number of Droppable: You can configure the grading policy to discard the lowest scores in the subsections linked to the assignment type. The number of assignments of this type that the grader will drop. The grader will drop the lowest-scored assignments first.
Linking Assignment Types and Course Subsections#
Once you have configured the assignment types, you can link those to the course subsections.
You can set assignment types and due dates at the subsection level only. You cannot set assignment types or due dates for entire sections or for individual units within subsections. Additionally, you can designate a subsection as one, and only one, of the assignment types you configured.
For example, If you want to create a homework assignment and a lab for a specific topic, create two subsections. Set one subsection as the Homework assignment type and the other as the Lab assignment type. Both subsections can contain other content as well as the actual homework or lab problems.
E.g.
Link assignment types to the course subsections#
The subsection level is also where you specify whether you want learners to receive immediate results when they complete problems in the subsection, or if you want to hide the results temporarily or permanently.
See also
For more information, see Set Problem Results Visibility.
Note
You can create problems in Studio without specifying an assignment type for the subsection. Scores for such problems are listed as “practice scores” on the learner’s Progress page and do not count toward the learner’s grade. Hidden sections, subsections, or units that contain graded content are not included in grading and also do not count toward a learner’s grade. For more information, see Hiding Graded Content.
For more information visit the following: article ‘hide a subsection after its due date’
Certificates and Grading Policy#
The automatic generation of the certificates in an Open edX course is based on the grading policy established for the course. The learner will qualify for a certificate by earning any grade over the F or Fail threshold.
See also
For more information about the configuration of the certificates, visit this Article.
How Learners See Their Grades#
Learners will see on the progress page their grades as the following example.
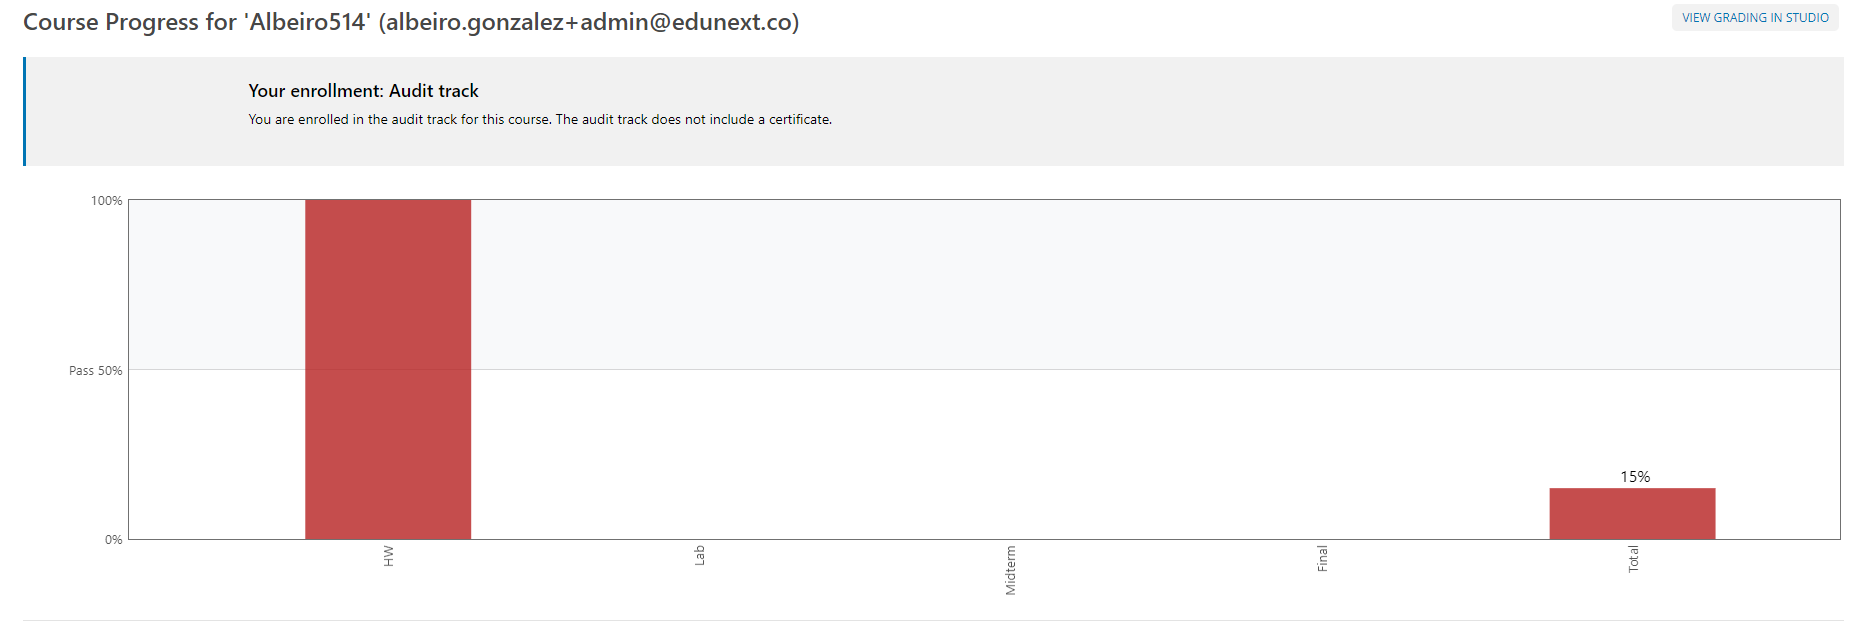
Email address of the user.
Type of enrollment.
See also
For more information about course modes, visit this Article.
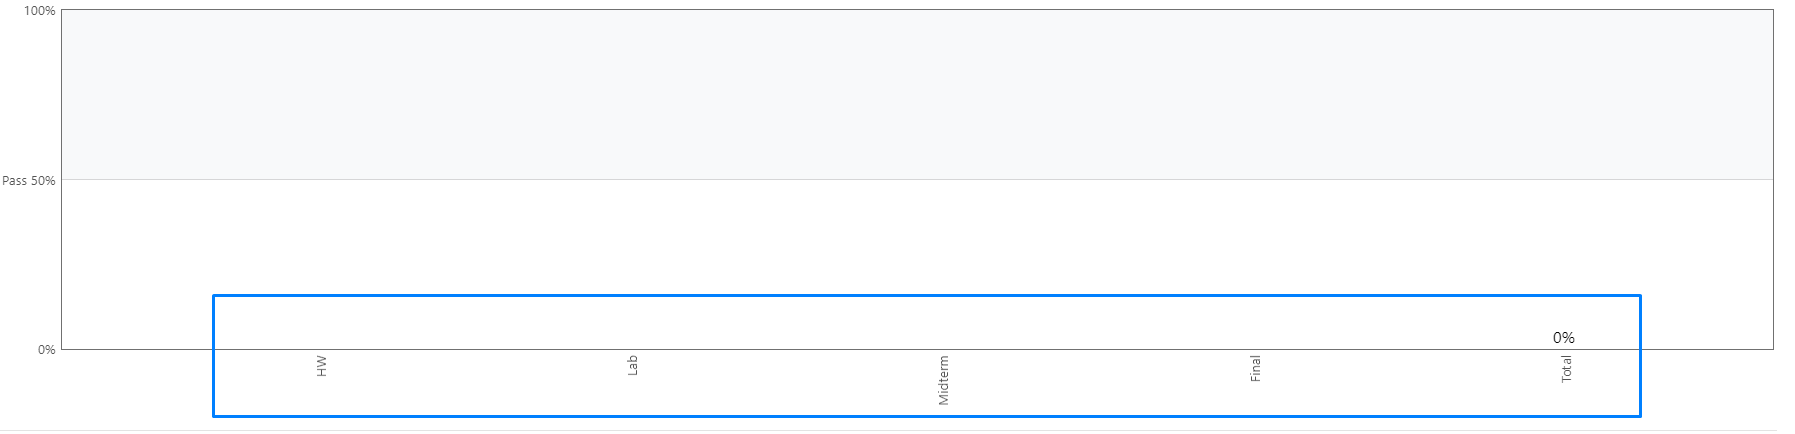
The progress graph shows:
The abbreviations of the assignment types are on the X-axis. If you configure, for example, 1 subsection linked to the assignment type “Homework” with the abbreviation HW, the graph will show one bar for that assignment type. Graded problems in units are not broken out in the chart; the score from each problem in the subsection is added to that vertical bar.
Graded subsections are grouped in the chart by assignment type rather than listed in chronological order. For example, all homework exercises are grouped, followed by labs, then exams.
Note
The x for an assignment in the Progress tab indicates that the grade for that assignment is currently dropped. You configure how many assignments are dropped when you configure assignment types.
Note
If you have hidden the problem results for some assignments, these scores are not visible on the Progress page. The page shows only that the learner has completed the assignment.
For more information visit the following: article