How to Create the Course About Page
Contents
How to Create the Course About Page#
This article provides guidance on how to access and create the course About Page in Studio.
Access the Course About Page in Studio#
To access the course about page, open Studio at the URL provided by your administrator.
Note
If you need to create a new course in Studio, see Create an Open edX Course.
With the course open in Studio, from the Settings menu, select Schedule and Details. On the Schedule and Details page, you will enter the information about your course:
Course pacing
Course schedule
Course details
Introducing Your Course (This is the About Page content section.)
Requirements (if applicable)
Course Content License
Checklist of Resources You Need for the Course About Page#
To accelerate the creation of your course about page, you will want to gather the following information before you begin.
Course start date and end date
Course start time and course end time
Enrollment start date and end date
Enrollment start time and enrollment end time
A short course description, limited to ~150 characters
Course overview description: includes introduction, prerequisites, staff bios and images, and FAQs about your course that will appear on the course summary page.
Staff images (JPEG or PNG only format)
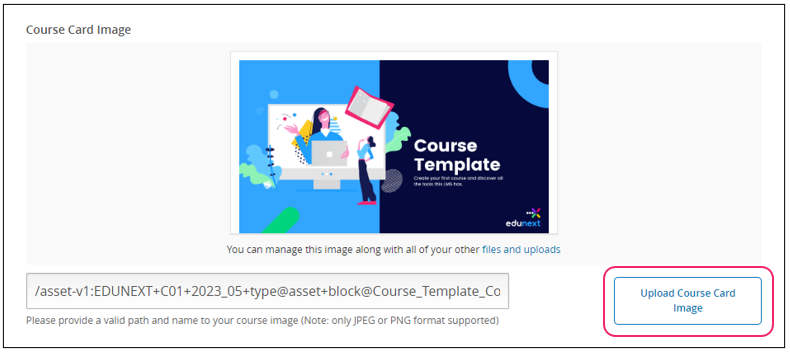
Course card image (JPEG or PNG only format): add an image to the About Page and manage the image in the files and uploads page in Studio.
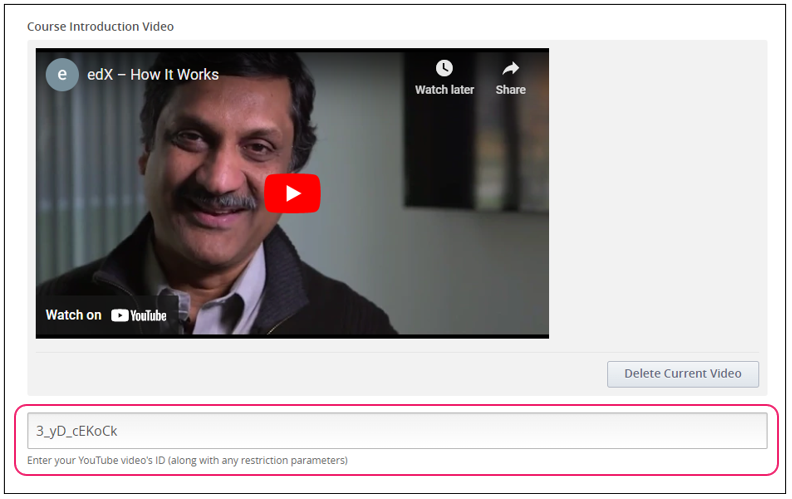
Course Introduction Video: enter your YouTube video’s ID (along with any restriction parameters).
Requirements: expectations of the students taking this course. These include the hours of effort per week of course work, entrance exam, or prerequisite courses.
With these resources, you can begin to create the about page.
Create the Course About Page#
In the section Settings > Schedule and Details, you will see Basic Information about the course. This information was generated when the course was created.
Let’s continue with the course set up.
General Course Settings#
For Course Pacing, select Instructor-Paced or Self-paced.
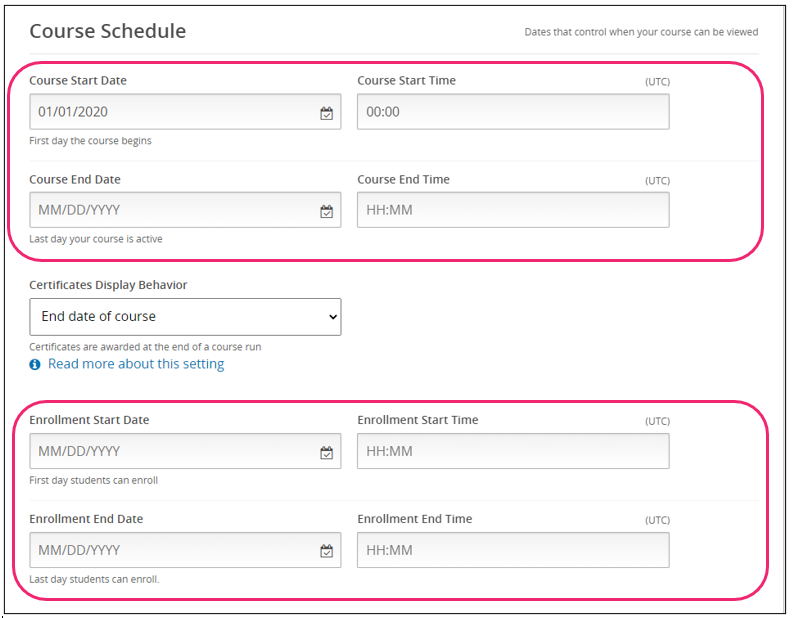
- For Course Schedule, enter date and time information for the course:
Course Start Date and Course Start Time: First day the learners can access and begin the course.
Course End Date and Course End Time: The last day your course is active, and learners will no longer have access to the course.
Enrollment Start Date and Enrollment Start Time that learners can begin to enroll in the course. This must be before or the same as the date and time you set for the course to start.
Enrollment End Date and Enrollment End Time that learners can enroll before the deadline for enrollment. This must be before or the same as the date and time you set the course to end.
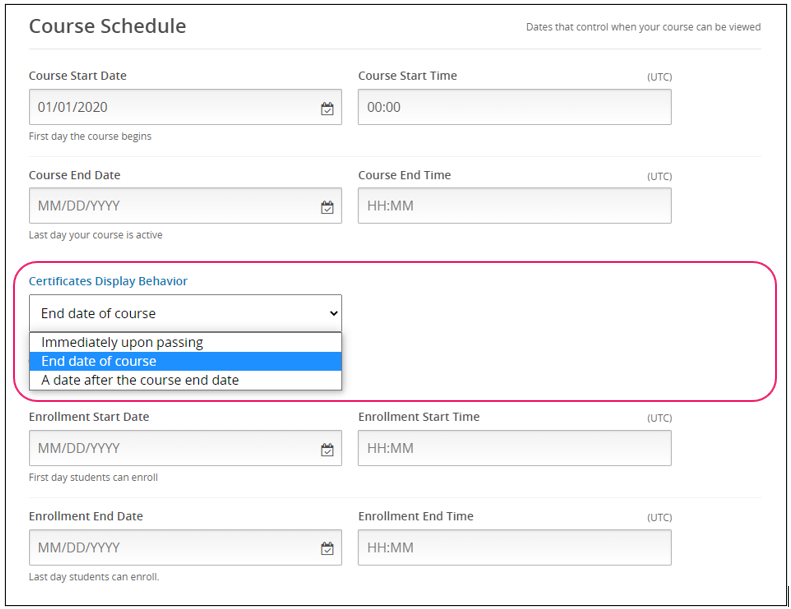
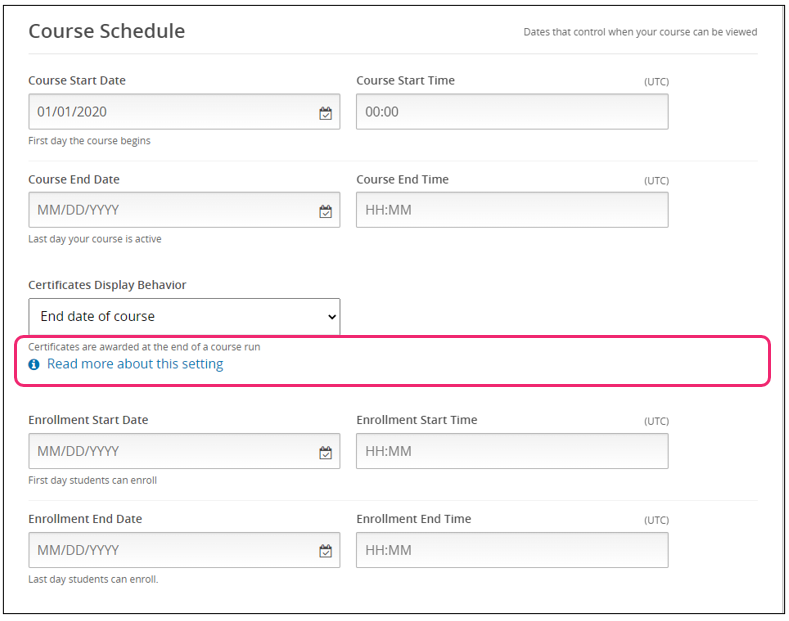
Now, enter Certificates Display Behavior: Select one option, as certificates are awarded at the end of a course run.
Note
In all configurations of this setting, certificates are generated for learners as soon as they achieve the passing threshold in the course (which can occur before a final assignment based on course design). To learn more about these options, click on the Read more about this setting link.
Click Save Changes.
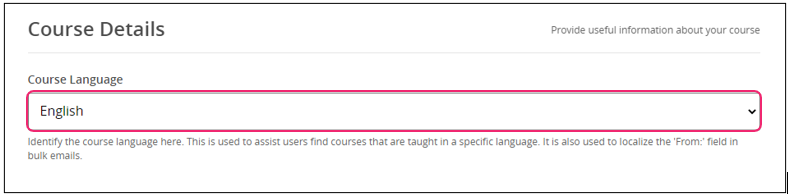
- For Course Details, enter the language in which the course will be taught.
Now you have entered the general information required about your course, proceed to About Page Settings.
About Page Settings#
Let’s continue with the course About Page information under the section Introducing Your Course.
- For Course Short Description, enter your brief course description here.

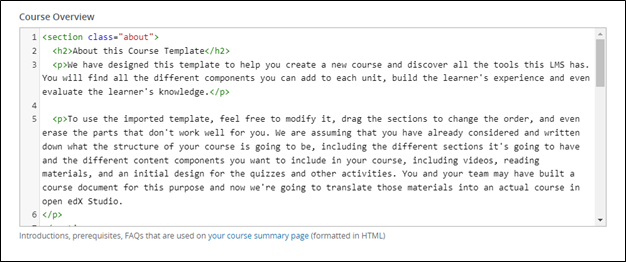
- For the Course Overview, you will enter your course information.
Note
This Course Overview section is formatted in HTML. The black text is the content you can replace with your information about the introduction, prerequisites, staff bios, and FAQs for your course.
- Upload Course Card Image.
- For Course introduction video, enter your YouTube video’s ID.
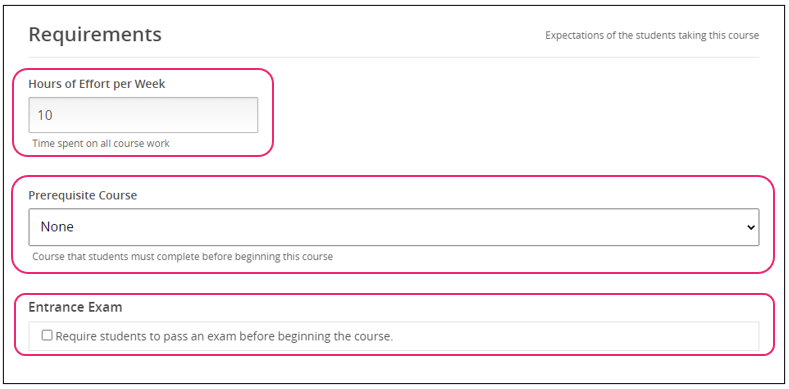
- For Requirements, enter the expectations of the students taking the course. May include hours of effort per week, prerequisite course(s) and entrance exam, if applicable.
Enter Hours of Effort per Week.
Select Prerequisite Course from your course catalog dropdown list.
Check Entrance exam if it is required.
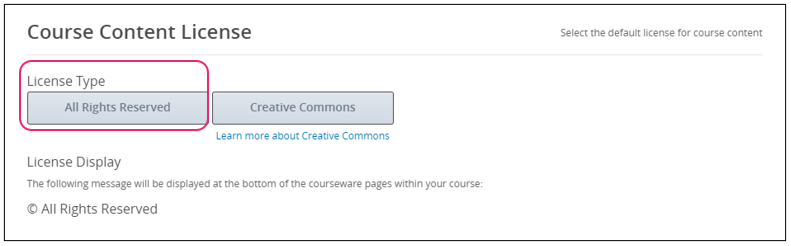
- For Course Content License, select the default license for course content, All Rights Reserved. Or, you may learn more about the second license option called Creative Commons.
Once you have completed the steps above, your course about page set up is done.
To edit or modify the content on your about page, return to Settings > Schedule and Details, and edit the sections you wish to change.
Note
Customers have the option to build an enhanced course description about page using a special markup template provided by Edunext upon request. Submit a request to Customer Support via Edunext Control Center Customer Support > Submit a Ticket. Once you receive this special markup template, you will paste the markup on the course overview section “Introducing Your Course” of the course about page, and modify the markup language and text, as needed.
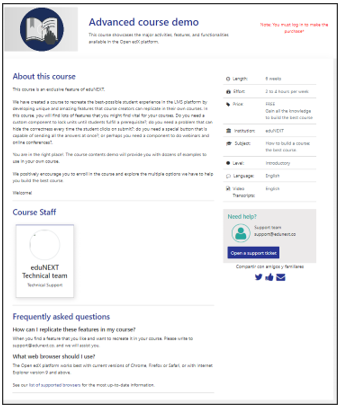
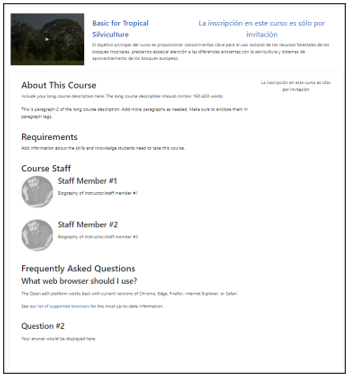
Example of a Basic Course About Page:
Example of the Enhanced Course About Page: