What is a Recommender Tool?
Contents
What is a Recommender Tool?#
Recommender tool is a powerful instrument to guide learners towards a more enriched and effective learning experience. This tool operates by presenting learners with a curated list of online resources closely aligned with the content of their course. If a learner is working through a physics problem, this tool can spring into action by offering links to pertinent concepts on platforms like Wikipedia, PhET simulations, OpenStax, and even within the course material. This holistic approach to learning, encompassing both course content and external resources, enables learners to bridge knowledge gaps and make significant progress.
What are the benefits of using a Recommender Tool?#
Collaborative Learning: The collaborative nature of the tool encourages learners and course team members to work in tandem. They can collectively contribute new resources, collaborate on refining existing ones, and improve resource quality through informative summaries.
Personalized Learning Pathways: By suggesting resources aligned with a learner’s current progress, the tool ensures that each individual receives relevant guidance, fostering a deeper understanding of the subject matter.
Quality Assurance and Engagement: Learners have a role in maintaining the quality of recommended resources by voting for high-quality materials and flagging spam or irrelevant content.
How to implement a Recommender Tool?#
- Step 1:
Go to Studio. Remember, you can access it through the link in your ECC account or by going to studio.edunext.co and signing in with your email and password.
- Step 2:
Open the course where you will add the Recommender Tool.
- Step 3:
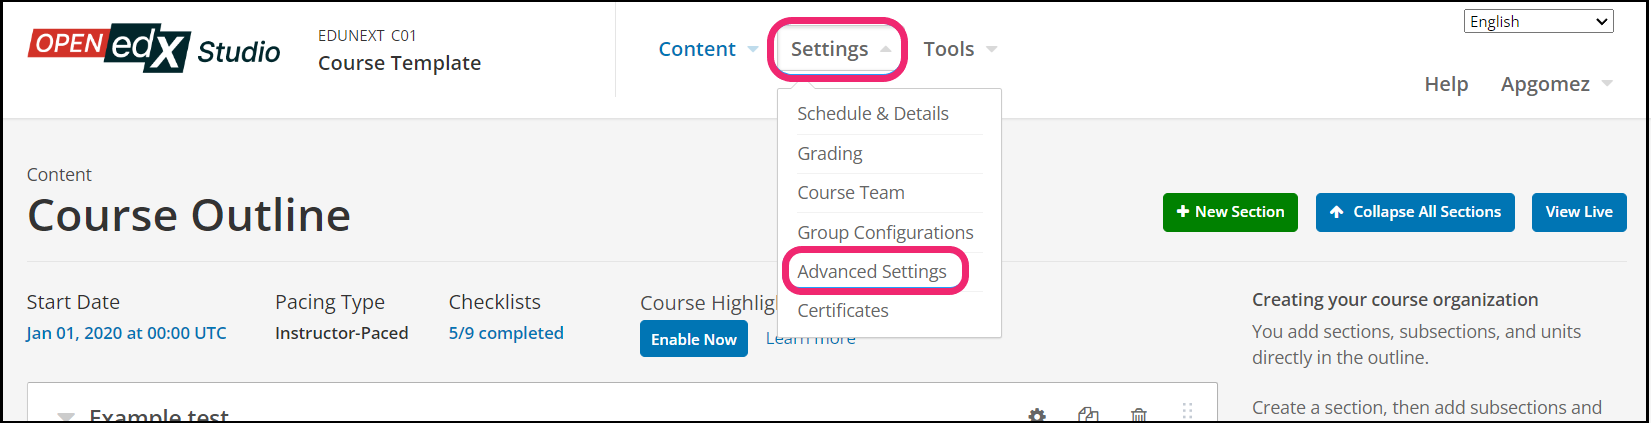
Click on the Settings tab and select the Advanced Settings option.
- Step 4:
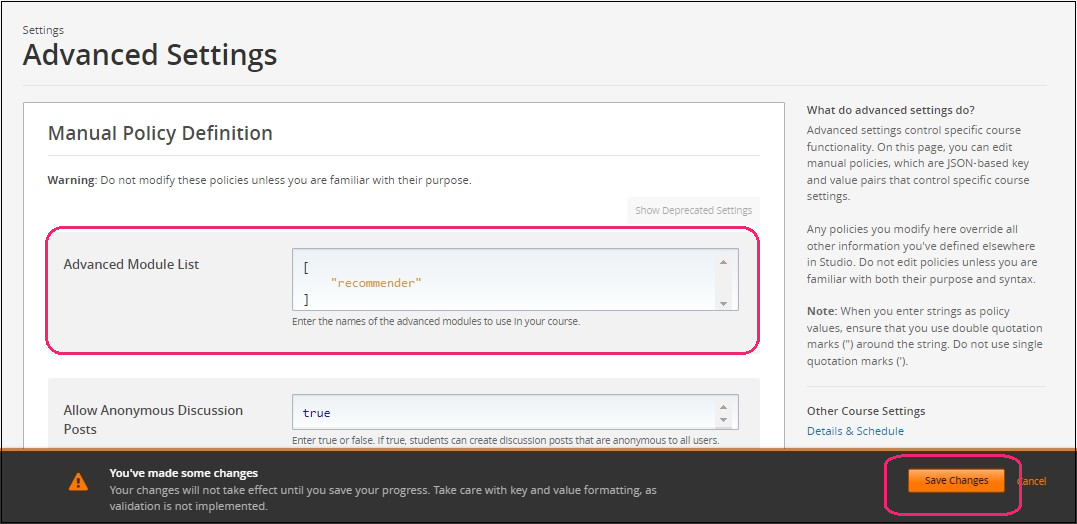
In the section Advanced Module List, add
recommenderbetween the square brackets.[ "recommender" ]
Note
Add the XBlock command with an indented space and without any space before or after quotation marks, as shown in the example above, to avoid execution errors.
- Step 5:
At the button on the screen, click on Save Changes.
- Step 6:
After this, the XBlock should be available, so click the Content tab and select the Outline option to get back to the course content.

- Step 7:
Under Outline, go to the section, then the subsection, and finally to the unit or page where you want to add the Recommender XBlock.
- Step 8:
Once you are there, click Advanced Component in the Add New Component bar.
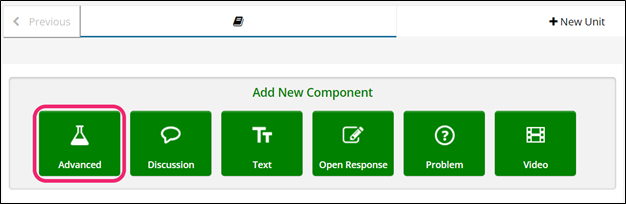
- Step 9:
You will see a list of all the advanced components added to your course. Click on Recommender. The system will add the component immediately to the unit.

- Step 10:
Click the Edit button on the upper right corner of the new component to add the content details.
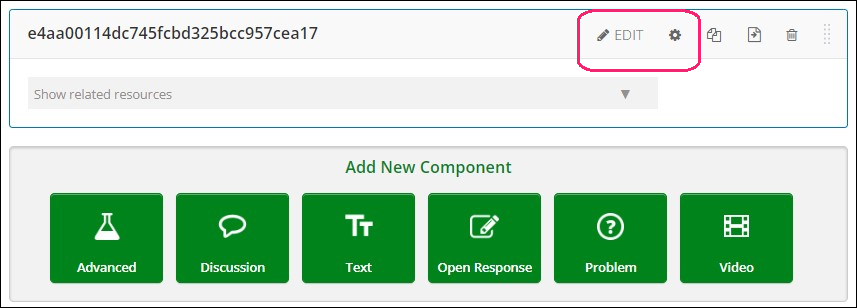
- Step 11:
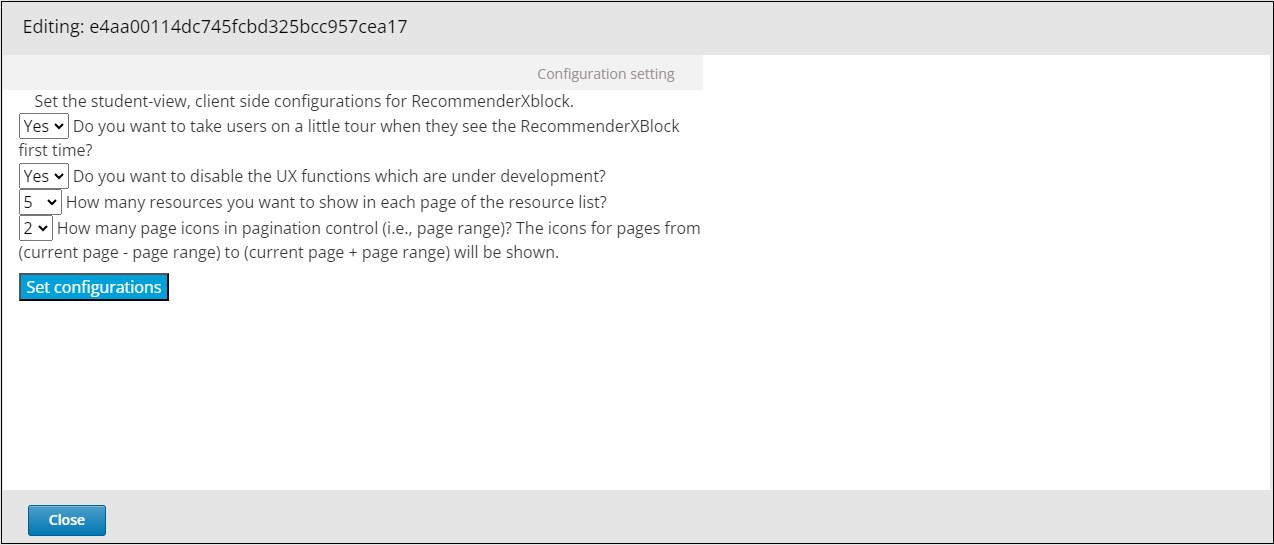
The editor window is going to open. Here you will find several options to set up the XBlock as needed. The principal options that you have to edit are:
Whether to take users on an introduction tour when they see the tool the first time. If selected, the first time (and only the first time) a user sees the recommender, there will be a short guided tutorial.
Whether to disable the user interface functions which are under development. Because these are untested and under development, please leave these disabled unless otherwise advised by edX staff.
How many resources you want to show in each page of the resource list.
How many page icons you want to show in the pagination control (that is, the page range). The icons for pages from (current page - page range) to (current page + page range) will be shown.
- Step 12:
Finish the configuration of the component and click on the Save button.
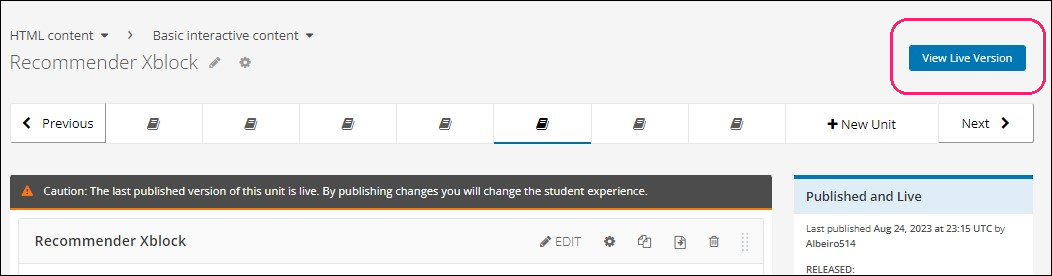
- Step 13:
To add the recommended resources, you must access to the unit where the recommender tool was located within the LMS by clicking View Live Version.
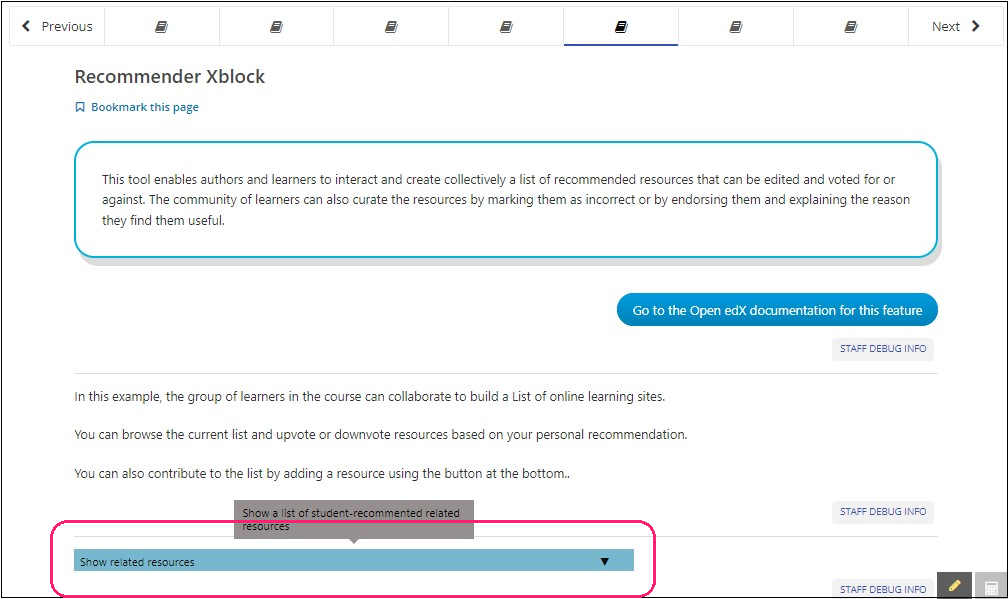
- Step 14:
Click on Show Related Resources to reveal the menu and access the option for adding the resource.
- Step 15:
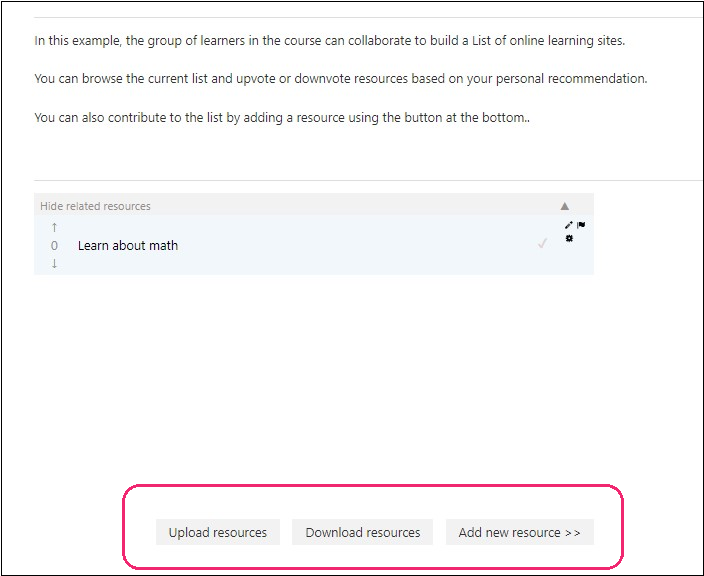
When you are in the unit containing the recommender tool within the LMS, you will find three options to select:
Upload Resources: Upload resources in JSON format to the database.
Download Resources: You can download the resources already uploaded in the unit.
Add New Resource: Regardless of whether you are staff, an instructor, or a learner, you have the possibility to recommend a resource that could be useful to other students
- Step 16:
Recommend a resource by clicking on Add New Resource. A menu will appear where the principal options available for editing are:
Title: Provide a meaningful title so that other students can determine whether this resource is useful to them
Location: Include the URL of the recommended resource.
Description: Offer a relevant description to give other students an understanding of what the recommended resource is about.
Preview screenshot: Select an image that represents the resource or can provide a visual description of it.
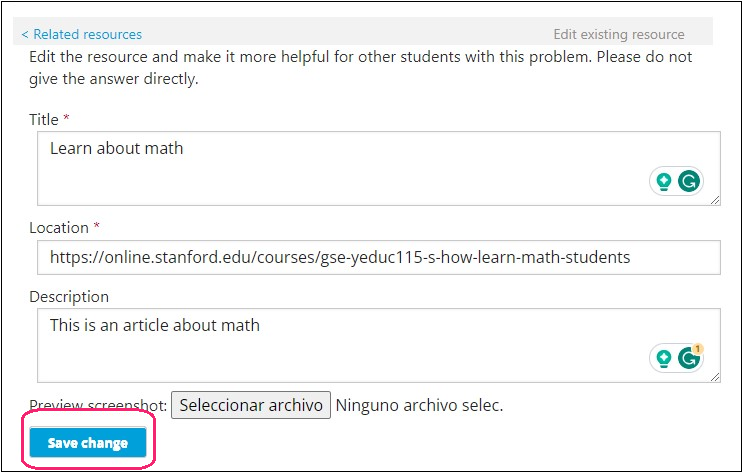
Once you have edited all the fields, click on Save changes to save.
You may also visit our demo site where you can find various examples of the use of the completion tool.