What is a Completion Tool?
Contents
What is a Completion Tool?#
The completion tool offers learners a method to indicate their progress within the course. It serves as a guide for monitoring their advancement through course sections, encompassing both graded and ungraded undertakings like reading materials, watching videos, and engaging in course-related discussions. Embedded within this tool is its dual nature; it functions as an assessed element and is consistently featured on the learner’s Progress page. However, its manifestation varies based on its application in graded versus ungraded segments of the course.
Upon implementation of the completion tool in an ungraded course section, the achieved score for the associated task is denoted as a practice score on the Progress page. It is important to note that these practice scores remain separate from the learner’s final course grade.
Alternatively, the completion tool can be utilized within graded sections of the course. In this context, the attainment of a task through the tool contributes to learners’ ultimate grades. For instance, if a completion component is integrated into a specific course unit, learners employing the tool to indicate unit completion receive a score of 1/1, while those opting not to receive 0/1. These scores are encompassed within learners’ final grades on the Progress page.
What are the benefits of using a Completion Tool?#
Efficient Grading: Instructors benefit from the completion tool’s integration in graded sections as it automates part of the grading process. Completed tasks are directly reflected in learners’ final grades, saving instructors time that would otherwise be spent on manual grade calculations.
Self-Assessment: Learners can use the completion tool to assess their own understanding and performance. By actively indicating completion of tasks, learners gain a sense of ownership over their learning journey and can identify areas where they may need to review or study more.
Guided Learning Path: By offering a structured way to mark completed tasks, the completion tool helps learners follow a guided learning path. This ensures that they engage with all course components, including reading materials, videos, and discussions, enhancing their overall understanding of the subject matter.
How to implement a Completion Tool?#
- Step 1:
Go to Studio. Remember, you can access it through the link in your ECC account or by going to studio.edunext.co and signing in with your email and password.
- Step 2:
Open the course where you will add the Completion Tool.
- Step 3:
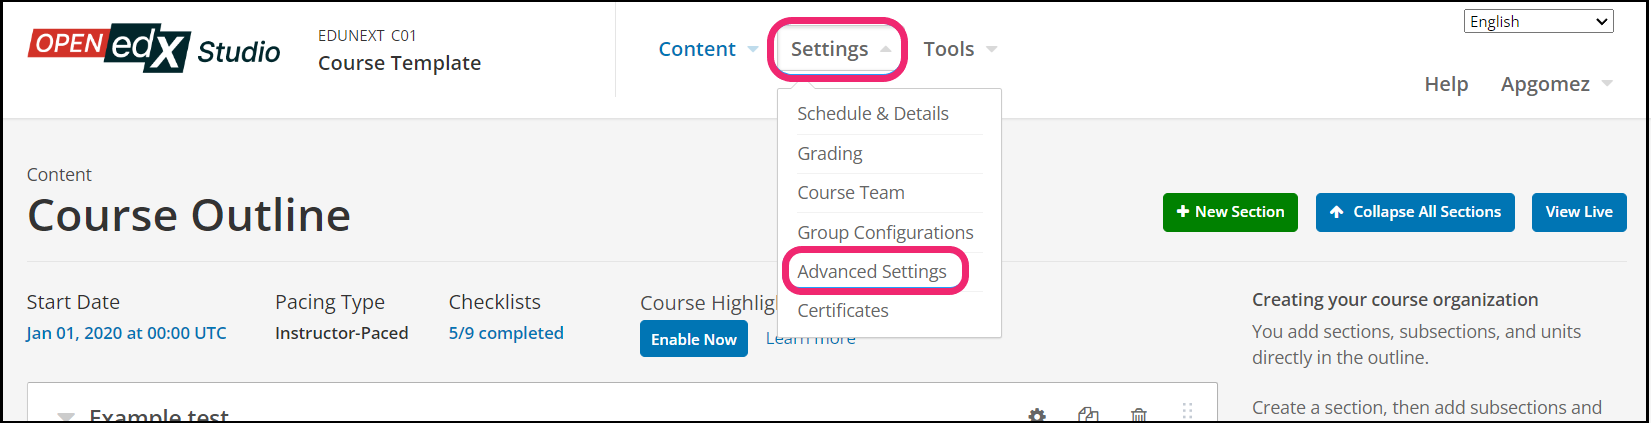
Click on the Settings tab and select the Advanced Settings option.
- Step 4:
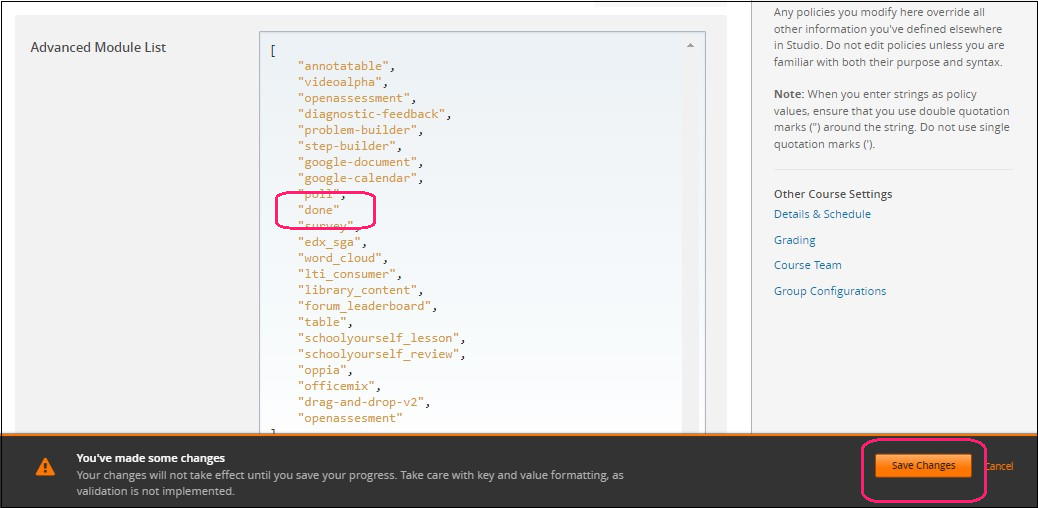
In the section Advanced Module List, add
donebetween the square brackets.[ "done" ]
Note
Add the XBlock command with an indented space and without any space before or after quotation marks, as shown in the example above, to avoid execution errors.
- Step 5:
At the button on the screen, click on Save Changes.
- Step 6:
After this, the Xblock should be available, so click the Content tab and select the Outline option to get back to the course content.

- Step 7:
Under Outline, go to the section, then the subsection, and finally to the unit or page where you want to add the Completion Tool.
- Step 8:
Once you are there, click Advanced Component in the Add New Component bar.
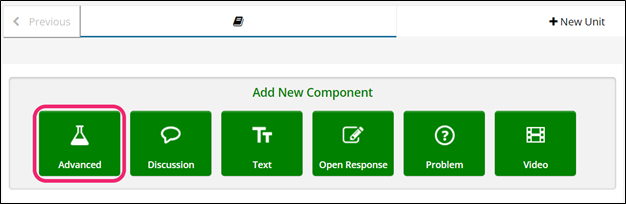
- Step 9:
You will see a list of all the advanced components added to your course. Click on Completion. The system will add the component immediately to the unit.

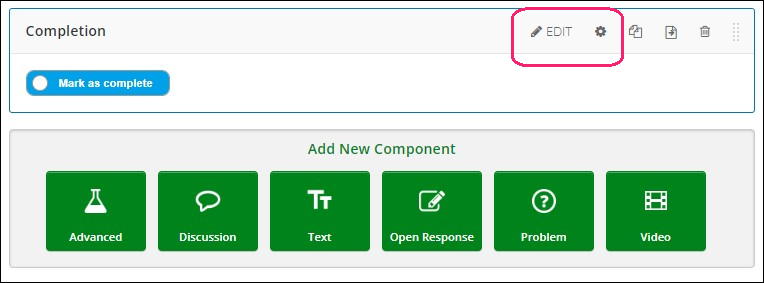
- Step 10:
Click the Edit button on the upper right corner of the new component for information about the tool.
- Step 11:
Finish the configuration of the component and click on the Save button.
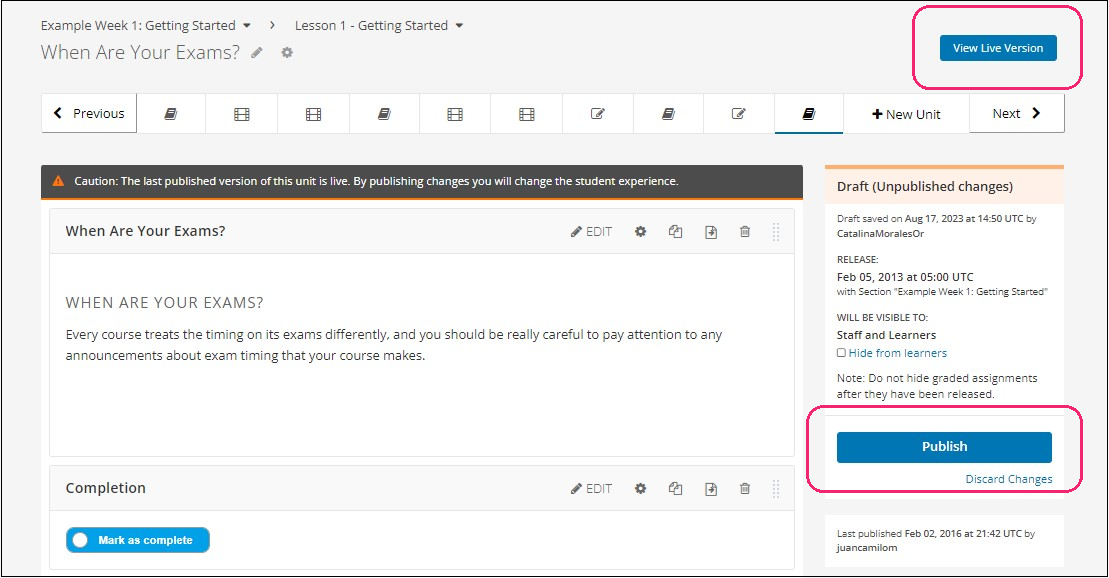
- Step 12:
Publish the unit and check how your new component looks on its final version by clicking the View Live Version button.
You may also visit our demo site where you can find various examples of the use of the completion tool.