Course Import Problems
Contents
Course Import Problems#
This article will guide customers on how to troubleshoot courses with import errors and outlines steps on how to import tar.gzip course file.
How to Convert a File to tar.zip#
Step 1:
Download the file that you’re going to import.
Step 2:
Go to your Downloads folder, Right click on the file, then click on Extract Here.
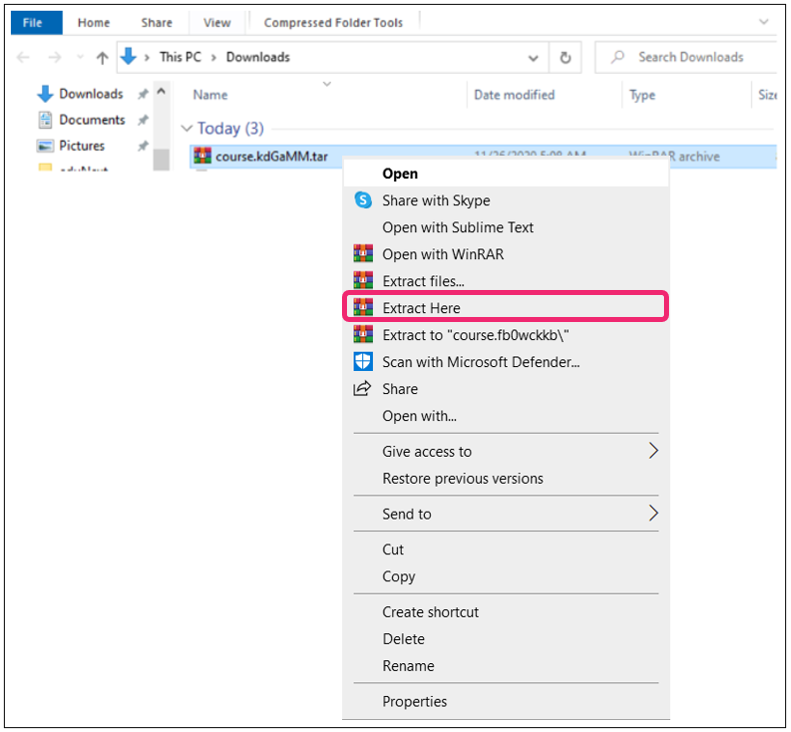
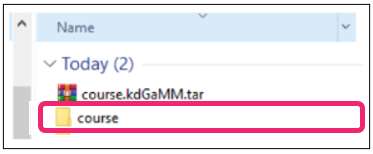
After extracting, you will have a course folder.
Step 3:
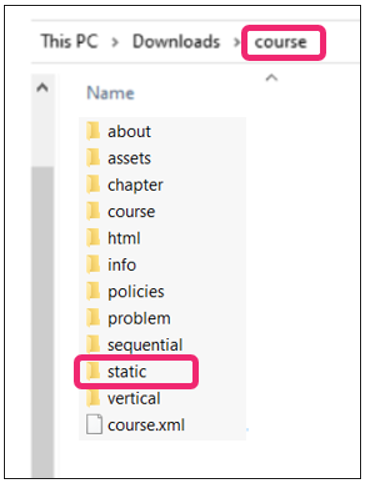
Open the folder and look for static. Right click and rename to static1.
Step 4:
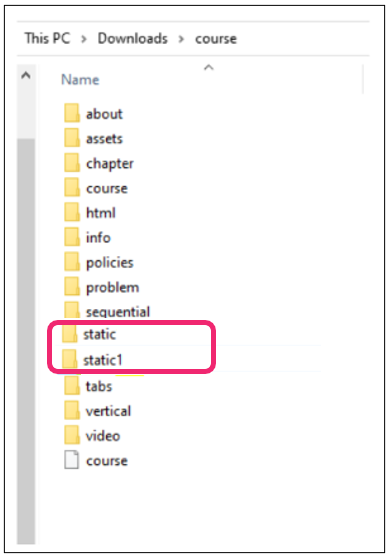
Right click to any open space, click on New and select New Folder. Name it as Static.
Note
The ‘static1’ folder is where your files are stored that you will use to copy the files from later. Whereas, the ‘static’ folder that you’ve just created is just an empty folder.
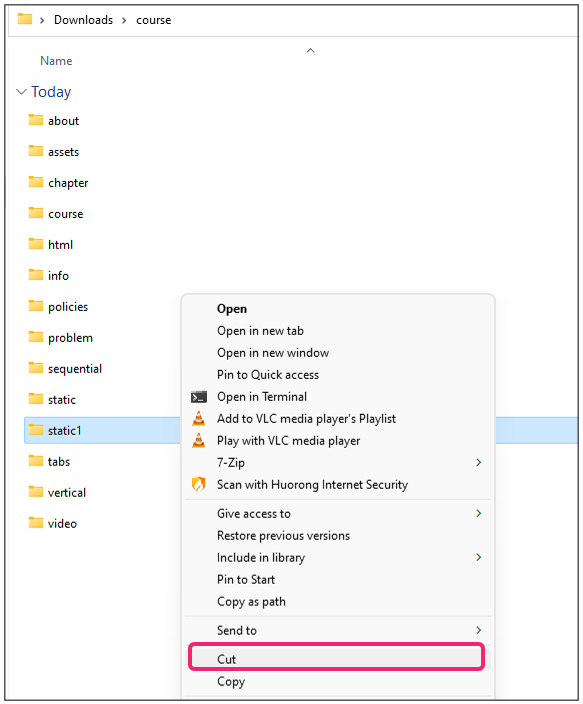
Step 5:
Right click on static1 and click on Cut.
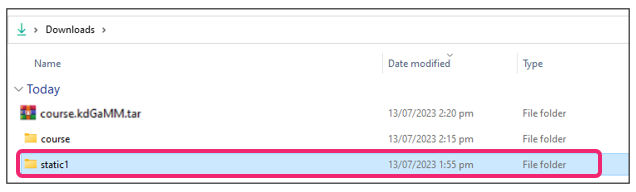
Step 6:
Paste it along with the Course folder and the original file in the Downloads folder.
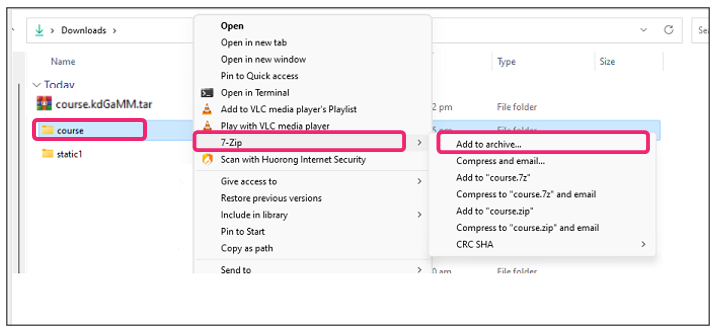
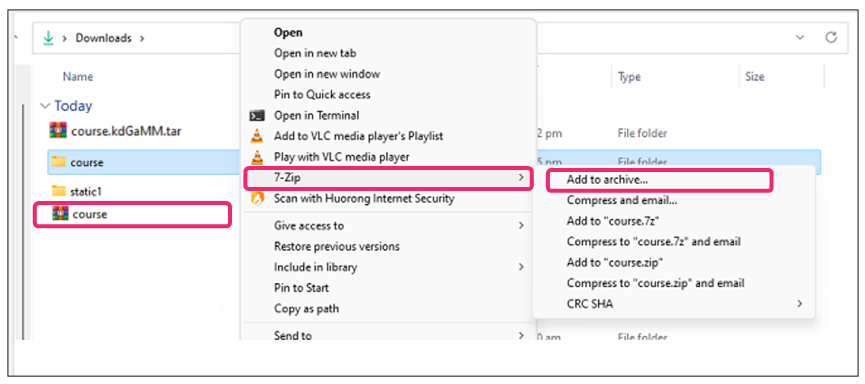
Step 7:
Right click on Course folder, go to 7-Zip (Please download if you don’t have it), then click Add to archive.
- Archive Format
Click the dropdown menu.
Choose tar.
Click OK at the bottom then let it run.
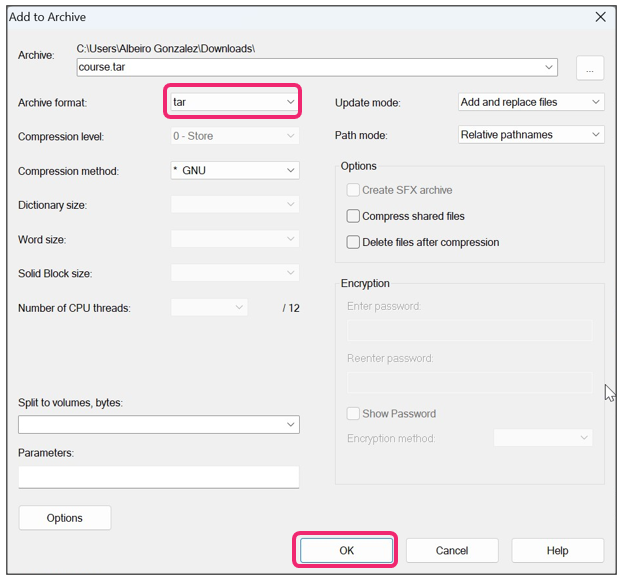
You will then have another zip file called course.
Step 8:
Follow the same process as you did to create the .tar file for static. Right click on the course zip file, go to 7-Zip, then click Add to archive.
- Archive Format
Click the dropdown menu.
Choose gzip.
Click OK at the bottom then let it run.
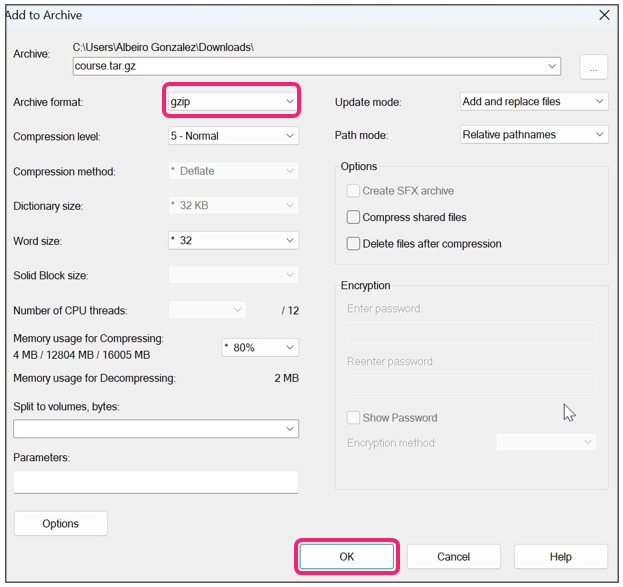
You will have another zip file called course.tar.
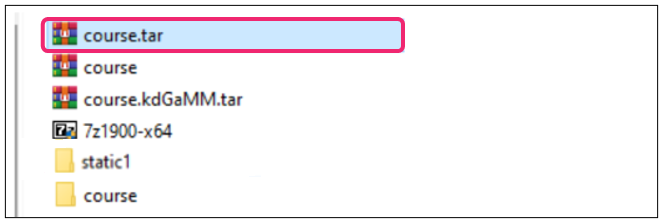
This is the file that will be imported to your course.
Step 9:
Go to Studio > Tools > Import and click on Choose a File to Import.
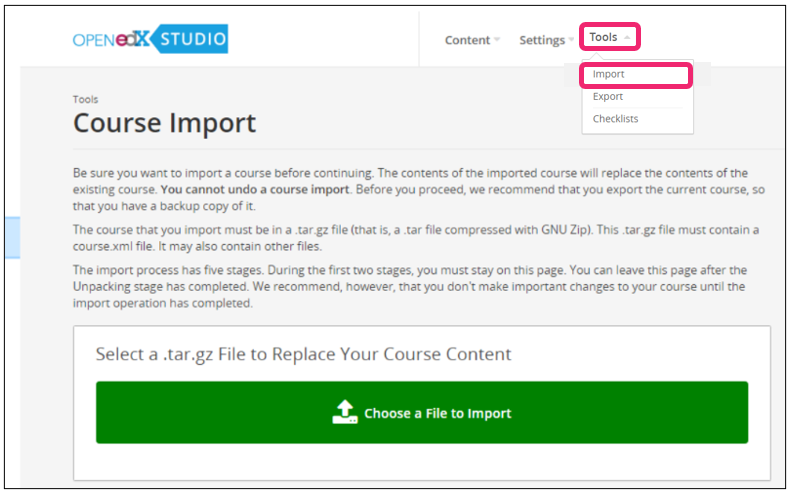
Step 10:
Select the course.tar zip file then click on the Open button.
You would have successfully imported your course with no more errors.
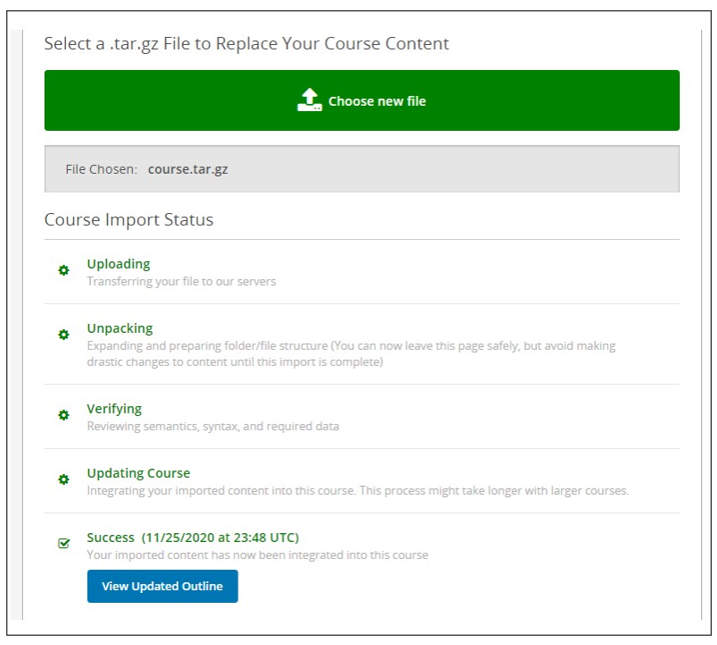
Now, proceed with the Final steps is to upload the files from “static1” folder.
Step 11:
Go to Studio > Content > File & Uploads.
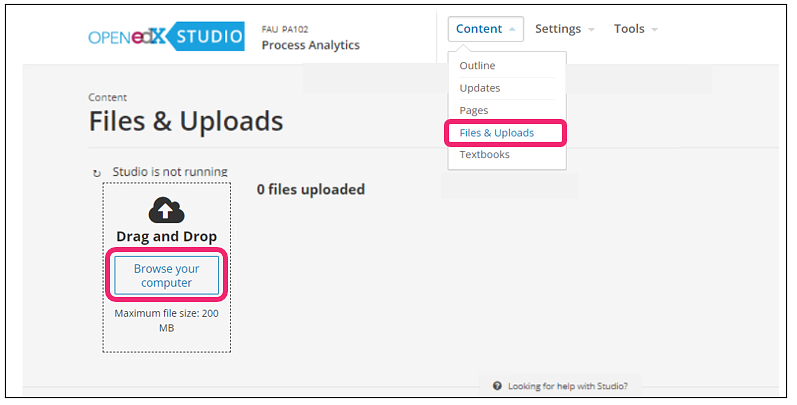
Step 12:
Click on Browse your computer.
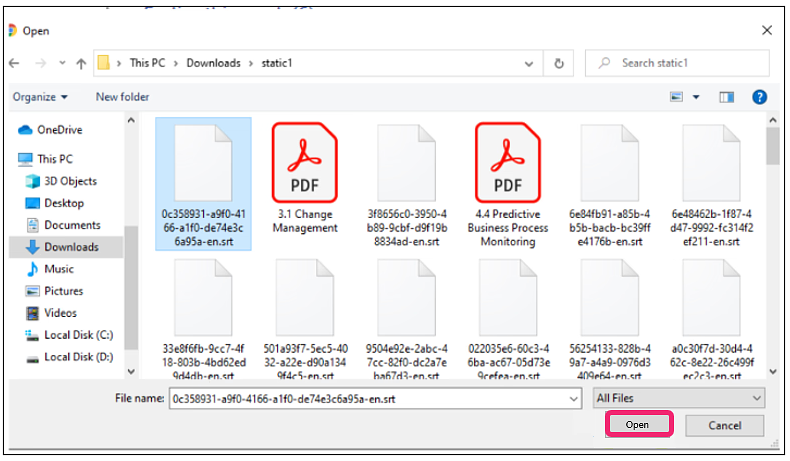
Step 13:
Double click on the static1 folder to open it.
Step 14:
Click on one document to highlight it then press Ctrl A on your keyboard to highlight all the files.
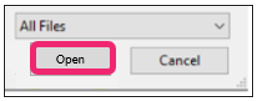
Step 15:
Click Open.
Step 16:
Wait for the files to finish uploading and you’re done.