Zapier Integration
Contents
Zapier Integration#
Publication date: August 16, 2023
The purpose of this article is to introduce Zapier integrations as a tool used by eduNEXT to serve the needs of our customers.
What is Zapier?#
Zapier is a tool that allows you to connect different apps and services together to execute periodic tasks. For example, you want to generate a report every time a user registers on the platform or in a course, which would be the perfect job for Zapier. Whether you wish to generate a certificate, follow user enrollment activities, or be informed of user registrations on the platform, the Zapier integration facilitates these functions. How does the Zapier integration work with the eduNEXT platform? The eduNEXT platform sends user data to Zapier. Zapier receives this information, which allows the account owner to perform any type of integration that Zapier offers (https://zapier.com/explore).
What integrations interest you the most?
User registers in the platform
Generate a certificate
User enrolls in a course
Examples of integration functions you may wish to explore:
User data: username, user_id, name, user_is_active
Certificate: username | course_name | course_name_Architecture | name | user_is_active | course_creation_date | course_mode | course_key | course_is_active | user_id | email
Enrollment: username | user_id | name | user_is_active | course_creation_date | course_mode | course_key | course_is_active | course_name | email
Getting started with Zapier is extremely easy. Just log in to your Zapier account and you are ready to go.
How eduNEXT Uses Zap#
Edunext’s Customer Support and Service Delivery team created an integration in Zapier that would allow them to manage in an easy and straightforward way communication between Zapier and eox-core.
Configure the eduNEXT’s Integration in Your Own Zap#
Use these steps to configure your own zap by making use of the eduNEXT zap integration discussed above.
Go to the search bar of new action and type eox-core by edunext.
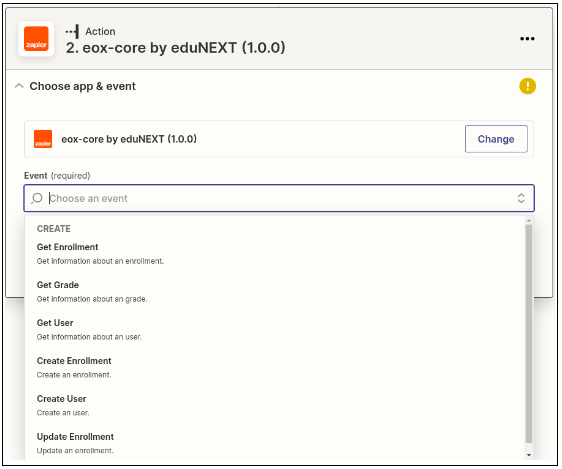
Select the integration, in the event. You must select the event you want to use.
Get enrollment: Allows you to return the information of enrollment with the username or email of the user and a course id.
Get grade: This allows you to return a user’s grade information with the user’s username or email and a course id.
Get user: Allows you to return the information of a user, with the username or the user’s email.
Create enrollment: Allows you to create an enrollment and you must pass username or email, course id, mode, and a flag indicating whether to create it with force or not.
Create user: Allows you to create a user and you must pass a dictionary with the data required by the platform and by the organization.
Update enrollment: Allows you to update an enrollment, and you must pass username or email, course id, mode, is active, and force.
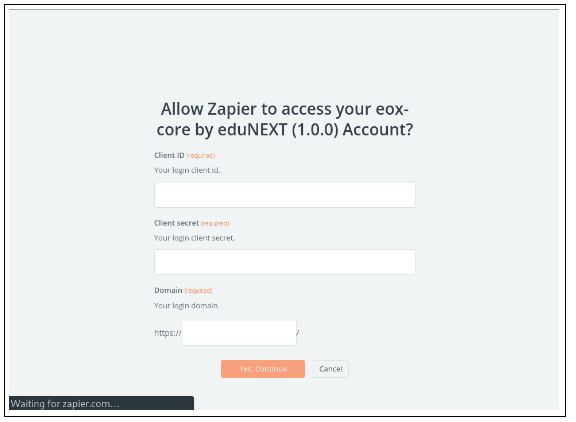
After you are clear about which of the events best suits your needs, and select it, you must log in to your account and you will need a Client ID, Client Secret, and Domain as shown in the image.
When your account has passed the verification process, it is time to enter the corresponding data and prove that the data obtained or the expected actions are the appropriate ones. It should be noted that most of the information required by this action must come from a previous stage of the zap.
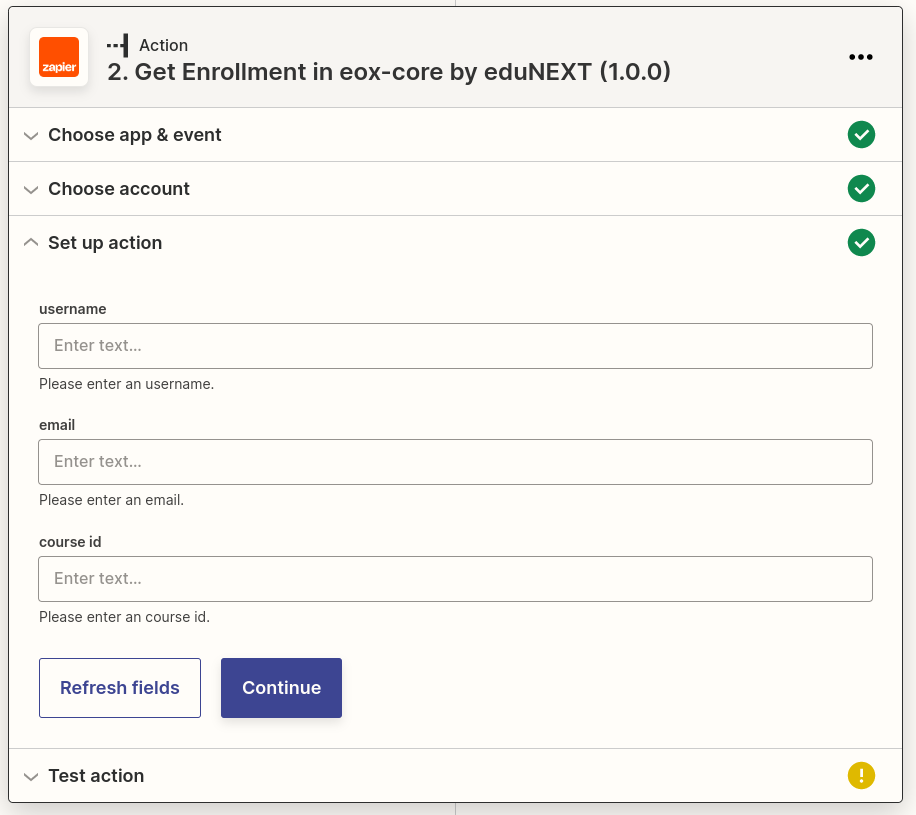
You can connect this action to any other action if necessary.
Overview of the Zapier Editor Tool#
After you have logged in to your zapier account, you will locate the menu on the right side of the editor tool box. For now, the only thing you are interested in from this menu is the Zaps option.
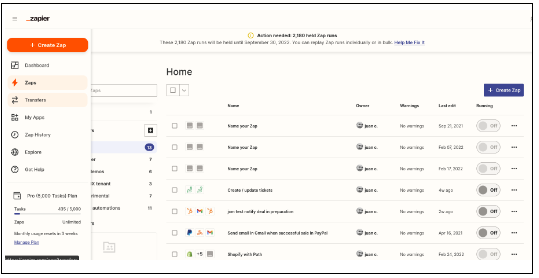
When clicking on this option, you will see two columns. The first column is a list of the names of the directories that currently exist or you can choose to create as many as you need. In the second column or main editor tool box, in the top right of the Zap editor, you can find a Create Zap button which will allow you to create your zap. A zap is a blank canvas, which allows you to describe in a friendly and intuitive way the workflow you want to create to automate your periodic tasks.
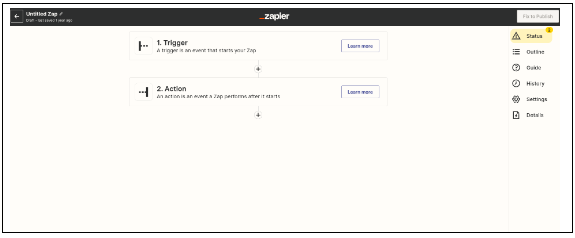
The zaps are created in the zap editor and are as customizable as you want. Thus you can rename them, move them to another directory or simply leave them blank to edit them later. Also, the zaps are composed of two important parts: a trigger and many actions (as many as you want). The trigger will be in charge of starting your workflow. Usually you configure it to enable an endpoint, which will be listening until some external factor sends a request with some relevant data for your workflow.
In addition to the triggers, you also have the actions that are performed after the trigger has been executed, either by analyzing the information received and transforming it into a report, or alerting some external agent about some specific action. An action will allow you to execute everything you can imagine.
If you are interested in going a little deeper into some of the concepts mentioned above, you can refer to the following documentation.