What is Flow Control XBlock?
Contents
What is Flow Control XBlock?#
Flow control x-block is an advanced component in Open edX developed by eduNEXT and presented at the 2016 Open edX conference at Standford University. It provides a solution to display course content in a unit based on the compliance of a condition. The condition evaluates the submission or score of a problem component or a set of problem components.
What are the benefits of using Flow Control XBlock?#
Flow Control x-block allows these possible use cases:
Only allow the learner to see unit B when a problem in unit A has been answered, otherwise displaying an explanatory message.
Only allow the learner to see unit B when a problem in unit A has been answered, otherwise redirecting it to Unit A.
Only allow the learner to see unit B when a problem in unit A has scored above a certain threshold.
Present further explanatory content to learners that did not answer correctly a certain problem. Then, redirecting learners that did answer correctly to the next unit.
Display a message congratulating the learner for passing an exam or a warning message notifying the exam wasn’t passed.
Display a message notifying the learner that some of the exam’s questions have not been answered yet.
Used in combination with the subsection prerequisites feature to better explain to the learners why certain subsections will or will not be made available to them.
How to implement Flow Control XBlock?#
- Step 1:
Go to Studio. Remember, you can access it through the link in your ECC account or by going to studio.edunext.co and signing in with your email and password.
- Step 2:
Open the course where you will add the Flow Control XBlock.
- Step 3:
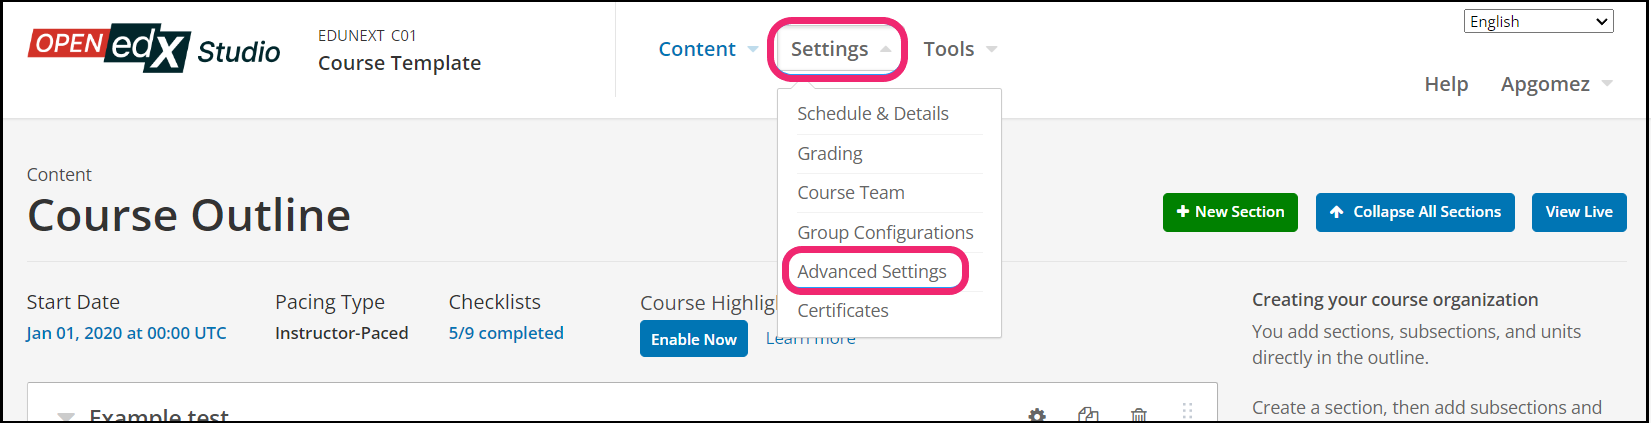
Click on the Settings tab and select the Advanced Settings option.
- Step 4:
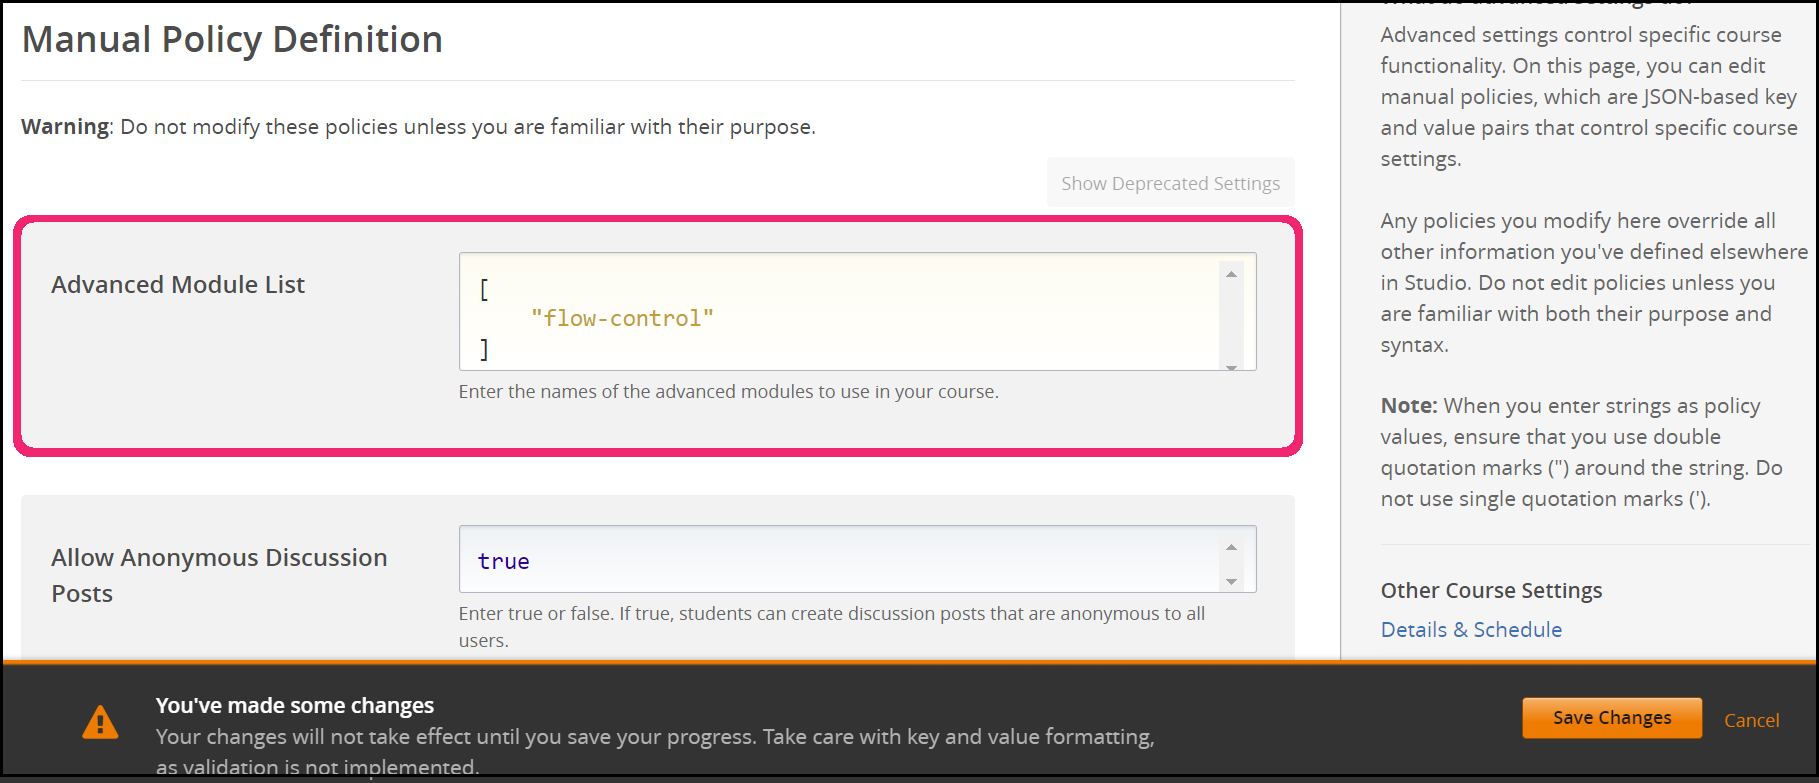
In the section Advanced Module List, add
flow-controlbetween the square brackets.[ "flow-control" ]
Note
Add the XBlock command with an indented space without any space before or after quotation marks, as shown in the example above, to avoid execution errors.
- Step 5:
At the button on the screen, click on Save Changes.
- Step 6:
After this, the Xblock should be available, so click the Content tab and select the Outline option to get back to the course content.

- Step 7:
Under Outline, go to the section, then the subsection, and finally to the unit or page where you want to add the Flow Control XBlock.
- Step 8:
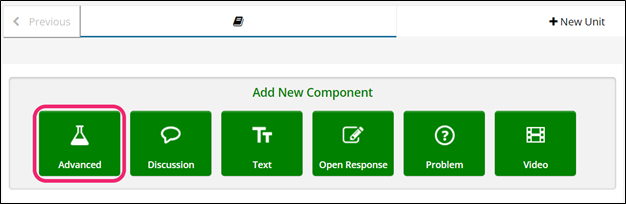
Once you are there, click Advanced Component in the Add New Component bar.
- Step 9:
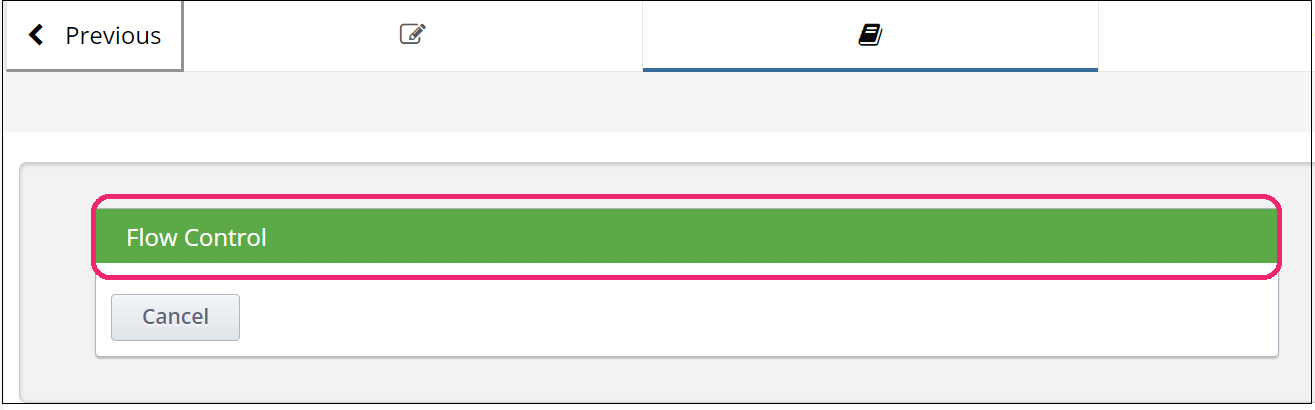
You will see a list of all the advanced components added to your course. Click on Flow control. The system will add the component immediately to the unit.
- Step 10:
Click the Edit button on the upper right corner of the new component to add the content details.

- Step 11:
The editor window is going to open. Here you will find several options to set up the XBlock as needed. The principal options that you have to edit are:
Flow control condition: This is the configuration of the condition. You can select Grade of a problem or Average grade of a list of problems according to your needs.
List of problems: List of problems ids separated by commas or line breaks. Not the complete problem locators. Only the 32 characters alfanumeric ids. Example: 618c5933b8b544e4a4cc103d3e508378, 905333bd98384911bcec2a94bc30155f.
Note
The unit location is at the bottom left of the course unit.
Comparison type: Various options to compare the learner’s score.
Equal to.
Not equal to.
Less than or equal to.
Less than.
Greater than or equal to.
Greater than.
None of the problems have been answered.
All problems have been answered.
Some problems have not been answered.
Action: Four possible actions to be executed after the comparison:
Display a message: When selected, the x-block shows a text editor where you can customize the message you want to display
Redirect using jump_to_id: When selected, the x-block shows the option “Unit identifier to redirect to” where you should input the Unit location id.
Note
The unit location is at the bottom left of the course unit.
Redirect to a given unit in the same subsection: OOnce selected, it will show a “Tab to redirect to” option. You should input the number of the tab you want to redirect the learners to.
Redirect to a given URL: Once selected, it will show a “URL to redirect to” option. You can input the URL where you want to redirect the learners. It supports relative or absolute URLs.
Step 12:
Finish the configuration of the component and click on the Save button.
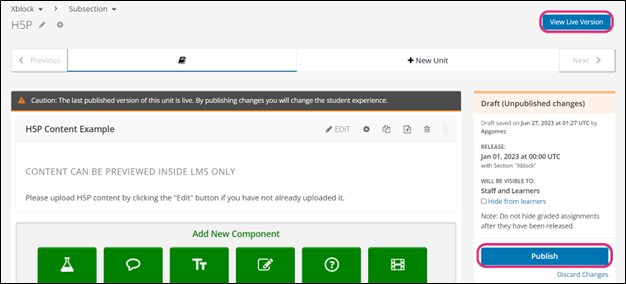
- Step 13:
Publish the unit and check how your new component looks on its final version by clicking the View Live Version button.
See it in action!#
Visit our demo site where you can find various examples of the use of the Flow Control XBlock.