What is Poll XBlock?
Contents
What is Poll XBlock?#
This XBlock enables a course author to create poll elements to get feedback from students. The XBlocks can either be poll or survey XBlocks. Poll XBlocks have one question, and a series of answers. Poll xblock is designed to minimize the amount of fiddling a course author will have to do in order to create the user experience they desire. By default, answers in polls and questions in surveys are able to be enhanced with Markdown (though it is not recommended to do more than line formatting with it) and images.
Some of the functions of the Poll XBlock are:
Creating Polls and Surveys: Instructors can create various types of polls, such as multiple-choice questions, single-select questions, or open-ended questions.
Real-time Feedback: Learners can provide their responses to the poll questions directly within the course interface, and they usually receive real-time feedback on their answers.
Anonymous Responses: In some configurations, polls may allow learners to submit anonymous responses, promoting candid feedback and increasing participation.
Data Collection and Analysis: Poll XBlock usually collects and stores the responses from learners, enabling instructors to analyze the data and gain insights into learners’ understanding or opinions.
Interactive Learning: Polls can be placed within course content to enhance interactivity and learner engagement. They can serve as formative assessments to check comprehension.
What are the benefits of using Poll XBlock?#
Real-time Feedback: Learners receive immediate feedback on their responses, allowing them to gauge their understanding of the material. Real-time feedback can help learners identify areas where they might need further study or clarification.
Assessment and Understanding: Polls can serve as formative assessments, giving instructors insight into learners’ understanding of the topics covered. Instructors can use this data to adapt their teaching approach and focus on areas where learners are struggling.
Time-efficient: Polls can be quickly created and deployed, making them a time-efficient way for instructors to gather feedback or assess understanding without significant preparation or grading time.
Diverse Question Types: The Poll XBlock usually supports various question types, such as multiple-choice, single-select, or open-ended questions, allowing instructors to choose the best format for their assessment needs.
Flexibility and Adaptability: Instructors can use polls at various points in the course to adapt to learners’ needs, provide reinforcement, or review critical concepts.
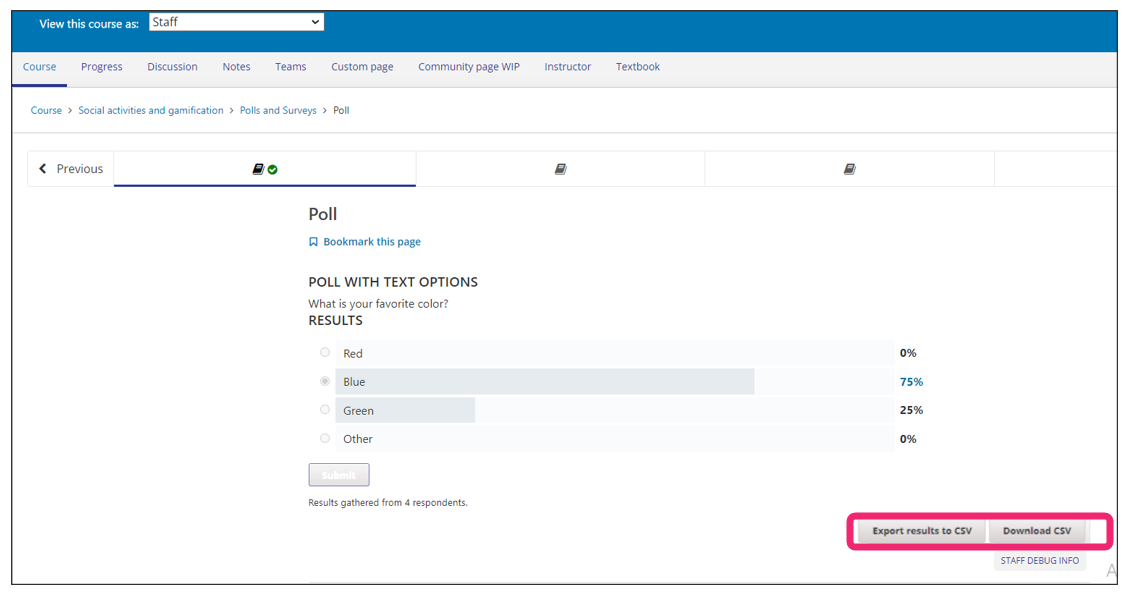
Download and export results: This XBlock allows course team members, who have staff role, to download the Poll results in a CSV file. To download the results, click the Export results to CSV first, and then, click Download CSV.
How to implement Poll XBlock?#
- Step 1:
Go to Studio. Remember, you can access it through the link in your ECC account or by going to studio.edunext.co and signing in with your email and password.
- Step 2:
Open the course where you will add the Poll XBlock.
- Step 3:
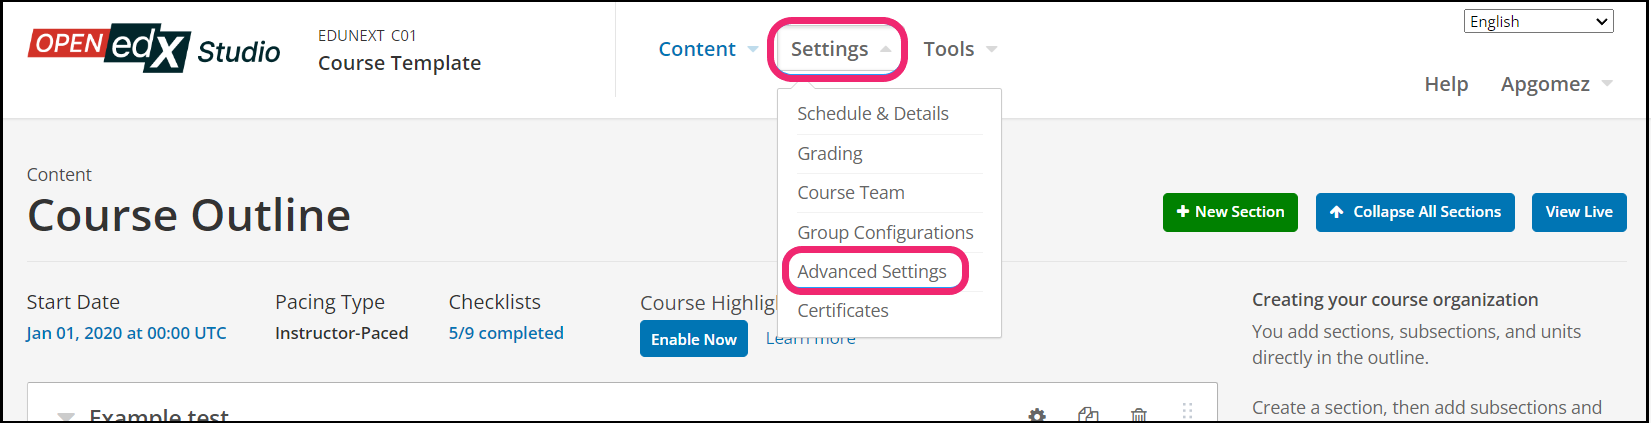
Click on the Settings tab and select the Advanced Settings option.
- Step 4:
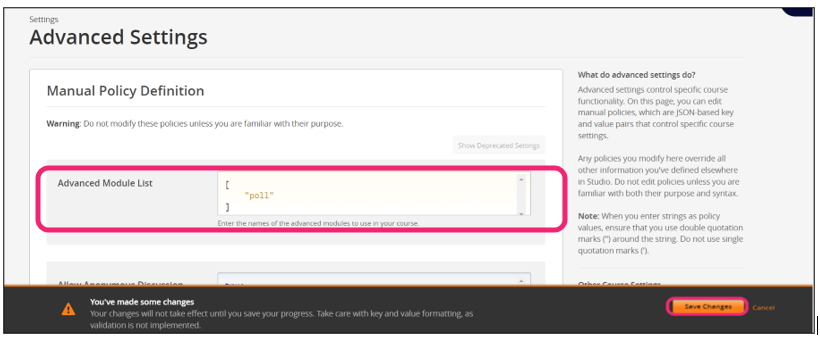
In the section Advanced Module List, add
pollbetween the square brackets.[ "poll" ]
Note
Add the XBlock command with an indented space and without any space before or after quotation marks, as shown in the example above, to avoid execution errors.
- Step 5:
At the button on the screen, click on Save Changes.
- Step 6:
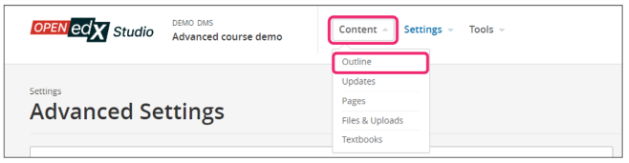
After this, the XBlock should be available, so click the Content tab and select the Outline option to get back to the course content.
- Step 7:
Under Outline, go to the section, then the subsection, and finally to the unit or page where you want to add the Poll XBlock.
- Step 8:
Once you are there, click Advanced Component in the Add New Component bar.
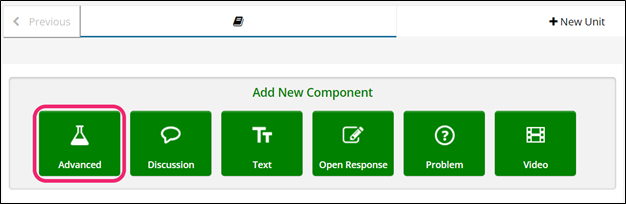
- Step 9:
You will see a list of all the advanced components added to your course. Click on Poll. The system will add the component immediately to the unit.

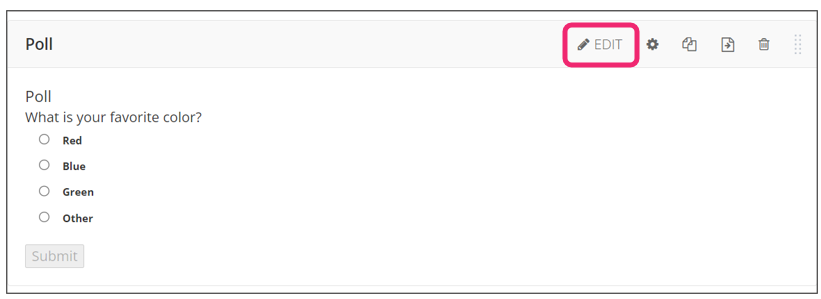
- Step 10:
Click the Edit button on the upper right corner of the new component to add the content details.
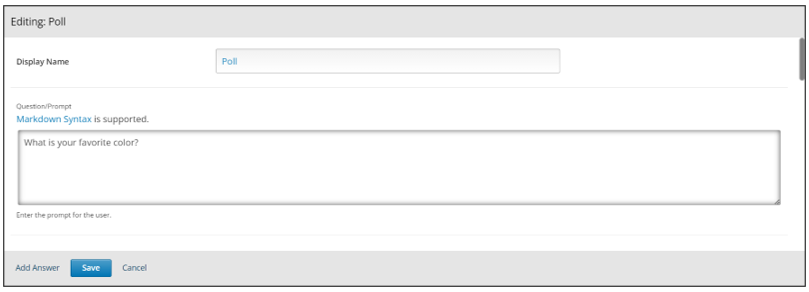
- Step 11:
The editor window is going to open. Here you will find several options to set up the XBlock as needed. The principal options that you have to edit are:
Display Name: This is the component name that the students will see while they interact with it. The component name is Poll by default, but you should edit as you want.
Question/prompt: In this space you will be able to write the question, if it is a multiple-choice question, you will also be able to set the answers.
Step 12:
If you use the Add answer option, click the Answer button. You will see the option to write the correct answer and will allow you to add all the options that you need.
- Step 13:
Finish the configuration of the component and click on the Save button.
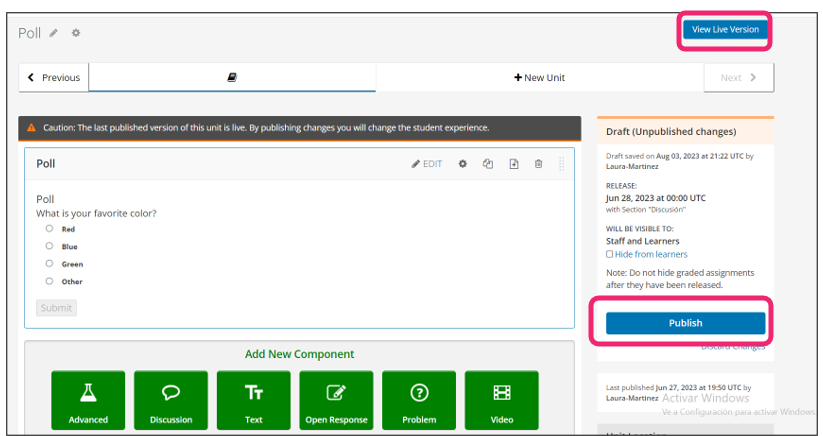
- Step 14:
Publish the unit and check how your new component looks on its final version by clicking the View Live Version button.
You may also visit our demo site where you can find various examples of the use of the Poll XBlock.