WooCommerce Integration Configuration
Contents
WooCommerce Integration Configuration#
WooCommerce is the most popular WordPress e-commerce plugin. If the subscription has a WordPress integration enabled and the e-commerce add-on is active, it’s possible to use the integration with WooCommerce to monetize the Open edX courses. WooCommerce is flexible, versatile, and free; This plugin can provide a great solution for LMS sites integrated with WordPress that need to sell products such as Open edX courses.
In the following instructions, you will find all the relevant information to configure the WooCommerce plugin integrated with your LMS site.
Integration Requisites
It is required to have your LMS site in a domain of your own.
Active WordPress + LMS integration
EOX APIs add-on enabled
Configuring your WooCommerce (WC) Integration Plugin#
Install WC Custom Thank You Plugin#
Go to Plugins and install the WC custom thank you page. This plugin will allow customizing the page where a thank you message is shown after users make a payment.
Client ID and Client Secret#
Go to Open edX WP-integrator > General Settings > and on the Course buttons tab:
Add the client ID.
Add client secret.
Select Save Settings.
See also
To enable and configure the EOX APIs, you can visit the following Page.
WooCommerce Settings in the Open edX LMS and WordPress Integrator Plugin#
Go to Open edX WP-integrator > WooCommerce Integration, and enable the following options.
Enable the Woocommerce integration
Woocommerce trigger action: WooCommerce payment complete.
Default enrollment fulfillment action: Process request (recommended).
User Profile fields mapping: This is an advanced feature only supported for eduNEXT customers. Mapping of user fields for pre-filling, from Open-edX (extended_profile) to Woocommerce (checkout)
Assert users are logged in to see the cart: If you want to force users to log in before seeing the cart page.
LMS redirect path for the cart: Path that passed into the lms ?next= parameter takes the user back to the Woocommerce cart.
Get username information from Open edX into the checkout page: The email address will be automatically populated in the checkout form as long as the user is logged in.
LMS redirect path for the checkout form: Path that passed into the lms ?next= parameter takes the user back to the Woocommerce checkout form.
User Profile fields mapping for client-side pre-filling: Mapping of user fields for pre-filling, from the accounts API in Open edX to the to Woocommerce checkout form fields.
{"billing_email": "email" , "billing_first_name": "name"}
Select Save Settings.
Settings in the WooCommerce Plugin#
Go to WooCommerce > Settings on the left panel, and adjust the following options on the Accounts & Privacy tab:
Guess checkout: Allow customers to place orders without an account.
Account creation: All these options must be disabled since we would be using the Open edX session and not the WordPress one.
Account erasure requests: Check the options:
Remove personal data from orders on request.
Remove access to downloads on request.
Personal data removal: Allow personal data to be removed in bulk from orders.

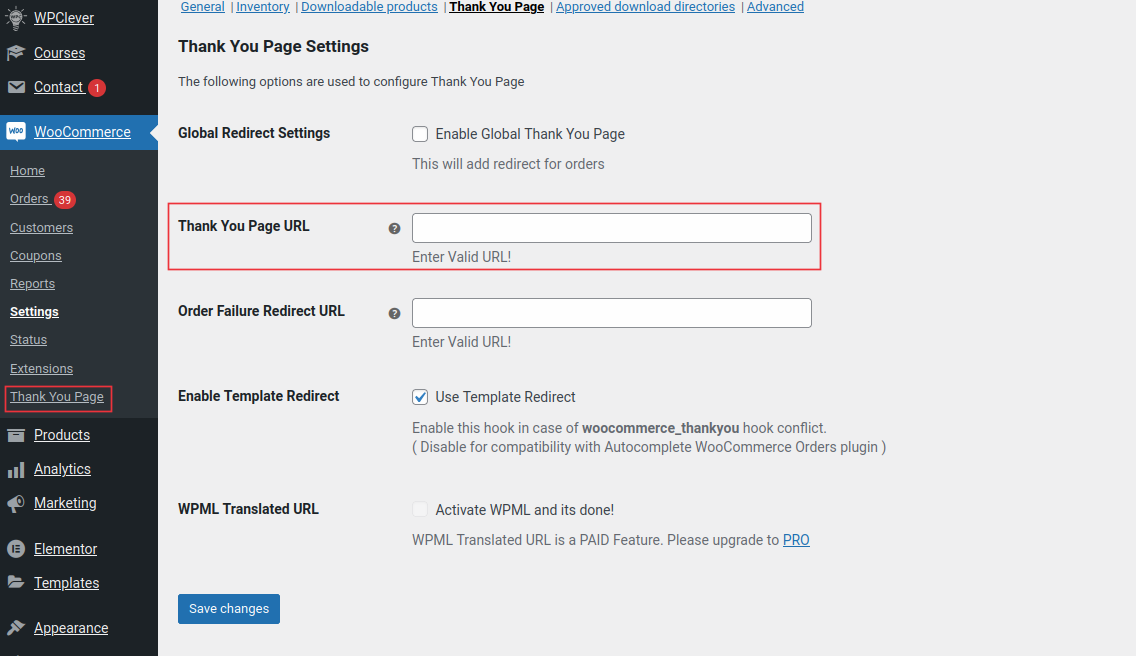
Establish the Thank You Page#
Set up the thank you page going to the WooCommerce settings in the left panel. There, select the advanced tab and scroll down to the Thank You Page section.
Choose the Thank You page you previously created from the dropdown list.
Click on save changes to apply the settings.
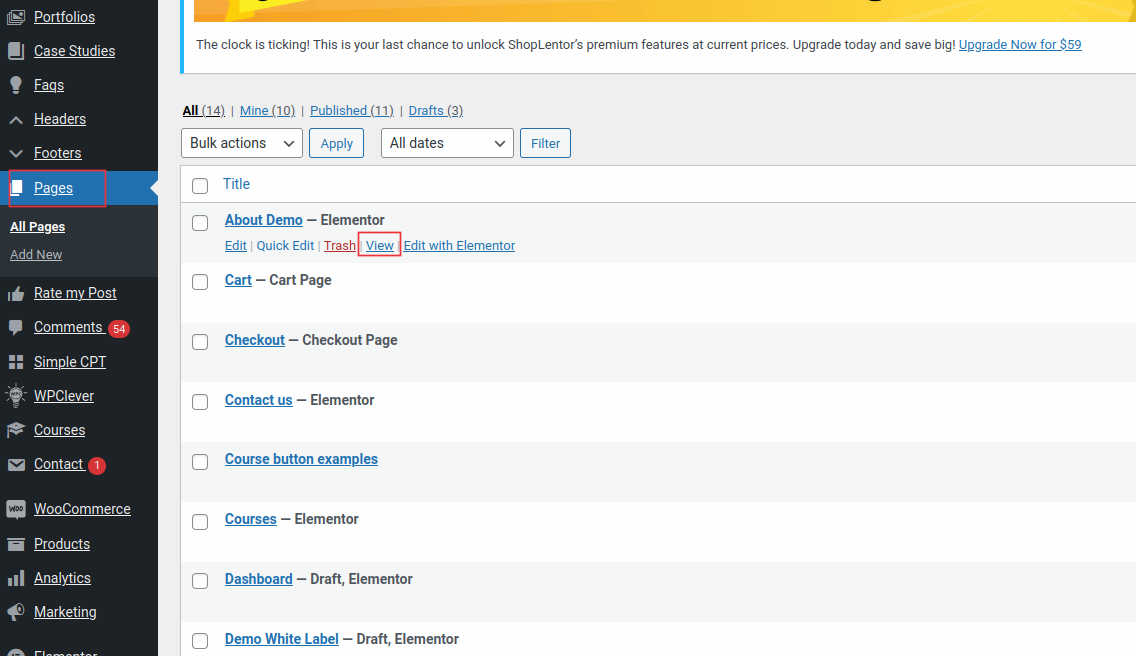
Configure the Thank You Page in Pages going to the pages section to find the Thank You page and make any additional configurations.
To view the resulting URL of the Thank You page, click on View.
Creation of Products Integrated with the Open edX LMS Site#
Once the previous steps are complete, it’s time to start creating products in WooCommerce to sell the Open edX courses.
Note
The purchase of the course usually implies that users will get certificates. Therefore, it’s necessary to have this option configured for the Open edX course.Find more information about setting the certificates in the following Article. This step is crucial to configure the product so that the enrollment will be automatically made after the payment..
Go to Products > Add new, and on the General tab, you can configure the following options:
Product name: How your product will appear on the page. This will create an endpoint with /product_name where users will find it.
Product main description: You will find an editor where you can create the description for your product
Product data: Select simple product- Virtual
General: Establish the price and taxes.
Inventory: Define:
The SKU
Stock status
Check sold individually
Note
These are the minimum configurations. You can create the product according to your needs.
Go to Products > Product data section, and on the Attributes tab, you can configure the following options:
- Attribute 1.
Name: course_id
Value (s): Enter the course ID of the course you want to sell. E.g. course-v1:demo-site+certs+en
- Attribute 2.
Name: course_mode
Value (s): Enter honor
Note
Don’t check the option “Visible on the product page”, so that this information will not be visible for users.