What is the Submit and Compare XBlock?
Contents
What is the Submit and Compare XBlock?#
This XBlock provides a way to do an ungraded self assessment activity. It is useful for synthesis questions, or questions which require the student to answer in her own words. After the student submits her answer, she or he will be able to see the instructor’s answer, and compare the answer to the expert answer.
Some of the functions of the Submit and Compare XBlock are:
Learning Analytics: The module might generate data on how students evaluate and compare different assignments, providing insights into learning trends and areas of difficulty.
Reflection and Self-Assessment: Students might be encouraged to reflect on their own work after comparing it to others, promoting self-assessment and self-directed learning.
Skill Development: Students might be able to identify areas where their peers excelled, enabling them to learn new skills and techniques.
What are the benefits of using the Submit and Compare XBlock?#
Critical Thinking: Analyzing and comparing different solutions or approaches can stimulate critical thinking skills. Students might need to justify their choices and decisions while assessing the merits of alternative solutions, leading to deeper engagement with the subject matter.
Engagement and Interaction: Submitting assignments and participating in comparison activities can increase student engagement and interaction with the course material. It offers an active learning experience beyond traditional assignment.
Variety of Perspectives: By comparing their assignments with those of their peers, students can gain exposure to a variety of perspectives, strategies, and solutions to the same problem. This can broaden their thinking and encourage creative problem-solving.
How to implement the Submit and Compare XBlock?#
- Step 1:
Go to Studio. Remember, you can access it through the link in your ECC account or by going to studio.edunext.co and signing in with your email and password.
- Step 2:
Open the course where you will add the Submit and Compare XBlock.
- Step 3:
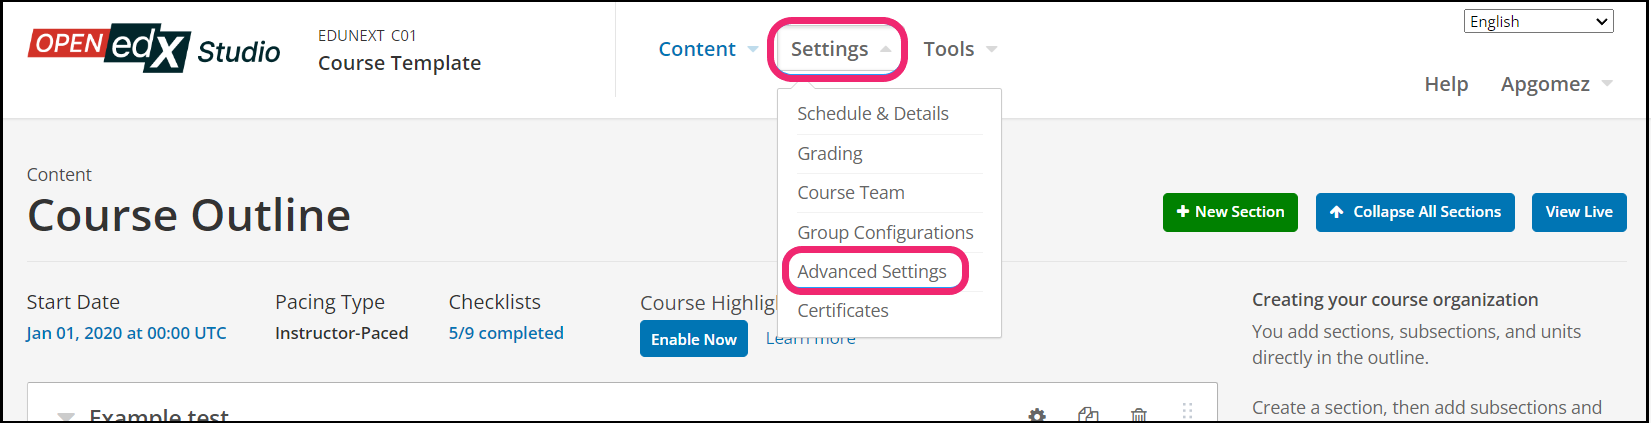
Click on the Settings tab and select the Advanced Settings option.
- Step 4:
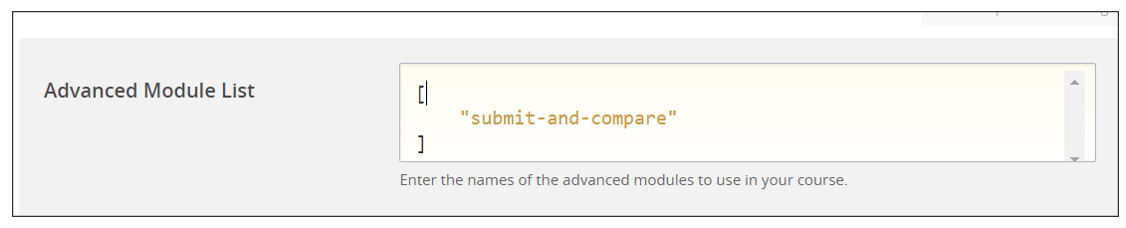
In the section Advanced Module List, add
submit-and-comparebetween the square brackets.[ "submit-and-compare" ]
Note
Add the XBlock command with an indented space and without any space before or after quotation marks, as shown in the example above, to avoid execution errors.
- Step 5:
At the button on the screen, click on Save Changes.
- Step 6:
After this, the XBlock should be available, so click the Content tab and select the Outline option to get back to the course content.

- Step 7:
Under Outline, go to the section, then the subsection, and finally to the unit or page where you want to add the Submit and Compare XBlock.
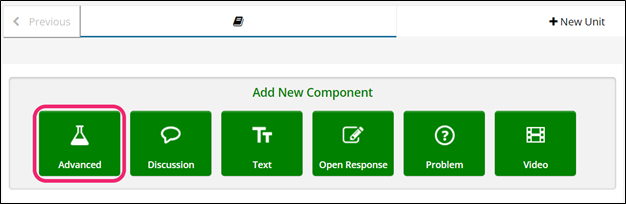
- Step 8:
Once you are there, click Advanced Component in the Add New Component bar.
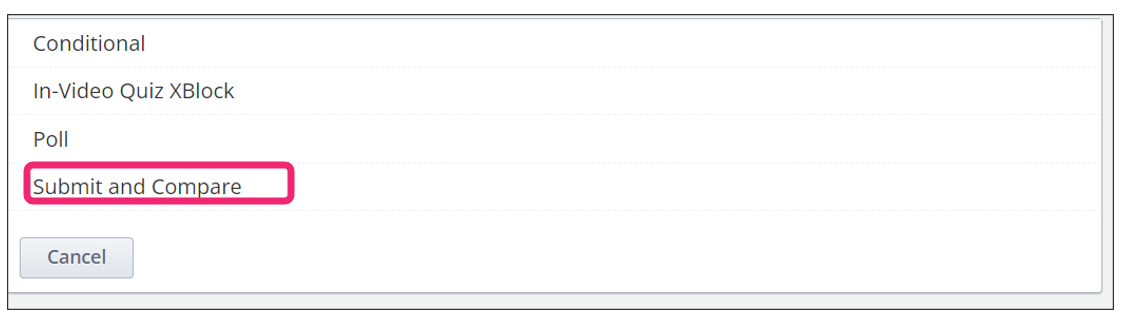
- Step 9:
You will see a list of all the advanced components added to your course. Click on Submit and Compare. The system will add the component immediately to the unit.
- Step 10:
Click the Edit button on the upper right corner of the new component to add the content details.
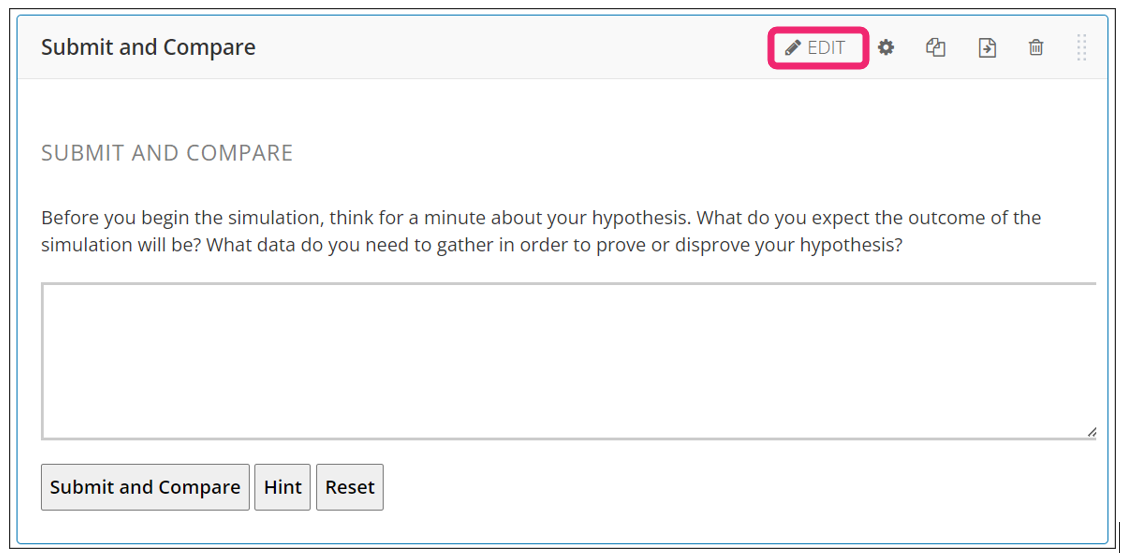
- Step 11:
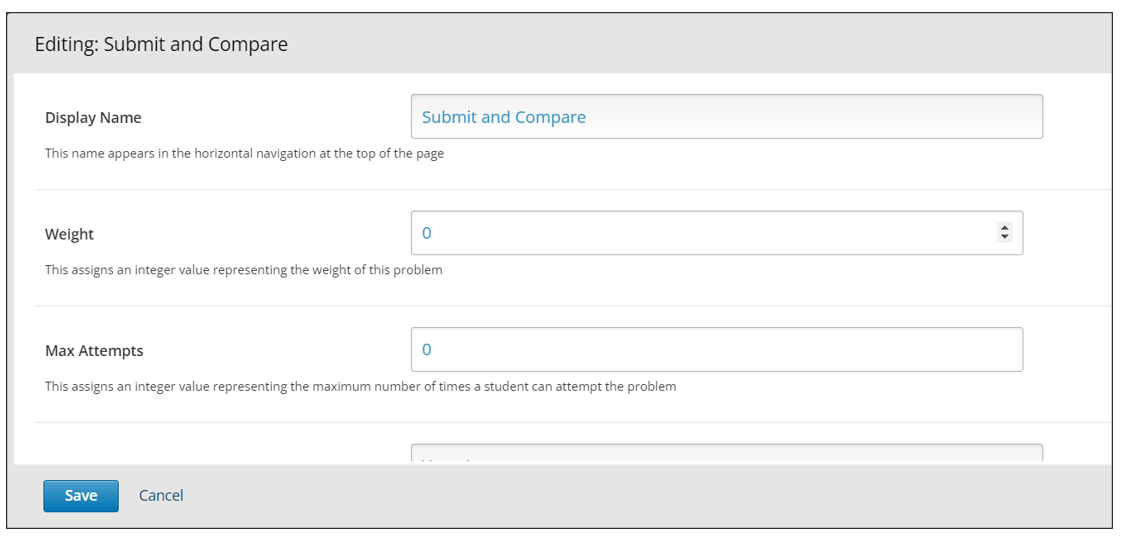
The editor window is going to open. Here you will find several options to set up the XBlock as needed. After you have selected the Submit and Compare XBlock, a default question will be inserted into your unit. The principal options that you have to edit are:
Display Name: This name appears in the horizontal navigation at the top of the page, it can be customized according to the instructor preferences.
Weight: This assigns an integer value representing the weight of this problem.
Max Attempts: This assigns an integer value representing the maximum number of times a student can attempt the problem.
Label for Student Answer: Label for the text area containing the student’s answer.
Label for Expert Answer: Label for the instructor or expert answer
- Step 12:
If you use the Label for expert answer option, you will be configuring the response to which students should approach.
If you use the Max Attemps keep in mind that there is no limit to the number of attempts.
- Step 13:
Finish the configuration of the component and click on the Save button.
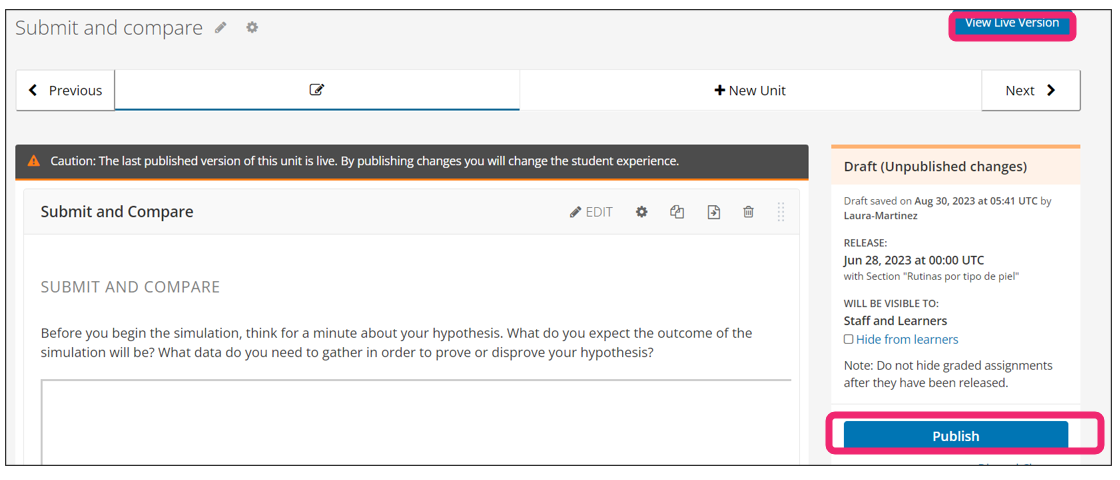
- Step 14:
Publish the unit and check how your new component looks on its final version by clicking the View Live Version button.
You may also visit our demo site where you can find various examples of the use of the XBlock.