What is Word Cloud XBlock?
Contents
What is Word Cloud XBlock?#
This XBlock allows learners to enter words into a field in response to a question or prompt. The words that all learners enter then appear instantly as a colorful graphic, with the most popular responses appearing as the largest. The size of the words in the word cloud depends on the number of times the word is repeated.

What are the benefits of using Word Cloud XBlock?#
Word cloud helps instructors or course creators to measure learners’ understanding of a topic and get feedback in real time.
Learners can see how their peers answered and contribute their thoughts to the group.
Word cloud allows learners to summarize their view of a topic.
Word cloud helps boost learners’ engagement.
How to implement Word Cloud XBlock?#
- Step 1:
Go to Studio. Remember, you can access it through the link in your ECC account or by going to studio.edunext.co and signing in with your email and password.
- Step 2:
Open the course where you will add the Word Cloud XBlock.
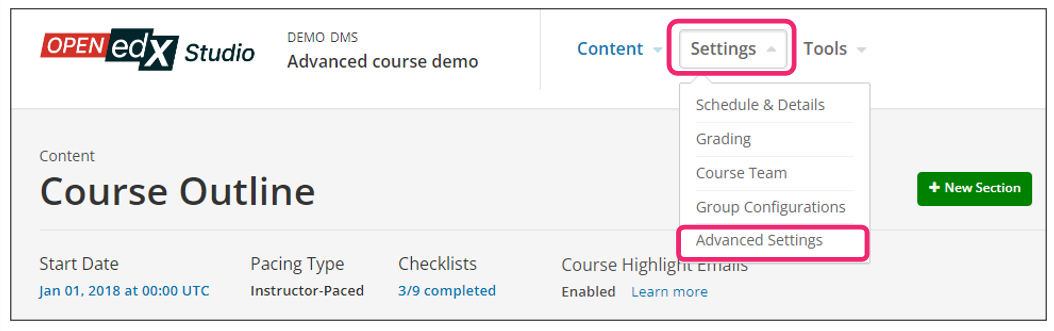
- Step 3:
Click on the Settings tab and select the Advanced Settings option.
- Step 4:
In the section Advanced Module List, add
word_cloudbetween the square brackets.[ "word_cloud" ]
Note
Add the XBlock command with an indented space without any space before or after quotation marks, as shown in the example above, to avoid execution errors.
- Step 5:
At the bottom of the screen, click on Save Changes.

- Step 6:
After this, the XBlock should be available, so click the Content tab and select the Outline option to get back to the course content.

- Step 7:
Under Outline, go to the section, then the subsection, and finally to the unit or page where you want to add the Word Cloud XBlock.
- Step 8:
Once you are there, click Advanced Component in the Add New Component bar.
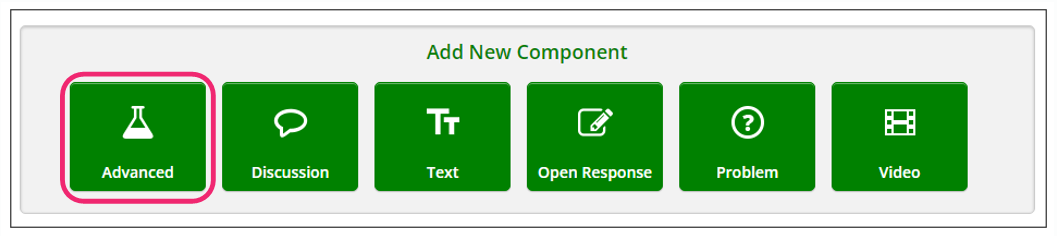
- Step 9:
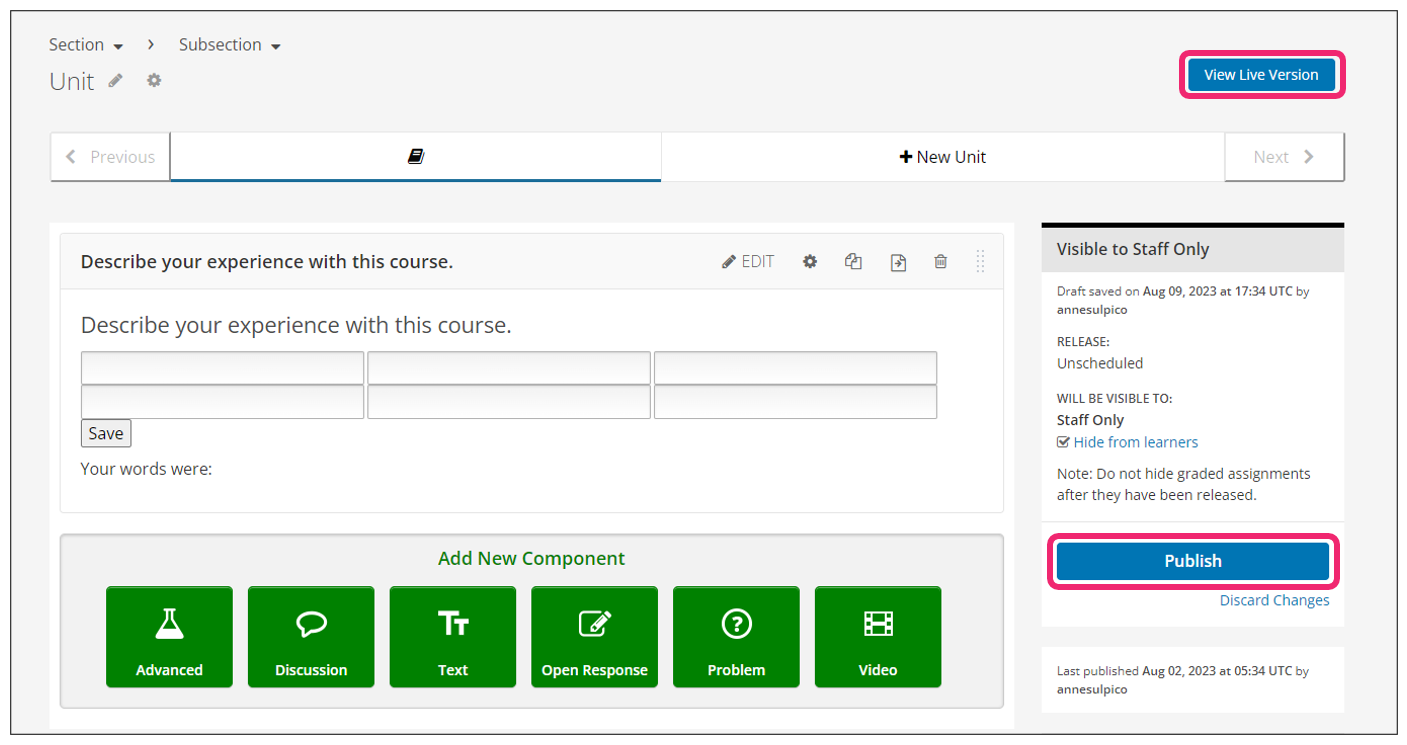
You will see a list of all the advanced components added to your course. Click on Word cloud. The system will add the component immediately to the unit.

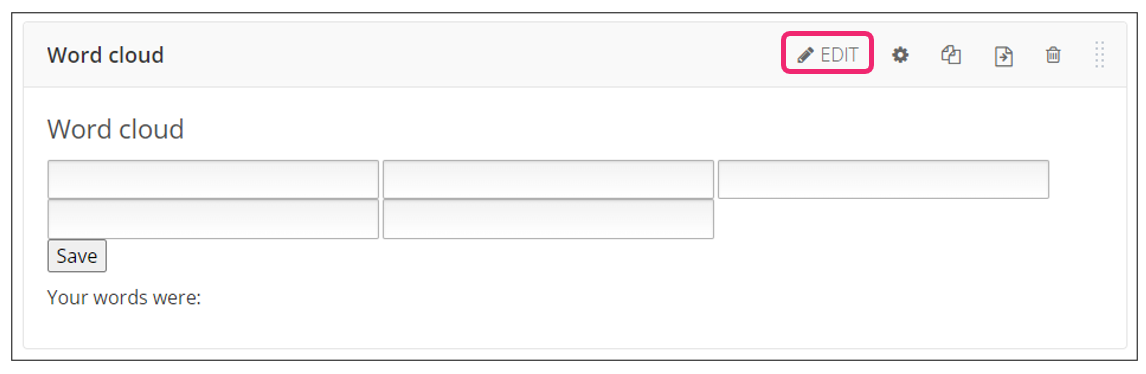
- Step 10:
Click the Edit button on the upper right corner of the new component to add or edit the content details.
- Step 11:
The editor window is going to open. Here you will find several options to set up the Word Cloud XBlock as needed. The principal options that you have to edit are:
Display name: This name appears as a heading above the problem. Replace the default display name with a specific title or name for your word cloud.
Inputs: The number of text boxes into which students can enter words, phrases, or sentences.
Instructions: Guidance provided to learners, detailing specific information on how to contribute to this word cloud.
Maximum Words: The maximum number of words that the generated word cloud displays. If learners enter 300 different words but the maximum is set to 250, only the 250 most commonly entered words appear in the word cloud.
Show Percents: Select either True or False. If this option is set to True, after learners have contributed to a word cloud, the frequency that each of their own contributed words has been entered is shown as a percentage of all words entered.
Note
For more information about the component settings of this XBlock, please refer to this article.
- Step 12:
Finish the configuration of the component and click on the Save button.
- Step 13:
Publish the unit and check how your new component looks on its final version by clicking the View Live Version button.