What is a Scorm XBlock?
Contents
What is a Scorm XBlock?#
“Sharable Content Object Reference Model.” It is a set of technical standards and specifications used for creating and delivering e-learning content. SCORM was developed by the Advanced Distributed Learning (ADL) Initiative, a research project sponsored by the United States Department of Defense. The primary goal of SCORM is to ensure that e-learning content is compatible with different Learning Management Systems (LMS) and can be easily shared and reused across various platforms.
The SCORM XBlocks is an advanced Open edX component that allows embedding online learning content (like courses, quizzes, and activities) that works smoothly with a learning management system (LMS). It ensures that the content can communicate properly with the system and that you can easily move the content between different systems. SCORM helps online educators and learners have a more consistent and compatible e-learning experience.
Key components:
Content Packaging: SCORM-compliant content is typically packaged into a specific format, allowing it to be easily imported into different LMS platforms.
Run-Time Environment: SCORM defines how e-learning content should communicate with the LMS while it is being used by learners. This includes tracking learner progress, recording interactions, and reporting assessment results.
Metadata: SCORM content includes descriptive information (metadata) that provides details about the content’s title, description, author, and other relevant information.
What are the benefits of using scorm XBlock?#
Diverse Content Options: By supporting SCORM, the Open edX platform can leverage a wide range of third-party content created using the SCORM standard, which means more diverse and interactive learning materials for the learners.
Reusability: SCORM-compliant content can be reused across different LMSs and platforms that also support SCORM, making it easier to share and distribute educational resources.
Flexibility for Content Creators: Content creators who are familiar with the SCORM standard can continue using their preferred authoring tools to develop interactive eLearning content.
How to implement scorm XBlock?#
- Step 1:
Go to Studio. Remember, you can access it through the link in your ECC account or by going to studio.edunext.co and signing in with your email and password.
- Step 2:
Open the course where you will add the scorm XBlock.
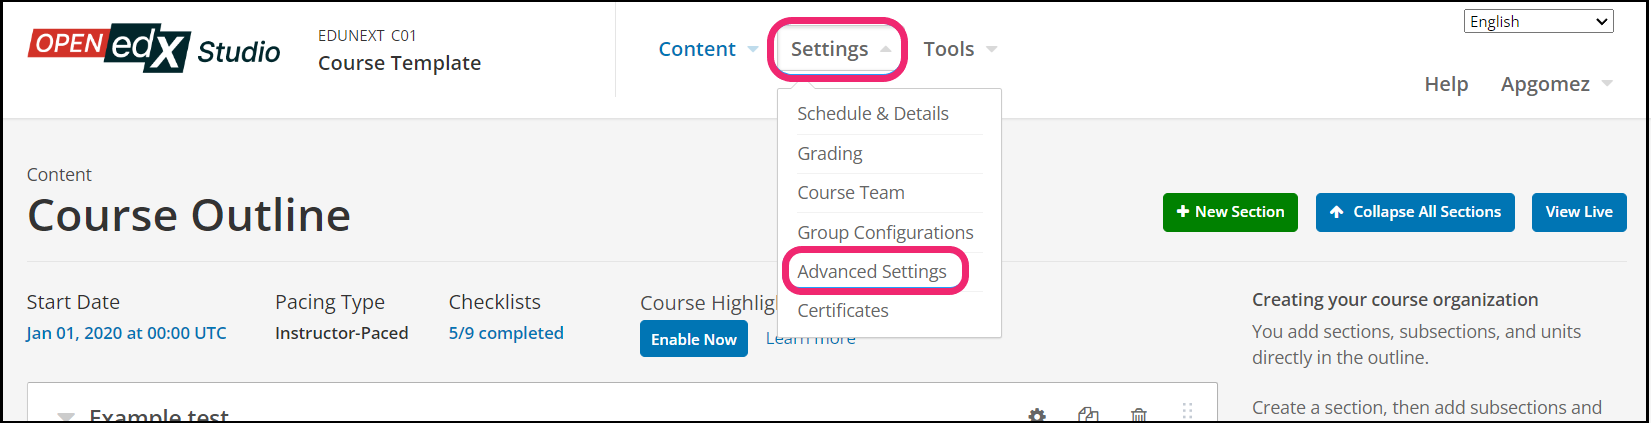
- Step 3:
Click on the Settings tab and select the Advanced Settings option.
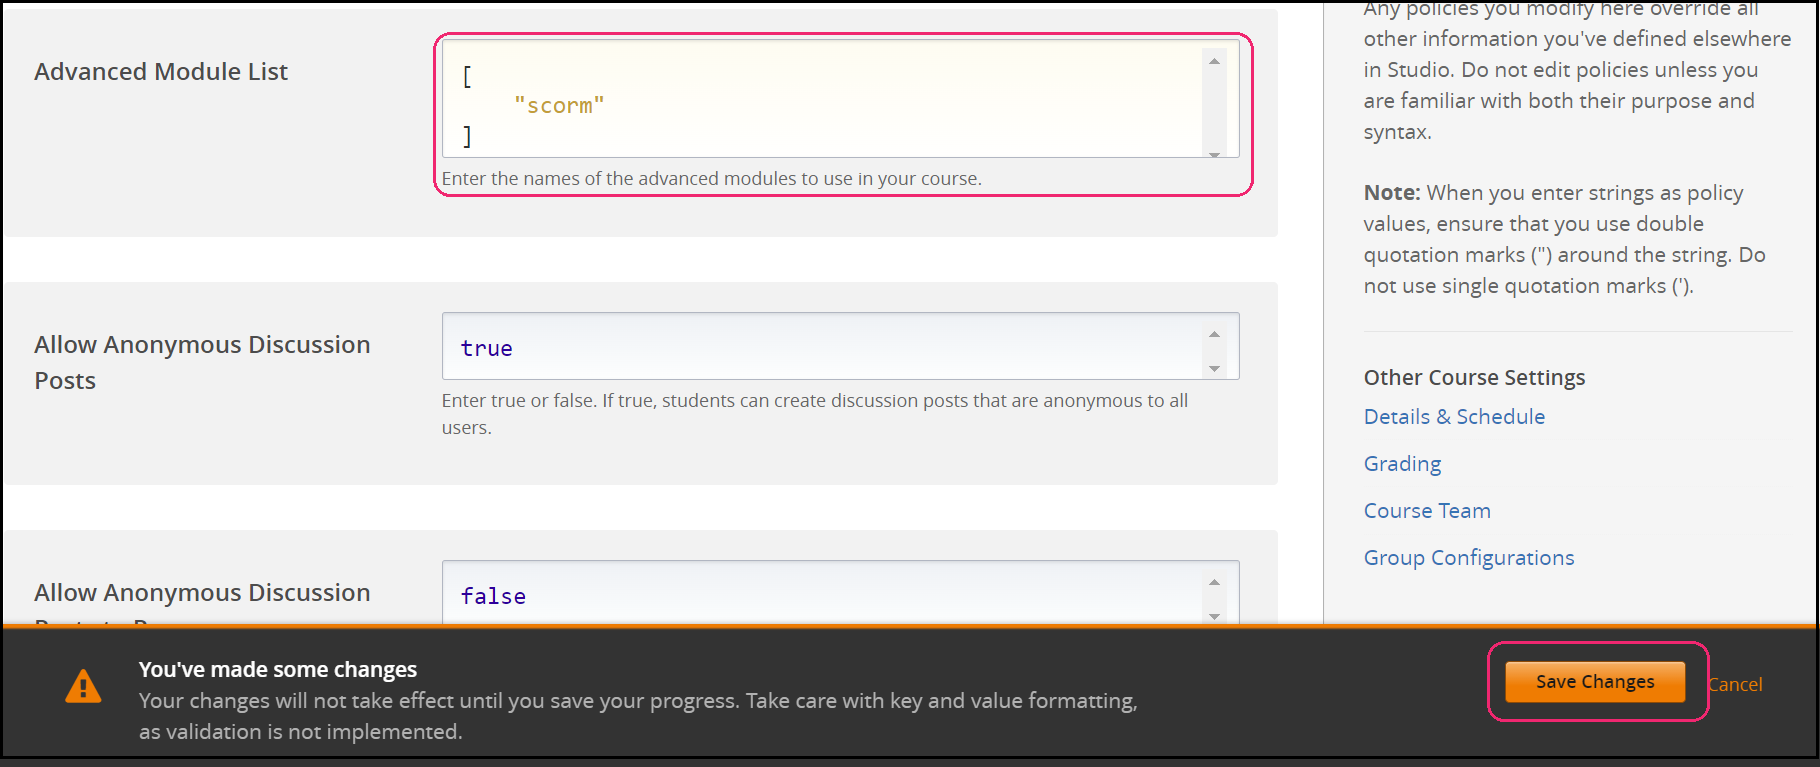
- Step 4:
In the section Advanced Module List, add
scormbetween the square brackets.[ "scorm" ]
Note
Add the XBlock command with an indented space and without any space before or after quotation marks, as shown in the example above, to avoid execution errors.
- Step 5:
At the button on the screen, click on Save Changes.
- Step 6:
After this, the Xblock should be available, so click the Content tab and select the Outline option to get back to the course content.

- Step 7:
Under Outline, go to the section, then the subsection, and finally to the unit or page where you want to add the scorm XBlock.
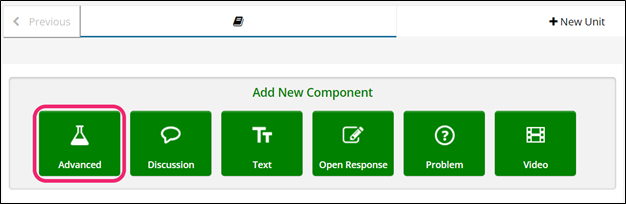
- Step 8:
Once you are there, click Advanced Component in the Add New Component bar.
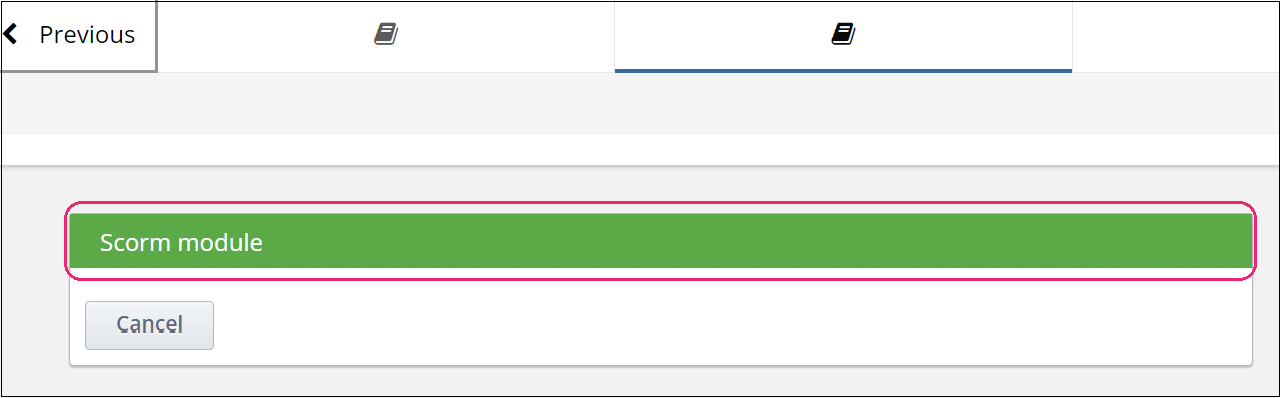
- Step 9:
You will see a list of all the advanced components added to your course. Click on Scorm module. The system will add the component immediately to the unit.
- Step 10:
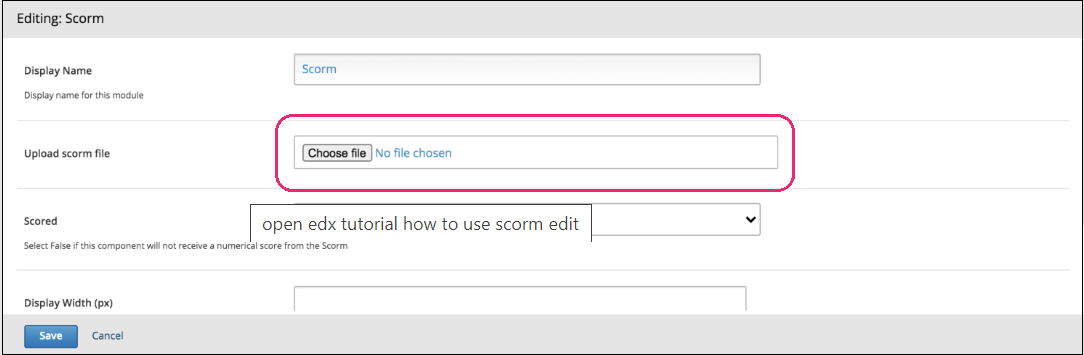
Click the Edit button on the upper right corner of the new component to add the content details.

- Step 11:
Click the Choose File button. In your computer’s file explorer, search for the file you want to upload(zip file), select it and click the Open button. The system will upload the file to the platform immediately, then save changes.
- Step 12:
Finish the configuration of the component and click on the Save button.
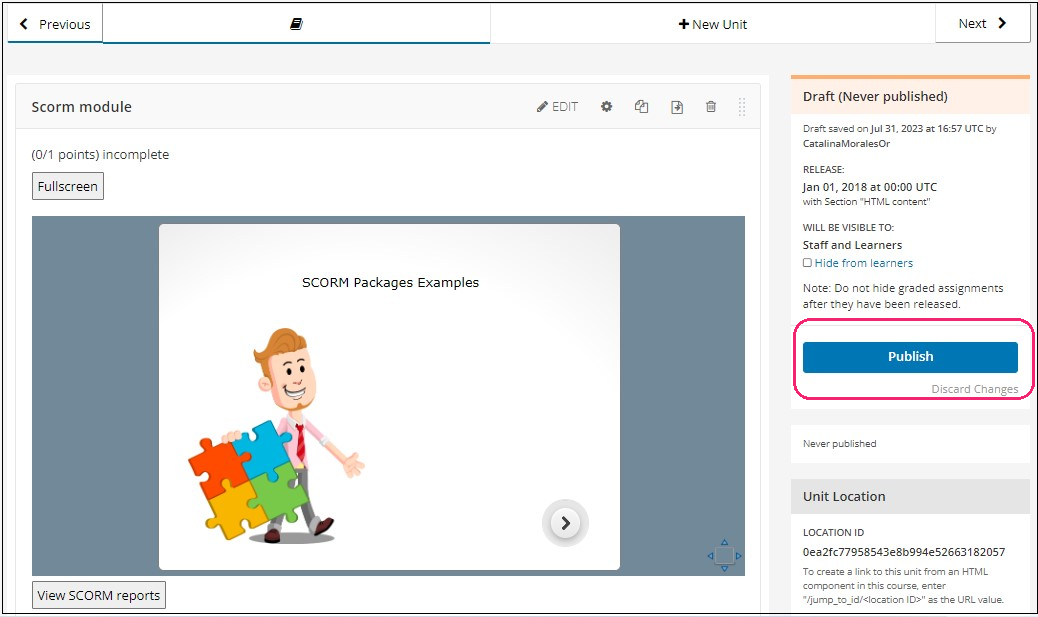
- Step 13:
Publish the unit and check how your new component looks on its final version by clicking the View Live Version button.